

Learn how to make Fermented Hot Sauce-a simple way to enhance and preserve your abundance of garden chilies to use throughout winter. Full of healthy probiotics, this easy recipe has many health benefits. Plus, it just tastes good! Video.
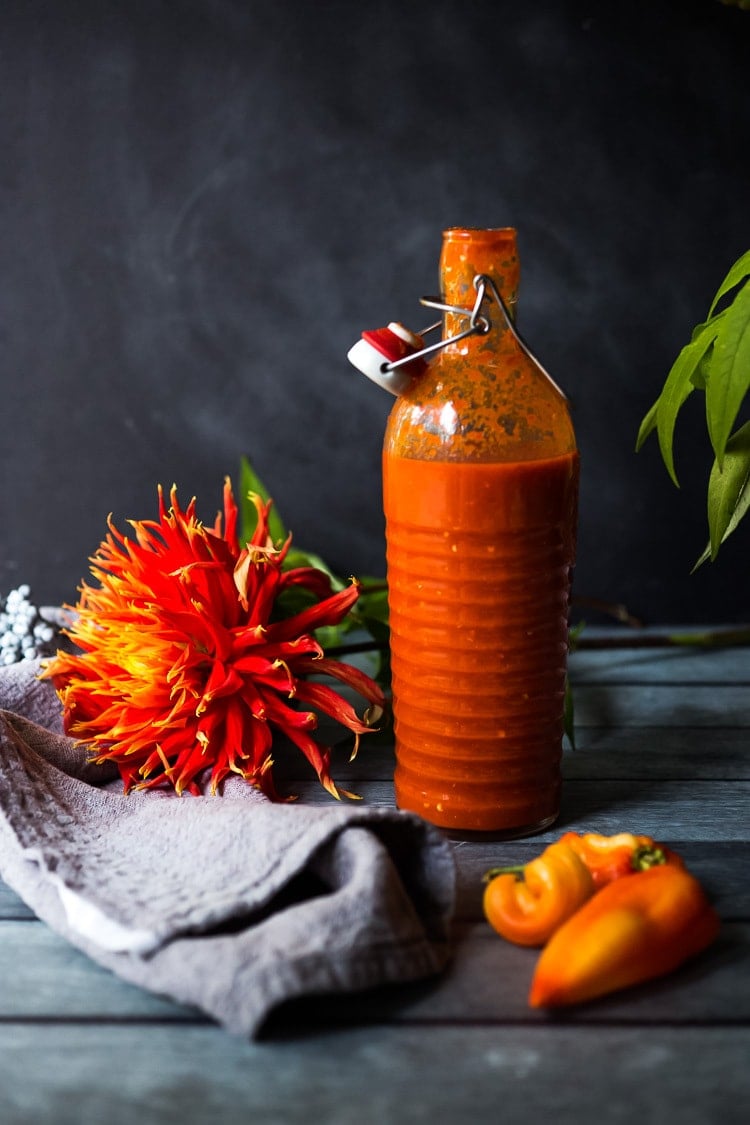
Why You’ll Love Fermented Hot Sauce
Here is my all-time favorite hot sauce recipe. As a chef, I’ve always loved making things completely from scratch-sauces, breads, condiments, you name it. Fermentation adds a layer of flavor that is so delicious and nuanced, and is much easier than you think!
Every year, when my chili plants overflow, I make this fermented hot sauce to preserve that harvest and keep the garden’s flavor alive all winter long. I’ve shared many fermentation recipes on the blog, and this hot sauce is easily one of the most approachable and rewarding ferments to start with.
Now, before you feel intimidated, know that this only takes 20 minutes of actual hands-on time and no special equipment. If you’ve ever wanted to try fermenting at home, this is the perfect beginner recipe!
I've made 4 batches of this now and mixed up the chillies and bell pepper ratios……..always turns out amazing! And like the creator says it gets better and better the longer it ferments and the longer it's in the fridge.
Why I prefer fermenting over canning
- Healthier: Fermentation creates “ALIVE” food, incredibly rich in probiotics. These good bacteria are living creatures that work with our microbiome to improve digestion, boost immunity, and prevent disease. Having a diverse microbiome is healthy! Canning “kills” all these healthy probiotics through the heating process.
- Taste: I prefer fermentation over “canning” because fermentation keeps these healthy bacteria alive, and as a result, the fermented food actually tastes better and better with time! Canning halts the development of flavor.
- It’s easier: Canning requires more hands-on time.
Ingredients
- Fresh Chilies: medium heat chili peppers, such as red jalapeno peppers or red Padrón peppers. Feel free to add bell peppers in similar colors to make the hot sauce milder. Or use Green jalapenos or serranos and make a green hot sauce. If using habanero chilies, mellow them with orange or yellow bell peppers.
- Carrots: Add a sweetness and help with fermentation.
- Shallots or Onion, and Garlic: Add savory depth and complexity.
- Saltwater brine: You’ll need 1 1/4 teaspoons of salt per cup of warm water, or 3 grams of salt per 100 grams of water. Use filtered water and finely ground sea salt or pink Himalayan salt.
Variations
After fermenting, add optional seasonings to taste. Keep in mind, the “heat” will mellow with age.
- Herbs: oregano, cilantro, celery leaves
- Spices: cumin, coriander, chipotle powder, smoked paprika, allspice
- Vinegar: 1-3 tablespoons apple cider vinegar for extra tang and healthy probiotics
- Sugar: honey or sugar to taste-especially good if making sriracha
- For extra heat: cayenne or ground chipotle to taste
Salt Ratio for Fermenting Chilies
Having the right proportion of salt to water is important. Not enough salt may allow unhealthy bacteria to grow. Too much salt will kill all the bacteria, and the chilies won’t ferment. If you need to add more water to the jar, then add salt accordingly.
- Use 1 1/4 teaspoons fine sea salt per 1 cup of water. This is roughly a 3% brine (3 grams of salt per 100g of water).
- Here, I used 5 cups of water, so I added 1 1/4 teaspoons salt x 5 cups water = roughly 6 1/4 teaspoons of fine ground sea salt. Heating the water slightly helps the salt dissolve.
How to make Fermented Hot Sauce:
1. Prep the chilies and veggies. Split peppers in half lengthwise and remove the seeds. Save a larger chili for the top (to hold things down), and slice the rest. Thinly slice the carrots, onion, and garlic.
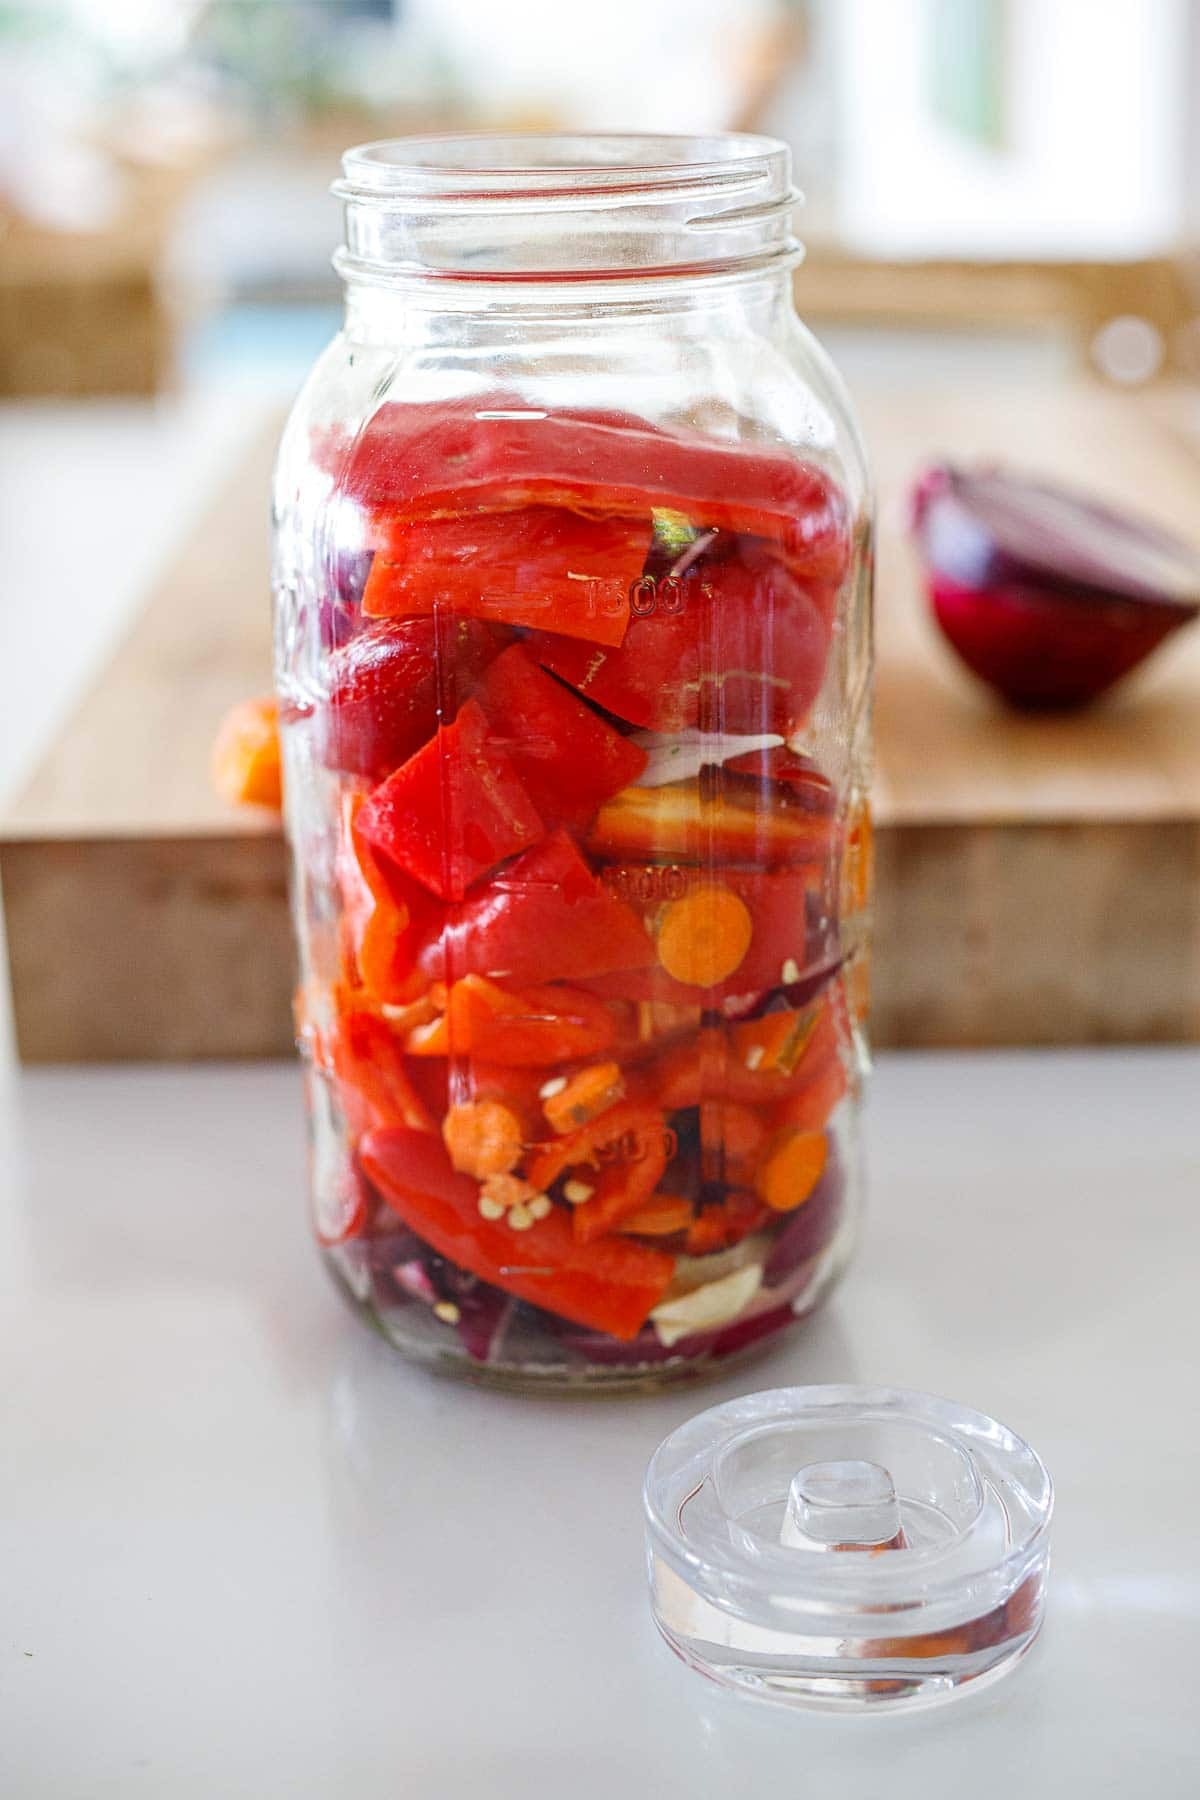
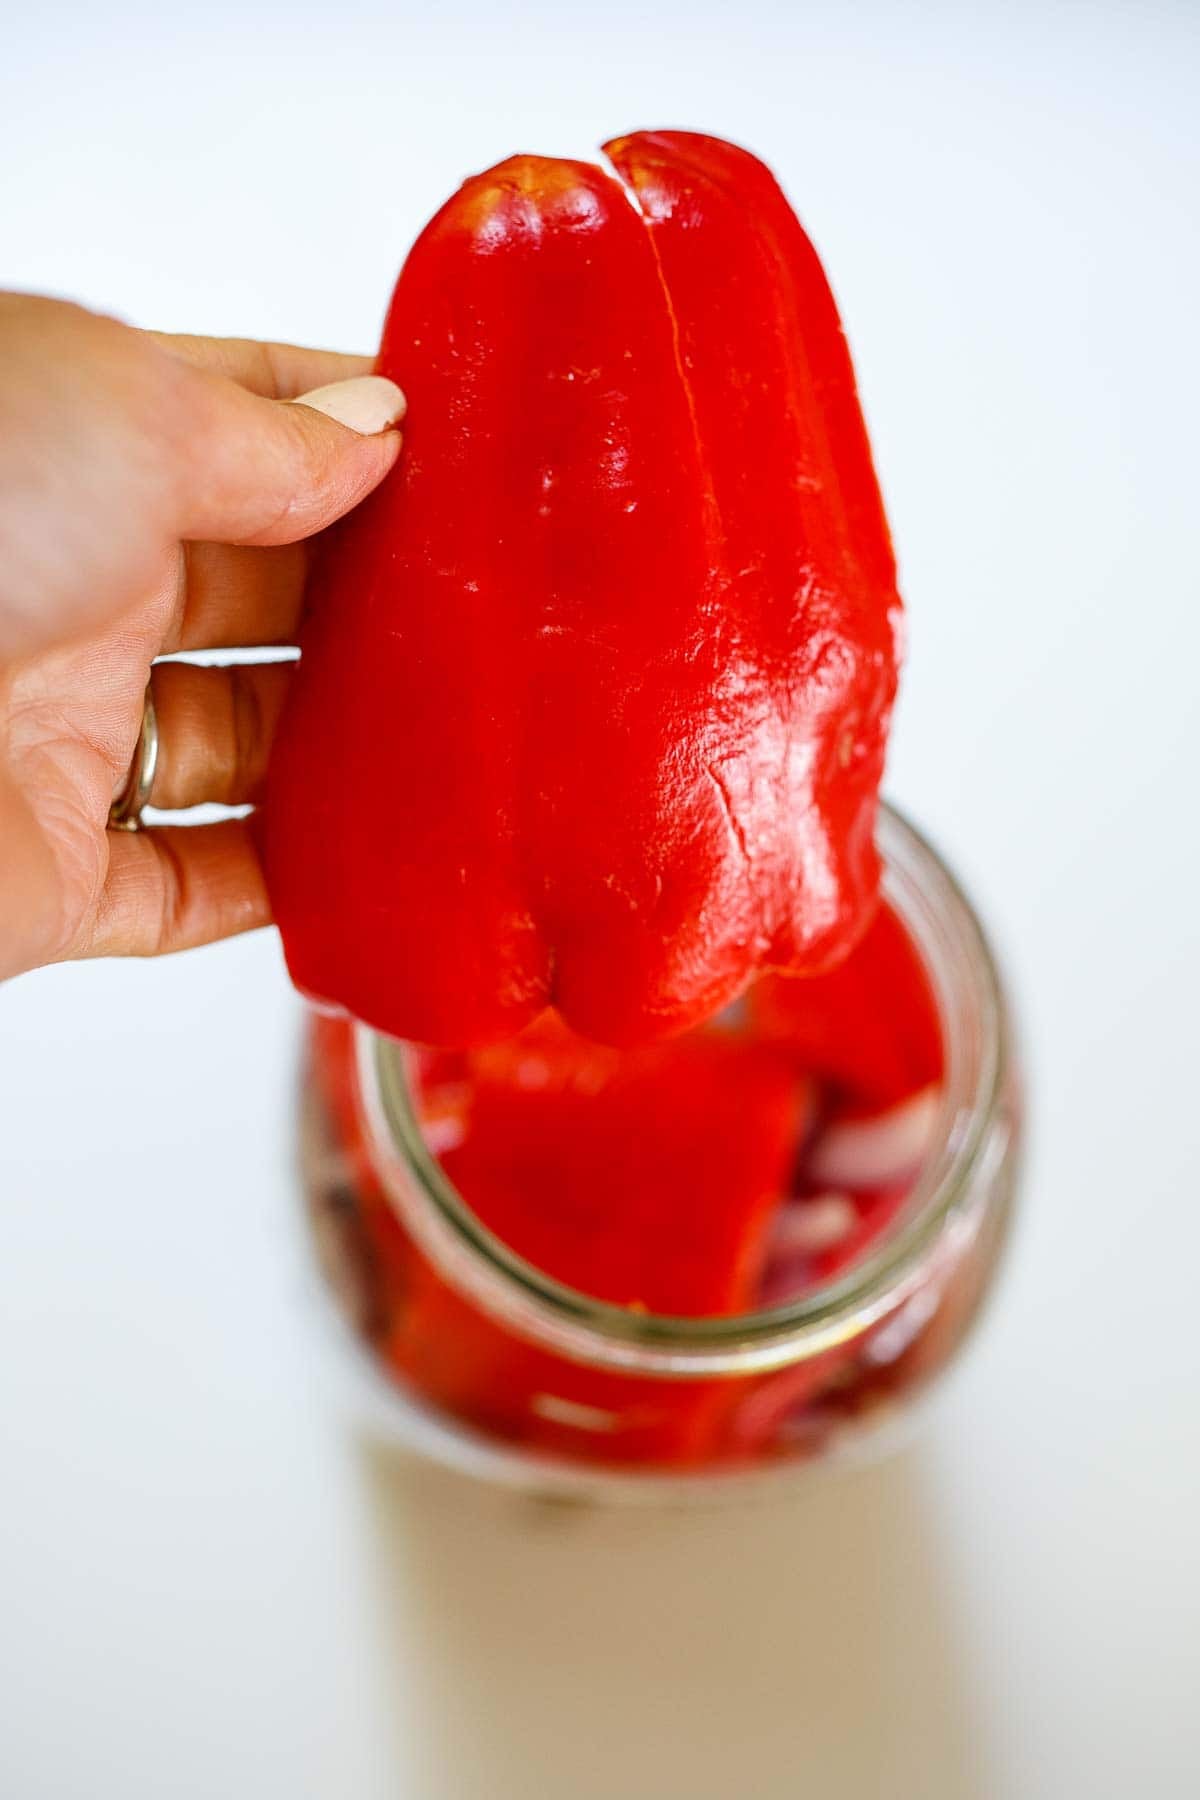
2. Fill a very clean, 2-quart mason jar with chilies, carrots, onions, and garlic. Then top it with the bigger piece of chili pepper to hold things down. A cabbage leaf works too!
3. Make a saltwater brine. Combine 1 1/4 teaspoons of fine sea salt per 1 cup of water. Do your math carefully! Here I have 5 cups of water, so 1.25 x 5 = 6.25 teaspoons of salt. Mix until the salt is fully dissolved.
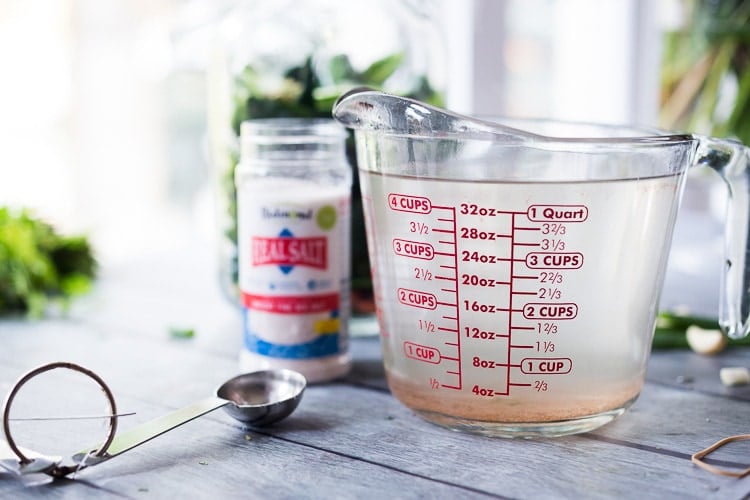
3. Combine. Pour the brine over the chilies and push them down with clean hands or tongs, so they are completely submerged.
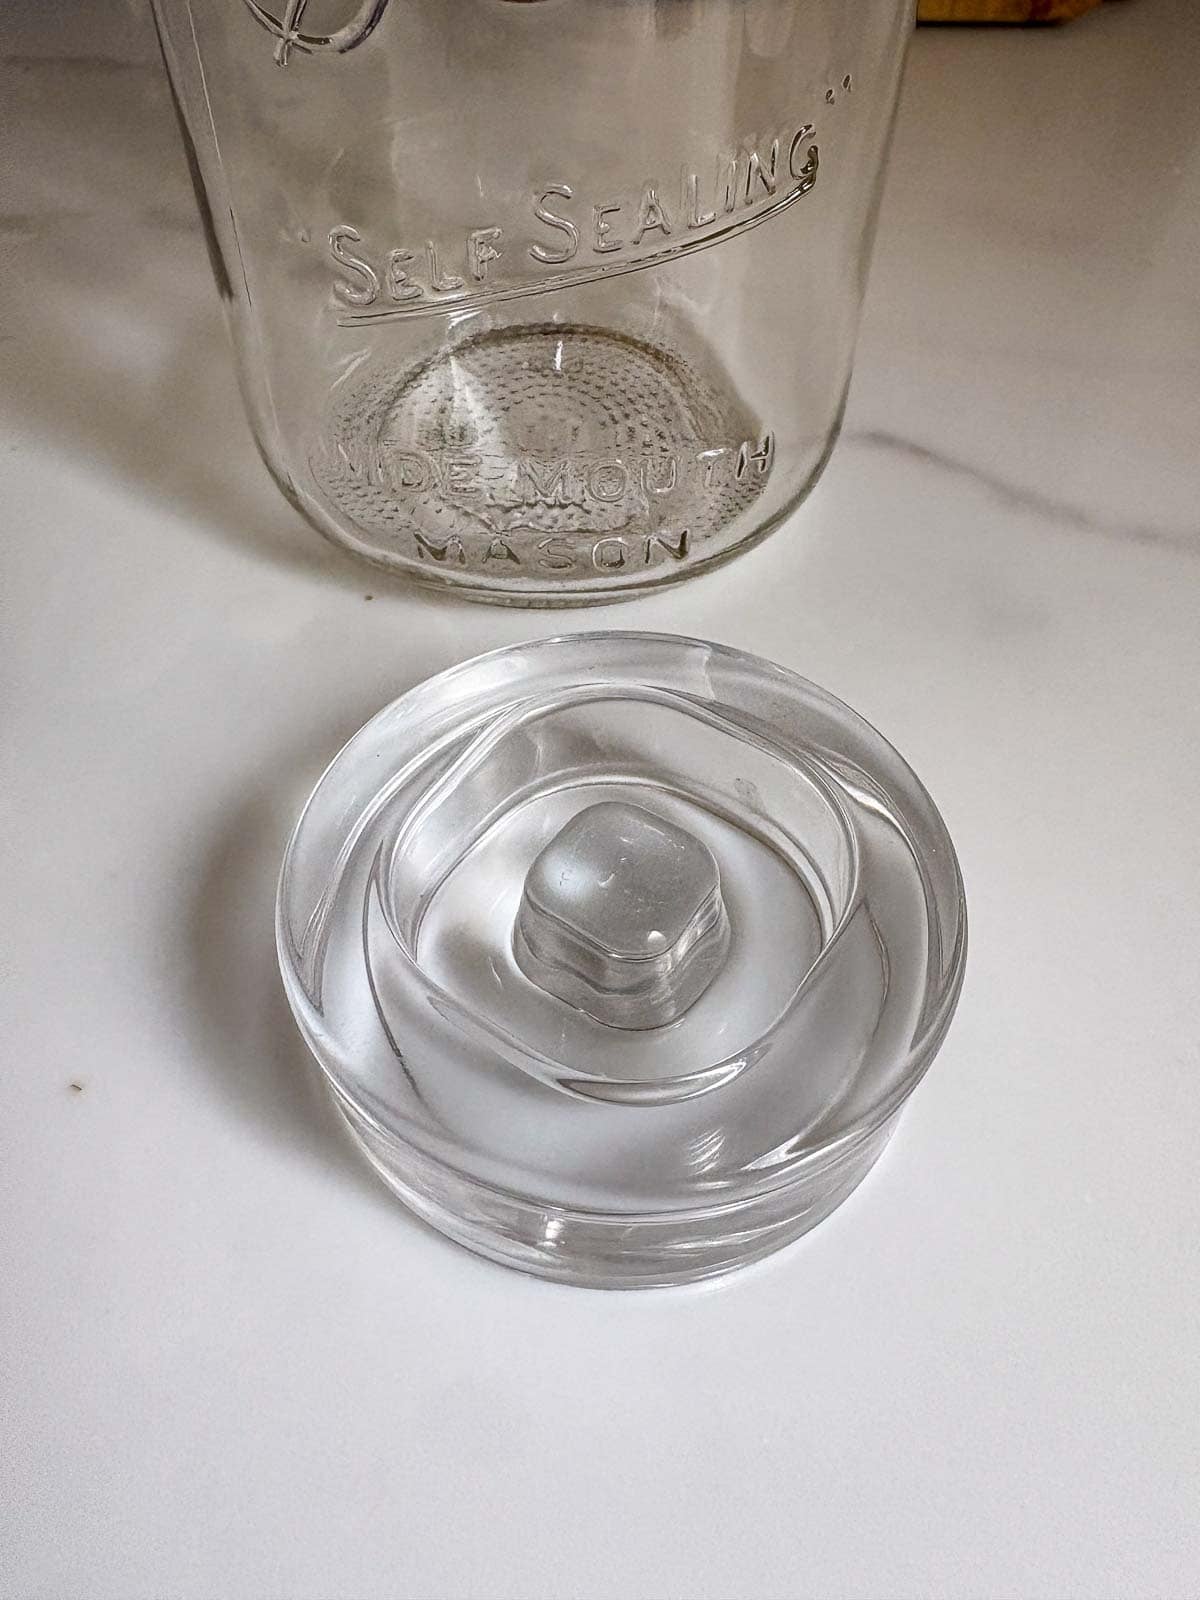
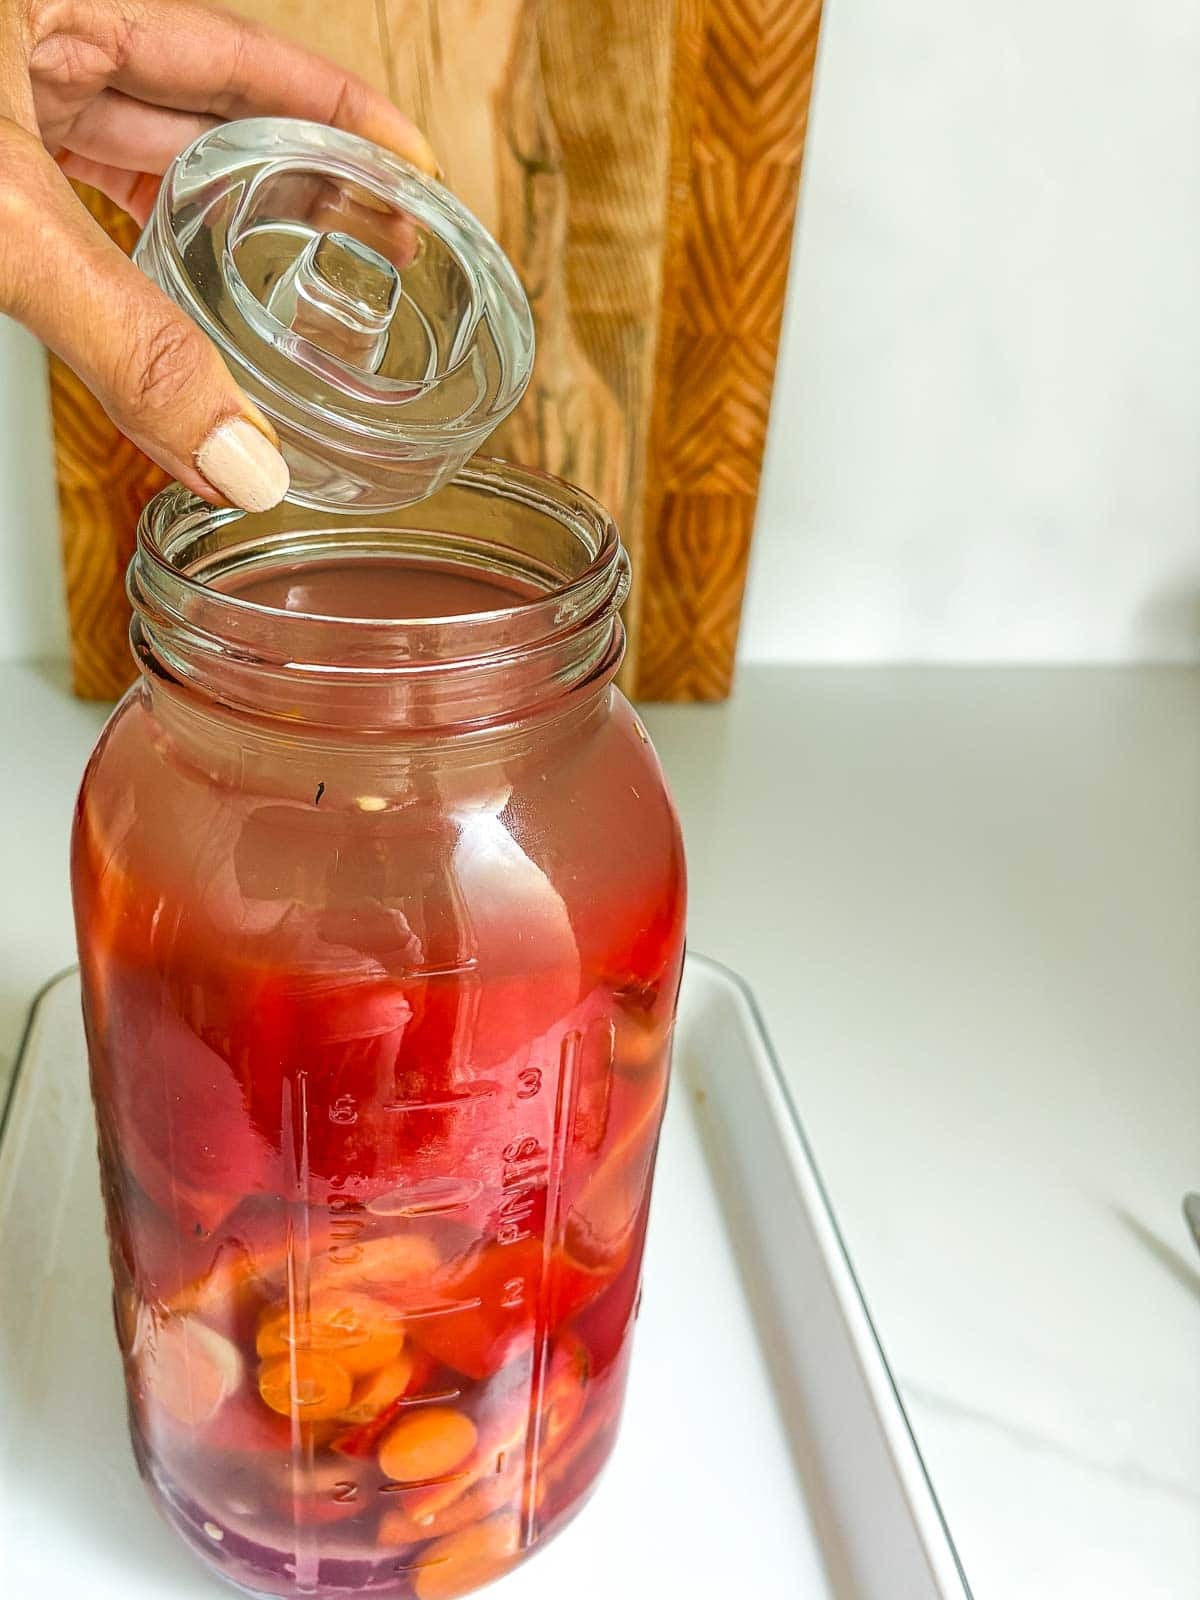
4. Weigh down the chilies. You can use a fermentation weight, like the one above, that fits perfectly in a mason jar to keep everything submerged.
Warning: If anything floats (like seeds)to the surface and comes into contact with air, it can potentially mold, so either fish it out with a slotted spoon or push it back under the brine.
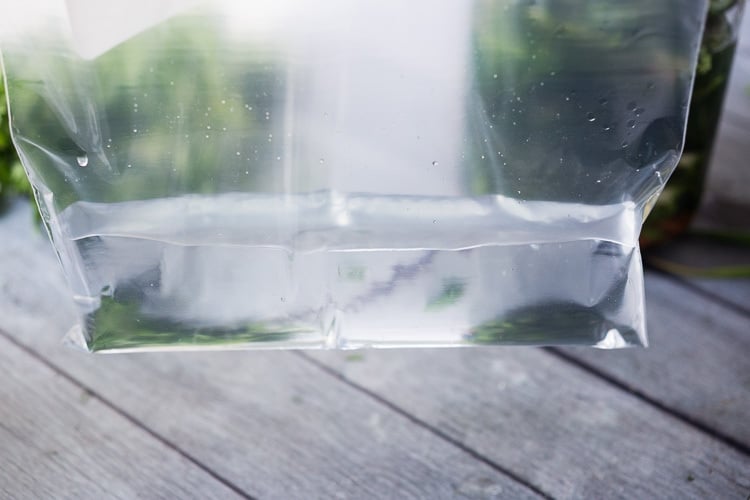
Tip: In a pinch, a zip-lock bag filled with water can be used as a “weight”. Place this over the top. I prefer using a glass or ceramic weight vs. plastic, but this will work in a pinch. The water in the bag will work as the fermentation weight here. Or use a small, clean shot glass placed over a cabbage leaf; it can also act as a fermentation weight.
5. Place a lid on top. Place a lid on top, leaving it loose. You want the fermentation gases to be able to escape while keeping any creatures (bugs or flies) out. A couple of layers of cheesecloth also work here, or a coffee filter secured with a rubber band.
6. Store and ferment. Place the jar in a pan to catch any liquid that may spill over, and place it in a cool, dark place, like a basement-65F-70F is ideal. If you don’t have a basement or a cool place, a lower kitchen cupboard is an option.
Check every few days, removing any “floaters”. After a few days, the brine will turn slightly cloudy (a good sign), and when you tap the jar, you should see little bubbles float to the surface or some overflow in the pan-all signs of life!
Ferment 5-10 days. I usually go 7-12 days, long enough to soften the carrots, which you will be blending in the sauce.
If, for some reason, you are going out of town, you can always place the ferment in your fridge, which will slow it down but keep it alive, and you can resume when you get back.
Why is the Brine Cloudy?
Cloudy, tangy brine is a natural by-product of the fermentation process-a combination of lactic acid and yeast-and is the reason why they call it lacto-fermentation.
Various strains of bacteria are present on the surface of all plants, especially those growing close to the ground. Lactobacillus bacteria convert sugar into lactic acid, preserving the peppers.
Both salt and lactic acid prevent the growth of harmful bacteria. Over time, the cloudiness can settle out of the brine to the bottom of the jar. Some batches are naturally cloudier than others, but all are safe to consume.
A cloudy brine is a sign that you have a safe, successful, and tasty ferment.
7. Blend! Strain the brine, saving it. Add the strained chilies, carrots, onion and garlic to the blender with one cup of brine and blend until smooth, at least a full minute! At this point, you can add herbs (oregano or cilantro is nice here) and spices (cumin, coriander, chipotle). Add a little splash of Bragg’s apple cider vinegar, if you like (optional and full of healthy bacteria), and more brine to reach the desired consistency.
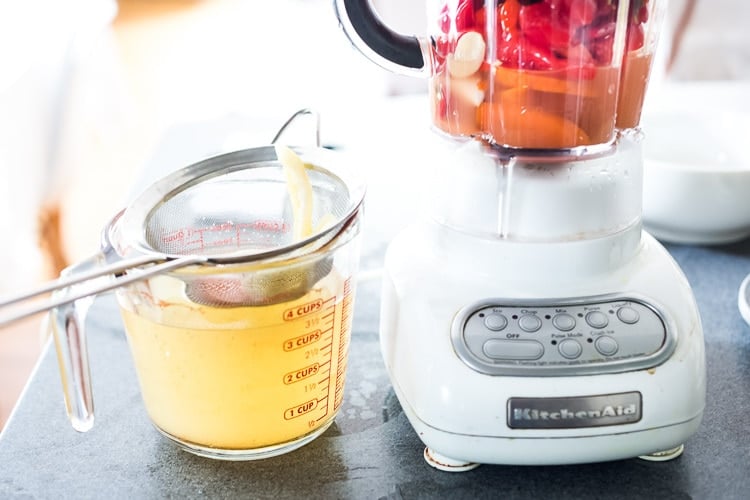
If you like the idea of sriracha, you could also make it sweet by adding sugar or honey, and perhaps ginger. You could also add herbs.
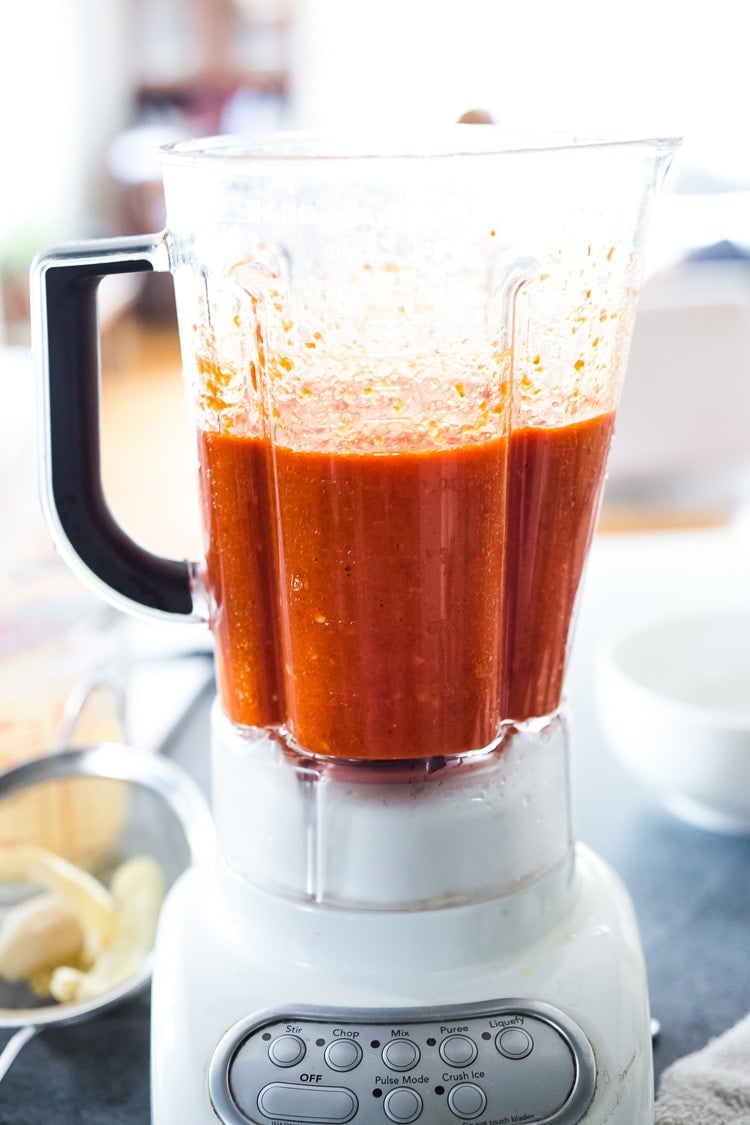
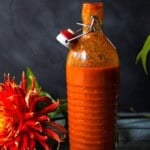
8. Store! For everyday use, store the fermented hot sauce in squeeze bottles, leaving the tip off or open (or lightly closed) in the fridge. The hot sauce will continue to ferment in the fridge, and the open tip will allow the gases out. Before using, cover the tip with your clean finger and give it a good shake.
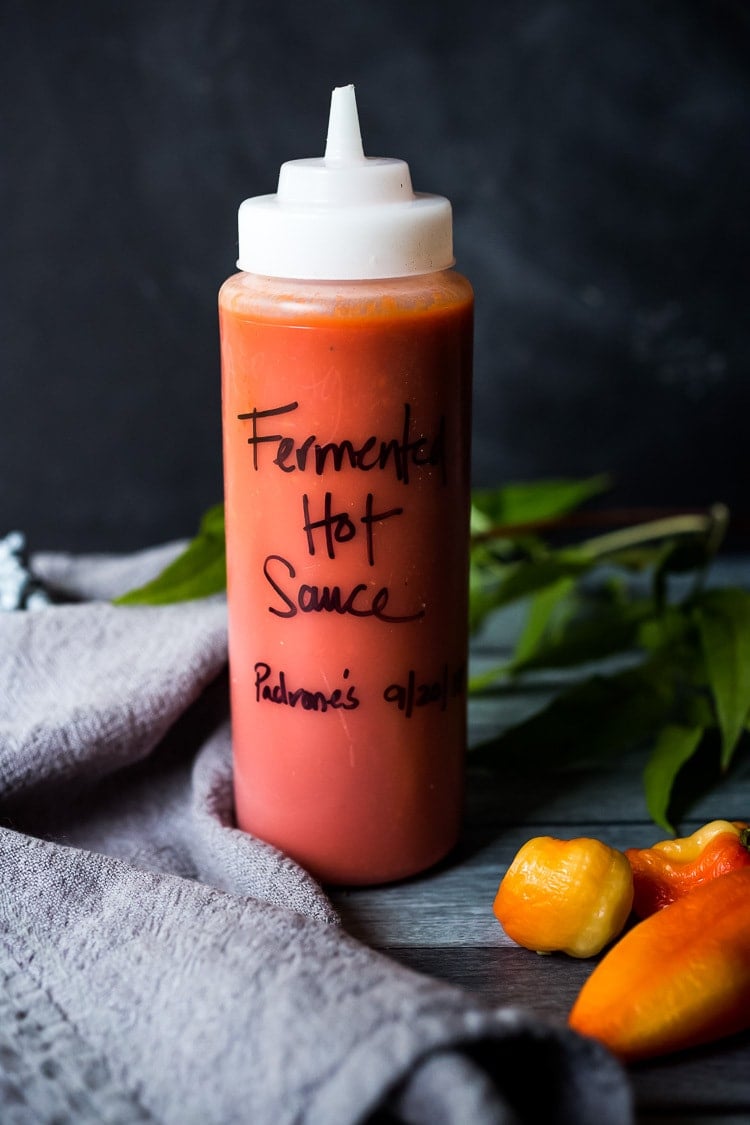
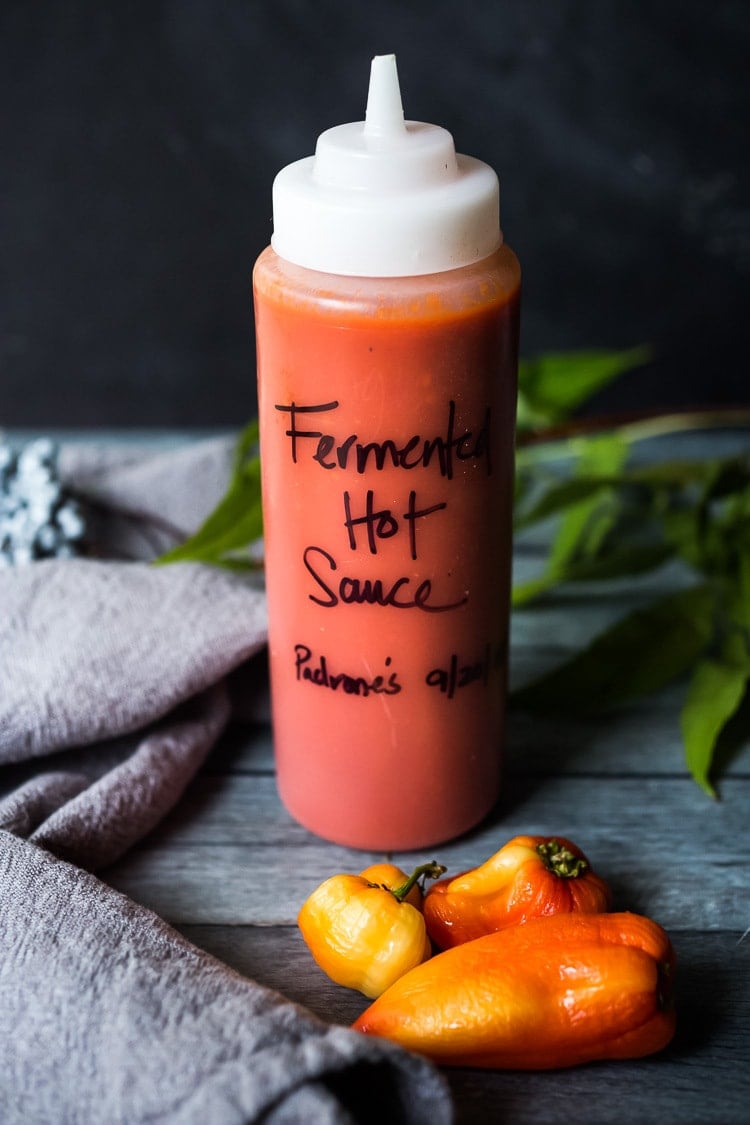
A little Warning!
If you place the fermented hot sauce in tightly sealed bottles, unrefrigerated, they will EXPLODE! This is because the hot sauce is still fermenting (producing gases) and will continue to create bubbles. Remember, it is alive, and this is NOT canning.
*If giving as a gift, yes, feel free to use a “cute bottle” but with instructions to refrigerate and loosen the lid.
But my hot sauce is way too hot!
Lastly, don’t be too alarmed if your hot sauce tastes overly hot when you first store it. After a week or two in the fridge, the gradual slow fermenting will substantially mellow out the heat! It’s quite surprising. Many times, I’ve made hot sauce and tried it, thinking there was no way we could eat it because of the heat level. But after a week or two, it really does calm down the heat. Fermenting the hot sauce adds another layer of flavor, increasing its complexity. This will keep indefinitely in the fridge.
Best Types of chili Pepper to use
- Use any fresh chili pepper you like or a blend of different peppers (in the same color palette). I prefer medium-hot red chili peppers like red jalapeno peppers or red padron peppers.
- Dry chili peppers can be added in moderation after the fermentation stage; deseed them, soak in hot water, and blend with the hot sauce.
- To temper the heat, feel free to add similarly colored bell peppers (red, yellow, or green bell peppers). For example, add a golden bell pepper to habaneros to temper the heat. Or, a green bell pepper to serrano chilies.
- Keep in mind you will be blending the sauce, so stick with the same color palette to make a vibrant-colored sauce. For example, mixing red and green peppers will yield a brown hot sauce-not the prettiest, but up to you. 😉
- Fermentation will mellow out some the heat of the peppers over time.
Helpful tools
- Fermentation Kit (optional)
- Fermentation weights
- 2-quart mason jar (8-cup mason jar)
- Blender
- Strainer
- Squeeze bottles or hot sauce bottles.
Making Fermented Hot sauce is a fun little project that only takes about 20 minutes of hands-on time-a lovely way to use up all the chilis in your garden (or a way to try out all the beautiful varieties at the farmers market), and a great way to bring more healthy probiotics into your life!
Mother Nature will do all the work for you! And after 5-7 days, you will end up with the most delicious, alive hot sauce that will get better and better with age!
Troubleshooting
- If there are no signs of fermentation, double-check that you measured the salt ratio correctly. This is the most common problem (adding too much salt halts the process and kills all the bacteria, even the good ones).
- Try filtered water. Chlorinated water can halt fermentation.
- Do not over-wash or peel the peppers/carrots (for example, don’t use any type of produce soap), as the wild bacteria from the pepper skin and carrot peeling are what start the fermentation. I have the best luck with farmers’ market chili peppers and carrots because they are not over-cleaned or treated with anything.
- Mold: If your ferment has molded, something likely rose to the top of the jar and had contact with air. I would start over.
- Bad smell: The brine should smell tangy, garlicky, and fresh, not “foul” in any way! If it smells “off,” it could be that salt was mis-measured or the ferment was contaminated: dirty hands, dirty utensils, dirty jar.
Storage
Store the fermented hot sauce in squeeze bottles in the fridge. Leave the tip off, open, or lightly closed. It will continue to ferment in the refrigerator, and the open tip will allow the gases out. Fermented hot sauce will keep indefinitely in the fridge!
Serving Suggestions
This fermented hot sauce can be used on just about anything!
- In your favorite Mexican recipes: Mexican baked potatoes, tamales, vegan fajitas, tofu sofritas, green enchiladas, turkey enchiladas, chicken fajitas
- To elevate breakfast: breakfast tacos, breakfast burrito, chickpea scramble, baked eggs, vegan breakfast tacos, chilaquiles
- On cakes and fritters: crab cakes, vegetarian crab cakes, corn fritters
- If sriracha-style, in Asian recipes: sticky glazed tofu bowl, miso salmon bowl, shrimp and broccoli stir fry, broccoli stir fry
FAQs
To make fermented hot sauce, the chilies and veggies are fermented in a salt brine for 5-12 days before being blended with seasonings to create a complex, flavorful sauce.
No, fermented hot sauce uses chilies and veggies that have been fermented, offering probiotic health benefits and a tangier, more complex flavor.
I recommend fermenting for 7-12 days to ensure the carrots and chilis are softened enough to blend.
Yes, fermented hot sauce will keep indefinitely, so long as it is stored in the fridge.
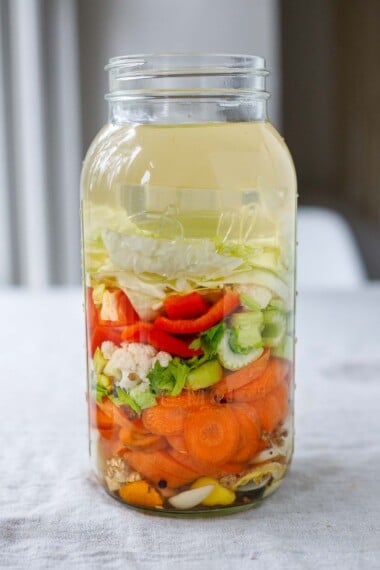
More Favorite Fermented Recipes
Watch HoW to make Fermented Hot Sauce!
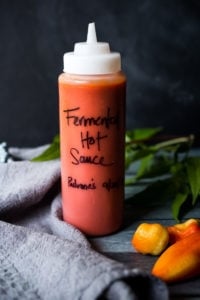
Fermented Hot Sauce
- Prep Time: 20 minutes
- Cook Time: 5-7 days
- Total Time: 0 hours
- Yield: 4 cups 1x
- Category: fermenting, preserving, sauces
- Method: fermenting
- Cuisine: American
- Diet: Vegan
Description
A simple, delicious recipe for Fermented Hot Sauce using fresh summer chilies, with no special equipment and only 20 minutes of hands-on time!
Ingredients
Saltwater Brine: ( 1 1/4 teaspoon salt per 1 cup of warm water) This is roughly a 3% Brine. (3 grams of salt per 100g of water)
- 5 cups filtered water
- 6 1/4 teaspoons finely ground sea salt (or Pink Himalayan salt) – use 1 1/4 teaspoon salt, per 1 cup of water.
- 2 Quart Mason Jar
Fillings:
- 16 ounces fresh chili peppers, sliced in half (about 6-7 cups) seeds & stem removed, see notes
- 1 medium organic carrot, very thinly sliced 1/16th-inch (do not peel!)
- 4–8 garlic cloves, cut into quarters
- 1–2 shallots, sliced (or 1/2 an onion)
After fermenting, add optional seasonings to taste. Keep in mind the “heat” will mellow with age.
- optional: herbs (oregano, cilantro, celery leaves) and spices (cumin, coriander, chipotle powder, smoked paprika)
- 1–3 tablespoons apple cider vinegar, (optional- for extra tang and for more healthy probiotics)
- honey or sugar to taste (optional, good if making Sriracha style)
- If your hot sauce is not hot enough, you can always add cayenne or ground chipotle to taste. Free free to add spices ( 1/2- 1 teaspoon) cumin, coriander, chipotle, allspice, etc. Make this your own.
Instructions
- Clean up. Wash your hands, jar, and utensils. Not sterilized, just clean. 🙂
- Brine. In a pitcher, stir the sea salt into the water until dissolved.
- Prep veggies. Slice the peppers in half, and remove stems and seeds. If your peppers are very hot, wear gloves. Save one big piece for the top and cut the rest into smaller pieces. Very thinly slice the carrot (do not peel), shallots, and garlic.
- Combine. Layer all the peppers, carrots, shallots, and garlic into a clean 2-quart mason jar. Top with the bigger piece of pepper or cabbage leaf (or fermentation weight) to hold things down. Pour the brine into the jar over top, pressing everything down under the liquid. If you need to add more brine, remember to use the ratio of 1 ¼ teaspoons of salt per 1 cup of water.
- Weigh everything down with a fermentation weight – or see post for alternatives. Completely submerge everything under the brine because anything that touches air can mold (like seeds), so either spoon it out or push it down. Cover loosely with a lid (or cheesecloth or a coffee filter with a rubber band). The lid is loose here, so gases can escape easily, but no creatures can get in.
- Place the jar in a pan or bowl to catch any liquid that may bubble over.
- Ferment. Place in a cool, dark place; a basement is ideal (65-70F is perfect) or the bottom cupboard in the kitchen for 7-14 days or until you see signs of fermentation. On days 3-5, check for fermentation: check for a cloudy brine (see notes), a nice tangy smell, or tap the jar to see if any tiny bubbles rise to the surface; or check for any overflow in the bowl underneath -all signs of activity!
- Ferment for 7-14 days, long enough to soften the carrots you will be blending. And you can always ferment longer for even more flavor- I’ll often ferment 12 -14 days. Sometimes I’ll ferment 7 days, then place the jar in the fridge for a few weeks before blending. The longer the ferment, the tangier and more flavorful it will become, and the mellower the heat.
- *If there are no signs of fermentation, check the troubleshooting section in the post above.
- When ready to blend, strain and SAVE the brine. Place the fermented peppers, onions, garlic, and carrots in a clean blender (discard the cabbage leaf if using). Add 1 cup of the brine.
- Blend until as smooth as possible- this may take a couple of minutes. Add the vinegar if using (and honey if you prefer a sweeter hot sauce like Sriracha), and more brine to desired thickness. At this point, you can blend in optional spices and herbs. ( 1/2-1 teaspoon spices, 1-2 tablespoons fresh herbs).
- Place in hot sauce bottles with a loose lid in the fridge. It will keep fermenting, so no tight lids. The flavors will continue to develop and get more complex over time, the heat mellowing. Don’t be alarmed if it is overly spicy- the heat level will significantly mellow with time, as it continues to ferment in the fridge after 1-2 weeks.
- Do not place this in a sealed jar, unrefrigerated– this will result in an explosion– and a great big mess- as the hot sauce is still alive and fermenting! BE WARNED! I have the best luck with using in squeeze bottles and leaving the cap off in the fridge. (If transporting to a friend as a gift, it is ok to seal for short periods of time (a few hours), but make sure to tell them to refrigerate it and loosen the lid very soon after receiving.)
- To use, cover the tip of the opening with your finger and give it a shake before using. This will keep 12 months in the fridge or longer! Indefinitely. 🙂
Notes
WATER: Regular tap water may contain too much chlorine in it, inhibiting the fermentation process (although our tap water works fine). If fermentation is not happening, you may want to try filtered water.
SALT: I use fine ground sea salt or Pink Himalayan salt . If using coarse ground salt you may need to add a pinch more.
Peppers: Use any chili pepper you like or a blend of different peppers (in the same color palate). To temper, the heat, feel free to add similar colored bell pepper -substitute sweet red, yellow, or green bell pepper. Keep in mind, you will be blending the sauce, so stick with the same color scheme to make a vibrant colored sauce. For example, mixing red and green peppers will result in a brown hot sauce– but up to you. 😉 Also, keep in mind, the fermentation will mellow the heat a little. Removing the seeds will help temper the heat.
RATIO: If you need more water to cover or fill the jar, use 1 1/4 teaspoon salt per cup of warm water.
You could easily halve this recipe or use two, quart-sized jars.
CLOUDY BRINE: A cloudy brine is a natural by-product of the fermentation process-a combination of lactic acid and yeast and is the reason why they call it Lacto-fermentation. It is a sign of fermentation. Various strains of bacteria are present on the surface of all plants, especially ones growing close to the ground. Lactobacillus bacteria convert sugar into lactic acid, preserving the peppers.Lactic acid prevents the growth of harmful bacteria. Over time the cloudiness can settle out of the brine to the bottom of the jar. Some batches are naturally cloudier than others, but all are safe to consume and taste delicious. A cloudy brine is a sign that you have a safe and successful ferment.
Signs of fermentation: liquid overflowing into the bowl (check the bowl to see if the jar overflowed, a good sign! Tiny bubbles rising to the top when you tap the jar. Cloudy brine, tangy flavor or smell.
Nutrition
- Serving Size: 1 tablespoon
- Calories: 4
- Sugar: 0.4 g
- Sodium: 112.3 mg
- Fat: 0 g
- Saturated Fat: 0 g
- Carbohydrates: 0.9 g
- Fiber: 0.2 g
- Protein: 0.1 g
- Cholesterol: 0 mg




Thankyou for this recipe the sauce came out vibrant red my first attempt. I used what my husband planted Super chili, chili peppers. I discarded the seeds added large sweet red pepper and the carrot but it really came out super chili any idea what I can do to take away some of the extra heat since it is already bottled?
Hi Fran, it will mellow as it ferments in the fridge. Give it a couple of weeks?
Would this recipe worked if I threw some tomatillos in there?
Thank you!
Yes, it is very adaptable!
I have a sour kraut fermentation jar. I can fill it half full with peppers, carrots and tomatoes plus others. Should it be filled closer to the top of the jar
Hi Randy, I don’t think you need to completely fill the jar- just make sure the brine completely covers the peppers, etc, and that they are submerged.
Hello! I’m super excited to make this recipe. Love your website. I do have a question before I begin that I don’t see in the comments. 16 ounces of peppers will turn into 6-7 cups after prep? Measurements seem off to me. Kindly clarify please. =)
Hi Lis, you will blend the peppers with some of the liquid. 🙂
It all worked out well. Super delicious! Will be making a second batch. Yum 🙂
Great to hear Lis!
Thanks for the information. I’ll find some fresh peppers to make this sauce—you’re right, dried ones won’t work—so I’ll turn the dried ones into powder instead; that will always come in handy. Thanks for your help; it helped me make the right decision… A thousand thanks.
Bonsoir Sylvia,
Je viens de rentrée de chez ma sœur, qui a un magnifique jardin. Elle m’a donné, entre autres : des piments séchés de l’an passé. Penses-tu que je peux réaliser cette sauce fermentée, avec ces piments ?
Si je les fais trempé pour les réhydrater ??? Ou serait-il plus raisonnable d’en faire une poudre ? J’avais tellement envie de tester ta sauce fermentée …
Merci pour tes merveilleuses recettes et tes idées fabuleuses, je me fais un grand plaisir de les mettre en pratique. Mille Mercis de France. Bosha
Bosha is asking about using dried chile peppers. I have not had the best luck with fermenting dried chilies- has anyone else tried this?
you could use the dried peppers in addition to fresh peppers. I wouldn’t just use dried peppers. The natural yeasts that cause fermentation may be weak or almost non existent. other bacteria may take over before what yeast is left begins to become active.
Vous pourriez utiliser les piments séchés en complément des piments frais. Je ne me contenterais pas d’utiliser uniquement des piments séchés. Les levures naturelles responsables de la fermentation risquent d’être faibles, voire quasi inexistantes ; d’autres bactéries pourraient prendre le dessus avant que les levures restantes ne commencent à s’activer.
Mis ajíes están pasando de verdes a marron, es sintoma de oxidación?. La salmuera ya esta turbia y hay fermentación con signos de burbujas, y muchas! Va bien? Solo me alarma el cambio de color en los ajíes, use una cruza de padron que me salen verdes (Google Translate: My peppers are turning from green to brown; is this a sign of oxidation? The brine is already cloudy and there’s fermentation with signs of bubbles, lots of them! Is this normal? I’m only worried about the color change in the peppers. I used a Padrón pepper variety that usually stays green.)
Hi Mateo. As padron peppers ripen they start to turn from green to brown to red. This may be happening in the brine. Lots of bubbles are a good sign. It sounds ready to blend. You can always blend fresh cilantro into the hot sauce to get it more vibrant green color.
No bubbles or signs of fermentation. Smells good but why not fermenting. It’s been 20 days
If it smells good, it probably is fermenting? Is the brine cloudy? Does it smell tangy or acidic?
Yes it smells lovely and tangy and I tasted a bit of the brine and it is nice. The liquid is only slightly cloudy.
It sounds like it is fermenting to me. 😉
Thanks for your comment. It’s reassuring. I took a chance and blended and made the sauce. It’s sooo yummy
Great to hear!
I found a fantastic use for the leftover brine. I shredded red cabbage and added it to the brine and left it in the refrigerator. I got delicious, spicy pickled cabbage. You can do this with other vegetables as well.
That sounds so amazing Darko!
Just a quick note to thank you for your recipe and guidance. I had a proliferation of lemon drop peppers this year and using your recipe resulted in a delicious yellow mustard colored sauce. I used about half the brine and added some sherry vinager and apple cider vinager.
Sounds beautiful! Glad it worked out.
My sauce is so thick. Shall I used saved brine to thin or is it supposed to be thicker?
Up to you Kathy! Yes use the brine to create the consistency you want.
You can make it as thick or thin as you like. Add brine little by little until you get the thickness you want.
Can you freeze the hot sauce? Or will that ruin any of the probiotics?
It will reduce the health benefits, killing some of the probiotics.
Good
Great to hear!
I was gonna leave mine for menting for a longer than a week. it started fermenting nicely and spilling over a bit just like you said it would but now, it looks like it quit bubbling. I don’t see anything visibly wrong with it. Just not bubbling. Is that normal or does it mean it’s time to follow the rest of the recipe?
Hi Annette, I think they should be fine- I would continue with the recipe!
My sauce is tasting great! I added some peaches and tomatoes to make it more into a spicy ketchup.
Can I re-use the brine to make a second batch? Or should I start over everytime with a fresh brine? Thanks!
Hi Pascaline, using a few tablespoons of old brine to start a new batch is great, but it’s best to make a fresh batch each time for the healthy bacteria to thrive.