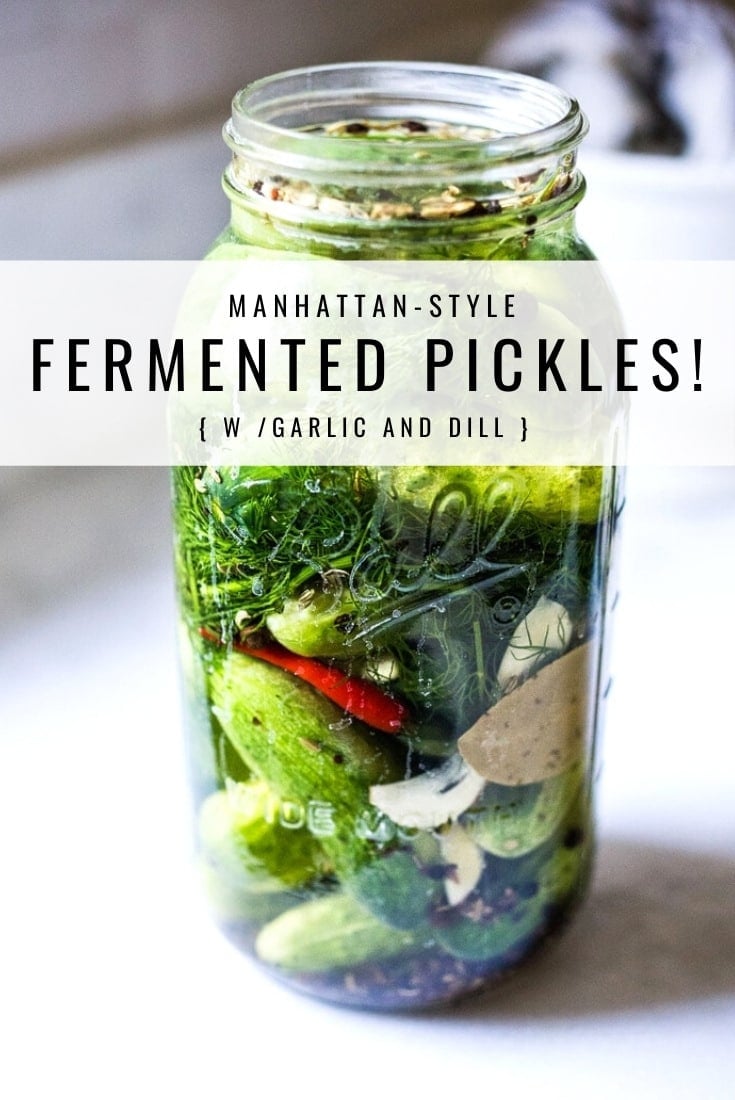
How to make Manhattan-style Fermented Pickles with Garlic and Dill! An easy step-by-step guide to making the most flavorful, crunchy, tangy pickles full of healthy probiotics with only 20 minutes of hands-on time! Video.
What happens when people open their hearts? They get better. ~Haruki Murakami
I’m excited to share this easy recipe for lacto fermented pickles with you! If you are a crunchy pickle lover like me, you will be in heaven. Seriously, these are the best! These Manhattan-style “half-sour” fermented dill pickles are crispy, crunchy, flavorful, and oh-so alive!
Fermented in a salt brine, rather than vinegar, they get their delicious tanginess from light fermentation rather than vinegar.
Full of healthy, gut-healing, immunity-boosting probiotics these little guys are perfect as a low-calorie snack, or sliced and added to sandwiches or served as a tasty side.
Not only are they delicious and incredibly EASY to make, they are also incredibly good for us!
And as crazy as this may sound to some, the fizzy brine itself is like a healing tonic to me – I love to drink a shot of it- especially when I feel like my immunity needs a boost! So flavorful and totally energizing. Or try a Gin and Brine!
What you’ll need
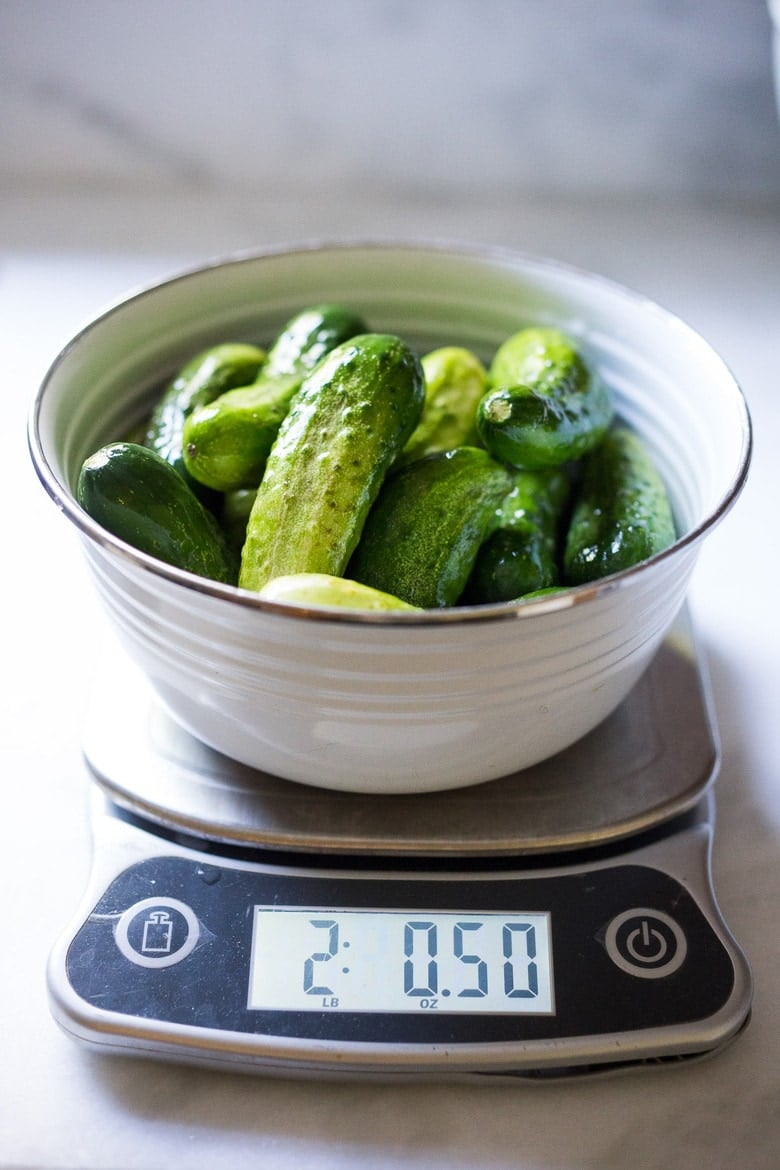
- Pickling Cucumbers- Small and short (4 inches long) with thin bumpy skin, crisp texture, small seeds, a blocky shape and color gradient from light to dark. Varieties include Kirby, Calypso, Royal, Pickalot, National Picking, Adam Gherkin, Sassy, Eurika, Jackson, Boston Pickling, Northern Pickling… to name a few. You’ll need 2 lbs of “pickling cucumbers.” This recipe makes one large 1/2 gallon jar (or use two quart-sized jars) – a relatively small batch. Pickling cucumbers are most easily found at your local farmers’ market. Ask the farmers if they have “pickling cucumbers” they can help direct you to the right ones. Your pickles will only be as good as your cucumbers, so choose wisely! Make sure they are roughly the same size -about 4 inches long with 1 1/2-inch to 2-inch diameters – so they fit in the jar nicely and ferment at the same rate. I handpicked each one. They should be fresh and crisp with no soft spots.
- Salt-use fine sea salt, or fine Himalayan Pink salt
- Garlic and Onion – we load this up with 10-20 garlic cloves for the best flavor!
- Fresh Dill – use a big handful!
- Spices: Ground Turmeric ( adds fresh flavor) fennel seeds, mustard seeds, whole peppercorns, coriander seeds, whole allspice, dill seeds and celery seeds. Feel free to change or embellish! I added a couple of chilies for a little heat.
- Optional Tannic Acid: Bay leaves, grape leaves, oak leaves, or a couple of slices of fresh horseradish root. Cucumbers contain enzymes that soften them. To prevent this add a few bay leaves or a grape leaf to the jar.
- Two-Quart Mason Jar ( 8 cup mason jar)
- Fermentation weights
- Optional: Air lock, gasket, metal ring
How long does it take to ferment pickles?
These 3% Brined, half-sour crunchy pickles take 3-5 days of fermenting time.
The Brine: SALT TO WATER RATIO
- This recipe is a 3% salt water brine, which is considered “safe”. It equals 7 grams of salt per 1 cup of water. Or, 1 heaping teaspoon salt (1 1/4 teaspoon salt ) per 1 cup of water. This ratio allows one to drink the brine (like a shot) because it is not too salty and is designed for a shorter fermentation period ( 3-5 days). Crunchy, lightly fermented pickles!
- If you want a stronger brine for a longer ferment, feel free to go up to 4.5%. So for example, 3.5% Ratio= 9 grams of salt per 1 cup of water, 4.5% brine =10.8 grams of salt per 1 cup of water. For a 4.5% brine, half-sour pickles take 5-7 days, full sour pickles 14-21 days.
Fermented Pickles (step-by-step Instructions)
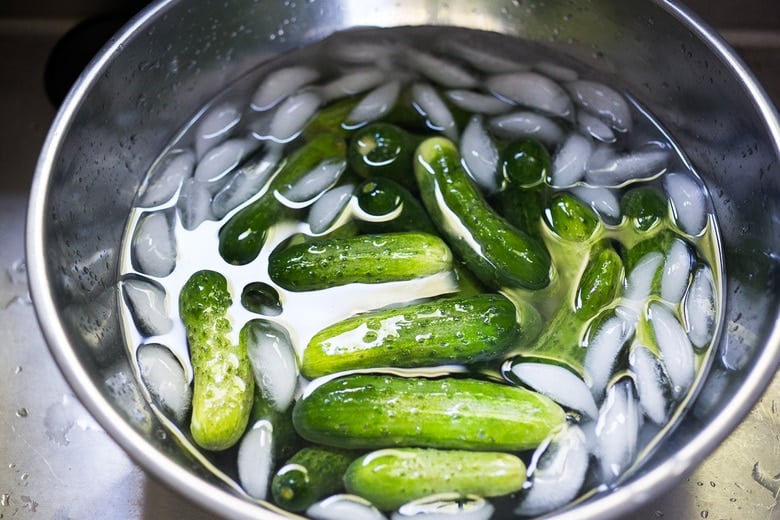
Step 1: Wash the cucumbers, slice off 1/16 inch of the blossom end, and soak them in an ice bath for 15-30 minutes to firm and crisp them up. There are enzymes in the blossom end that can make your pickles soft, so be sure to remove them.
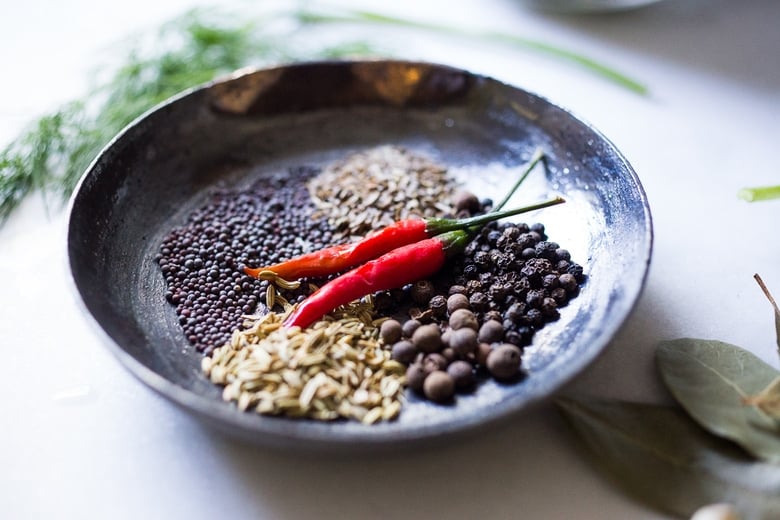
Step 2: Slice the garlic lengthwise and gather your spices.
Because these fermented pickles are left whole, you want the brine to be extra flavorful. I add a lot of garlic… 10-15 cloves, sometimes 20! Fermented Garlic is really good for the gut too!
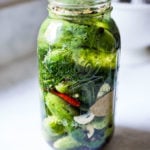
Step 3: Place the spices on the bottom of the jar, then sliced garlic, fresh dill and bay leaves, and then add 2 layers of cucumbers, end on end, in a large two-quart jar (half-gallon). Press everything down.
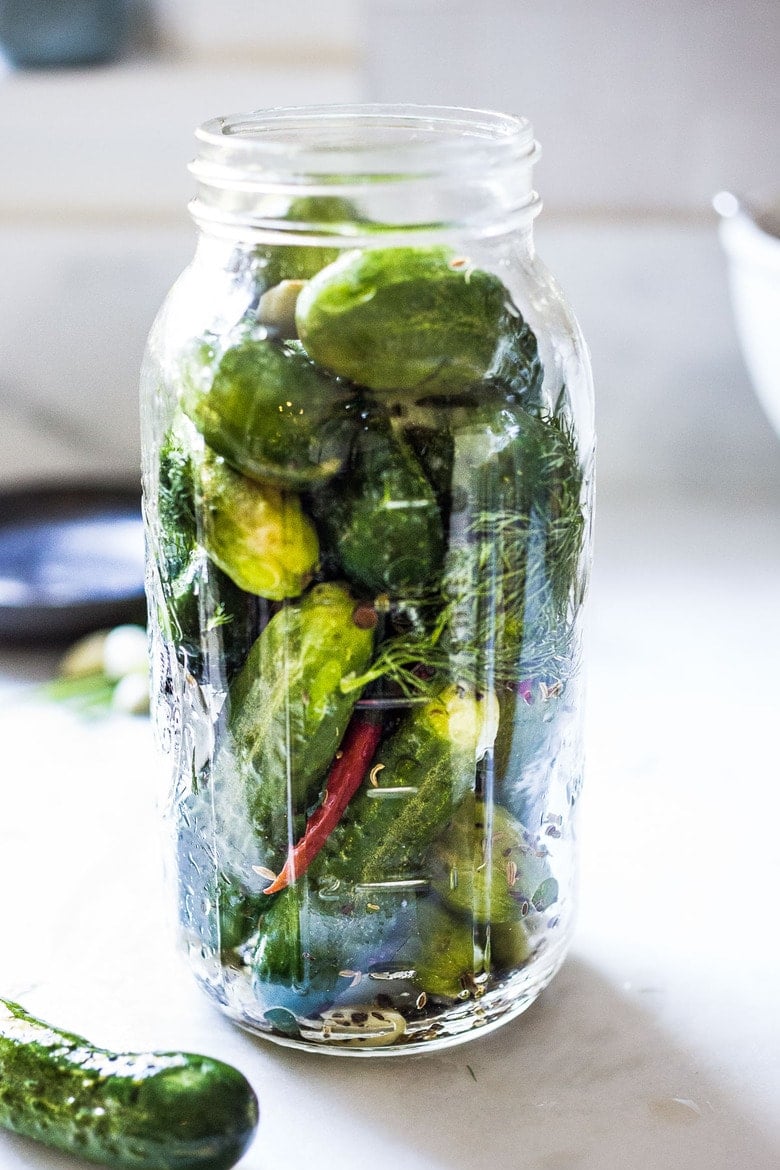
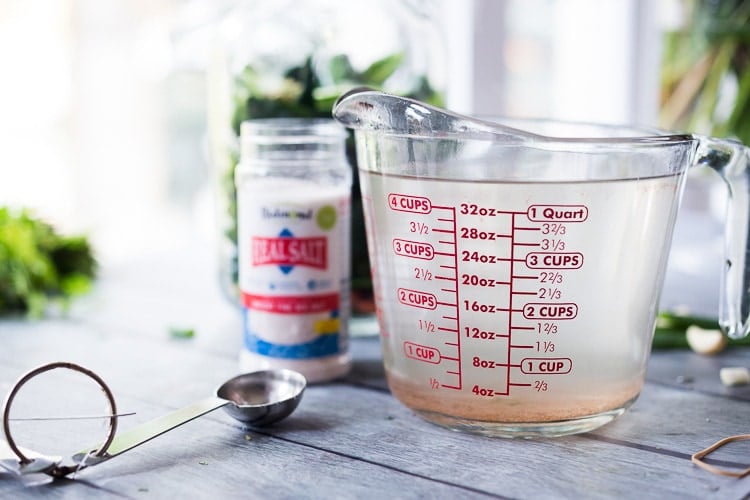
Step 4: Carefully measure and mix salt and water to create the 3% salt water brine- then pour this brine over the pickles leaving 1 1/2 inches of headroom.
How salt works in fermentation:
- In a nutshell, using the right ratio of salt in fermentation encourages the growth of healthy bacteria while at the same time killing off bad bacteria. You want to be precise when measuring the salt and water in these kinds of recipes.
- Too much salt may kill off ALL of the bacteria -preventing fermentation.
- Too little salt will allow bad bacteria to keep on living. It is a fine balance. 😉
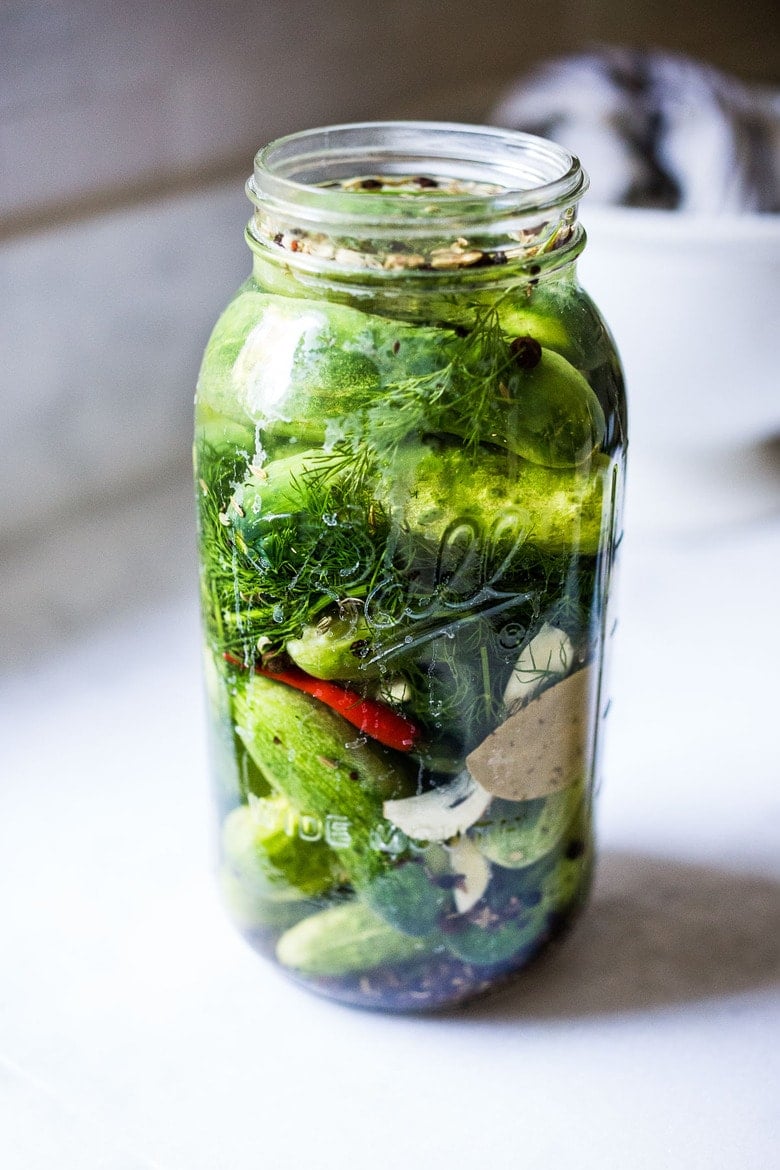
Step 5: Weigh down the cucumbers so they are completely submerged under the liquid, using a couple of fermentation weights, or a small zip lock bag filled with a little water (in a pinch).
MOLD: If the cucumbers or seeds are not submerged under the brine and become exposed to air- they can develop mold, so spoon any floaters out with a slotted spoon. Most seeds should stay submerged.
Step 6: Cover loosely with a lid or towel (to prevent bugs or flies from coming in, and to allow gases to escape) place in a bowl or pan to catch any overflow, and place in a cool dark place for 3-7 days, like the basement. You can also use and airlock lid- which allows air to escape, but nothing to fly in.
Step 7: Check after 2-3 days. Look for signs of life: bubbles/ or cloudy water. A cloudy brine is GOOD. Tap the jar and see if bubbles rise to the top. Check to see if any brine overflowed into the bowl ( both signs of life). This often takes about 3-5 days, I find 4 days is the “sweet spot”, depending on temperature. Cloudy brine is delicious and nutritious!
Step 8: Place the jar in the fridge to further slow the fermentation with a loose lid. They will continue to ferment very slowly and will keep indefinitely.
Expert Tips:
- Ferment at cooler temps (60-70F) to keep pickles crisp. If your home is hot, try placing in a cooler with ice. Take the temp of the brine.
- The longer you ferment them (unrefrigerated), the tangier they will get. But they will also get softer. I like them crisp, but you may want them tangier and softer. You can taste them at any point after you see bubbles.
- Smell: your ferment should smell tangy, garlic and fresh. If you notice anything foul or unpleasant, your ferment may have been contaminated: most commonly by dirty hands, dirty utensils, or a dirty jar.
- If you want to create a “fizzy” brine for drinking, tighten the lid, and burp daily if leaving out. You can tighten the lid in the fridge, but burp weekly. This will create a little pressure and give it some effervescence.
- Anything that touches air- may mold. Always fish out any floating spices with a slotted spoon to prevent this.
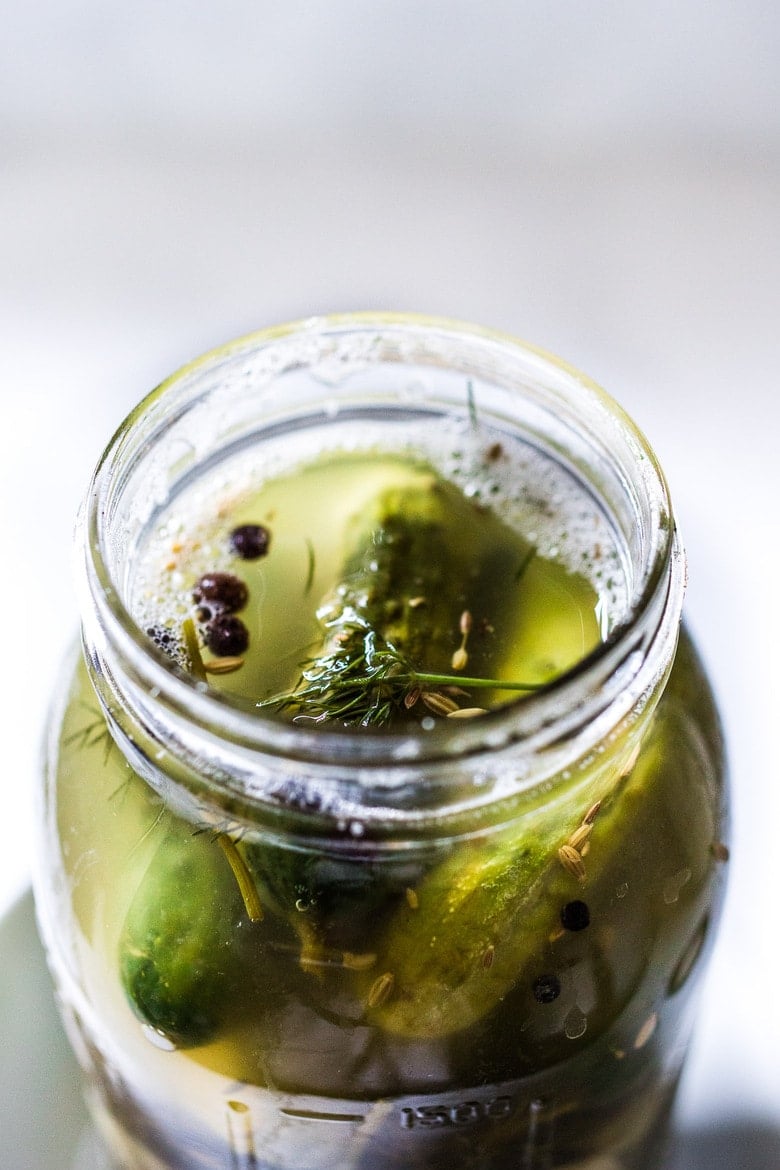
Once they are cold, give them a taste. They should be crunchy and flavorful! The brine is deliciously tangy, salty, and effervescent -so tasty and full of gut-supporting probiotics. The garlic is tasty too! Eat it!
I find myself often drinking shots of the brine! I also make this Gin & Brine Martini!
Let me know how you like this one in the comments below! Plus, explore more of our toppings and condiments, DIY gifts, and cooking basics!
xoxoxo
More Favorite Ferments!
- Curtido & Cultured Salvadoran Slaw
- How to make Sauerkraut (Simple Cultured Cabbage)
- Beet and Cabbage Sauerkraut
- Cucumber Kimchi Pickles
- Turmeric Sauerkraut
More from Feasting at Home
How to make Fermented Pickles| 45-sec video

Homemade Fermented Pickles with Garlic and Dill
- Prep Time: 4 days
- Total Time: 4 days
- Yield: ½ gallon 1x
- Category: fermented, preserved
- Method: fermented
- Cuisine: American
- Diet: Vegan
Description
Learn how to make lacto-fermented pickles! An easy method for flavorful, crunchy, tangy, garlic dill pickles with only 15 minutes of hands-on time. Full of healthy, gut-healing probiotics these little guys are perfect as a low-calorie snack, or sliced and added to sandwiches.
Ingredients
- 2– 2 1/2 lbs pickling cucumbers– all similar size ( 5 inches)
- 5 cups filtered water or tap water (that is not overly chlorinated)
- 2 tablespoons fine sea salt or Himalayan salt (or basically one heaping teaspoon fine sea salt (7 grams) per one cup of water, to make a 3% brine.) * see notes.
- 1/4 teaspoon turmeric (optional, adds a “fresh” flavor)
- 1 teaspoon each: fennel seeds, coriander seeds, allspice, peppercorns, dill seeds, mustard seeds, celery seeds- and feel free to add more peppercorns!
- 10–20 garlic cloves, sliced (or double for extra garlicky)
- 1/2 onion, thinly sliced (optional)
- big handful of fresh dill
- 1–3 fresh red chilies – or dried arbol chilies, or add chili flakes (all optional)
- 3–4 bay leaves (or a grape leaf or oakleaf) – these are sources of tannic acid to help them stay crisp.
You’ll need a 1/2 gallon mason jar, crock, or 2 quart-sized jars- clean and sterile.
Instructions
- Prep Cucumbers. Rinse the cucumbers, remove 1/16-inch of the flower end of each cucumber (keeps them from getting soft) and place them in an ice-water bath, to crisp them up (15-30 minutes). Leave them whole.
- Make the brine. Mix the salt (2 tablespoons) and 5 cups cold water until dissolved.
- Wash your hands, jars, and any utensils. No need to sterilize, just clean!
- Assemble. In a large, clean two-quart mason jar, place all the whole spices into the bottom. Add the dill, garlic and onions or turmeric if using. With clean hands, pack one layer of cucumbers tightly, standing on end, then add the bay leaves, then add the second layer of cucumbers standing on end. Press everything down, leaving 1 ½ inches of headroom. Pour the saltwater brine over the top and weigh down the cucumbers with fermentation weights so they are submerged under the brine. Remove any spices that may have floated to the surface (which can mold). Cover the jar loosely with a lid or with a cloth- basically, the pickles will bubble and you want air to be able to escape.
- Ferment. Place the jar in a pan or bowl to collect any overflow and leave it in a cool dark place (60-70F) for 2 -3 days (a basement, or lower kitchen cupboard) and check for bubbles or overflow, indicating fermentation. Half-sour pickles will take 3-5 days with crisp, white interiors. If is colder than 65F, it may take longer, if hotter, they will ferment faster. Full sour pickles will take 14-21 days (see notes for a stronger saltwater ratio).
- Check and Inspect. After 2 days, check for signs of life: bubbles, overflow, or clouding. Tap the jar, and see if tiny bubbles rise to the top. I usually ferment for 3-4 days- I like crunchy pickles! Longer ferments will yield tangier pickles but will get softer as they ferment, and lose their vibrant color. Up to you. You can taste them at any point after you see bubbles, and ferment longer if you like. The brine will get cloudy as it ferments- this is a good sign! Once you see active bubbles, you can at this point place the jar in the fridge, where it will continue to ferment, but much more slowly. Keep the pickles submerged.
- Refrigerate. Once chilled, give them taste. They should be crispy and flavorful with a little tang. (At this point, if you want a tangier or softer pickle, you can absolutely pull them back out again and ferment for a few more days longer if you want.)
- If you like fizzy brine, tighten the lid, burping every week or so or try using an airlock. If you don’t want to think about it, give the lid one loose twist, so it’s on there, but gases can escape.
Notes
If you need more brine, make sure you use the same ratio- 1 heaping teaspoon sea salt per one cup of water.
If using a grape leaf, place it on the side of the jar, then layer the remaining ingredients.
If pickles turn out too soft- it may be due to too warm of temperature during fermentation, or the flower end wasn’t removed (the flower end of the cucumber has enzymes that can soften pickles).
Feel free to use 2, quart-size jars, dividing cucumbers, spices and brine between the jars.
BRINE: This recipe is a 3% salt water brine, which is considered “safe”. It equals 7 grams of salt per one cup of water. I’ve had really good luck with this ratio – and this ratio allows me to drink the brine (like a shot) this is really healthy – full of good gut-supporting bacteria!
If you want a stronger, saltier brine, feel free to go up to 4.5%. For a full sour pickle (14-21 days) use a 4.5% brine.
- 3% ratio = 7 grams salt per 1 cup of water. (1 1/4 teaspoon fine sea salt, per 1 cup water)
- 3.5% Ratio= 9 grams of salt per 1 cup of water. (1 1/2 teaspoon fine sea salt, per 1 cup water)
- 4.5% ratio 10.8 grams of salt per 1 cup of water. (2 teaspoons per cup of water)
Cutting the Cucumbers: I recommend leaving them whole. The texture is much better. After your first successful batch, feel free to experiment.
Nutrition
- Serving Size:
- Calories: 16
- Sugar: 1.3 g
- Sodium: 297.4 mg
- Fat: 0.2 g
- Saturated Fat: 0 g
- Carbohydrates: 3.7 g
- Fiber: 0.5 g
- Protein: 0.7 g
- Cholesterol: 0 mg


Just realized I used kosher salt instead. Is that okay?
Hi Jesse, I would add a little bit more. Perhaps add 1/2 teaspoon extra kosher salt to the jar.
How many days for sliced pickles? Had some fattys that wouldn’t fit so sliced them length wise in one jar and while in another jar
Hi Chuck, so it depends on the temp- I would check after 2 days, then check every day after that. As soon as you see bubbles or activity you could put them in the fridge, they will keep fermenting very slowly.
Cery good recipe! This is the second year I am making them. Unfortunately, I put the jar with cheesecloth in my cupboard and forgot about it for 2 and a half weeks. It had mold about a quarter inch on the top. I took the mold off and it looks and smells fine but I’m afraid to eat them. Should I throw them out and start over?
I probably would. Sorry to say.
Day 2 I had bubbles. Day 3 I had what seemed to be a layer of mold over top. I pulled it out, put a cap on jar and put in fridge. They still good to eat?
You do not want mold. Were the pickles touching the surface? What was the mold collecting on?
I made these for the first time— in 2 jars and unused 2 tablespoons pickling spices instead of the individual spices— I left them
On the counter for 5 days and my juice overtopped the jars. There was some white foam/bubbles on in the jars. The pickles taste good and tangy, the juice that was in the pie pan turned brown and a little pungent— is that normal? Thanks
It sounds like it worked great!
I made these last year when the weather wasn’t this hot. I have a dark pantry that is cooler than the house but I’m going to guess it’s a bit warmer than 70°. I do have an air conditioned room that is not dark.
Will that be a problem in the pantry or should I move them?
Hi Cassie, I think as long as it is not too much more than 70 F they should be fine in the pantry!
Thank you!!!
Followed instructions, but inside were very mushy, in fact I ended up throwingthem out. Any thoughts?
What type of pickles did you use and how long did you ferment? Did you notice bubbles?
Do you use the same fermenting brine to store the fermented pickles? Or should you use fresh brine once you put them in the fridge?
Use the same!
You can use the same and keep them in the probiotics, but you can also make fresh brine with white vinegar and water, salt and spices if you want to have clear brine and higher acid concentration.
Curious if there is a way to stop the fermentation once you get the cucs where you like them?
Hi William- by putting them in the fridge, it will greatly slow it down. Not stop, but close to. 😉
Hi! Just tried this recipe and left my pickles fermenting for about a week. When I checked on them there was mold on the top. Why did this happen? Is this batch ruined?
Oh shoot! I’m not sure Raqhel- is it possible you may have mismeasured the salt, or the cucumbers were not completely submerged?
If there is mold on top of the water that is normal. Just skim it off.
I’m on a very low sodium diet due to kidney disease. What is the lowest amount of salt I can safely use with 5 cups of water? In the past, I’ve made refrigerator pickles with zero salt, and fermented them for 2 in the refrigerator, using 2 cups water with 1 3/4 cups vinegar, 1 Tbsp granulated sugar, and all the pickling spices you mentioned. But they don’t stay crispy very long. They only have 3 mg sodium, which is a lot closer to what my doctor wants. Thanks for any suggestions.
H Maureen- I would suggest making the refrigerator pickles instead. Look up Quick Pickled Veggies in the search bar! It is not safe to reduce the salt here when fermenting.
Thanks so much. I’ll check the link.
I want to try this recipe soon. Do you know if I could substitute bay leaves or grape leaves for avocado leaves? Thanks.
I’ve never tried avocado leaves…not sure here!
Worked great. My 1st try ever at fermenting
Great to hear Keith! Congrats!
I plan on trying this recipe since I’m a little bit obsessed with pickles. But was wondering can you use store bought cucumbers as well?
Yes, but I’ve had the best luck with farmer’s market cucs! More wild bacteria on the skins I think?
Hello,
Can I use a plastic jar (like the one we get when we buy Apple sauce)?
You can- but I always worry about the plastic leaching into the brine. So I like to use glass. 🙂
Thank you for this recipe! How long can these stay in the fridge? Do you know what happens to the taste, the longer they are in the fridge?
Hi Tonia-They can stay in the fridge indefinitely where they will slowly get tangier, and eventually, start to soften a bit.
Excellent recipe. Very precise. Easy to follow as close to real Polski as you can get.
Thanks Bernard!
I make a refrigerator pickle with organic apple cider vinegar with the mother. I am going to have these next summer. I also make with Zuccs and Yellow squash. UMMMM GOOOD!!
Awesome Peggy!
Good Stuff haven’t made them yet but clear directions!😁
Thanks Will. Let us know how they turn out!
Thank you for this amazing recipe. I am just getting started and out of all the recipes/videos I have found online yours is the easiest to follow for a beginner. I am glad Katy asked about the weight so I know that I can use water to weigh it down. I will keep you posted!!!! Wish me luck.
Good luck! It’s a fun recipe!
I made these this fall and they were amazing!! I can’t find pickles as good as Britt’s Pickles made here in Seattle, and these were dang close! I’m making them again, trying the recipe with Persian cukes this time. Thank you for this inspiring website!
Perfect Sofia! Brit’s Pickles were the inspiration here… I LOVE them. Are they still in business? I heard they closed down?
Where do you get grape leaves?
Some lucky folks have them growing in their gardens. 😉 Unfortunately, I don’t so I use the bay leaves.
could I ferment them entirely in the fridge? I live in the south, and there is really no “cool” outside of the fridge option that is safe.
Hi Gretchen-great question, and I’m not sure. My guess is it seems too cold to ferment in the fridge- but not positive. You may also want to lower the salt content. Also completely guessing. What if you stored in a cooler with an ice pack for a few days, before the fridge?
Here’s a simpler way to go about the brine. Percent concentration is nothing more than grams of salt per grams of water. It’s always easiest to work with 1000 grams of water, which is exactly 1 liter (isn’t metric system great?). So a 3% solution of salt is nothing more than 30 grams per liter of water.
You can think of 1 liter being 4 cups, which it almost is.
Thanks!
I am not following what you are saying. Can you break it down for a newbie and use cups and tablespoons?
Hi do I have to use a fermentation weight?
No Katy- you can use a small ziplock bag filled with a little water as a weight.