

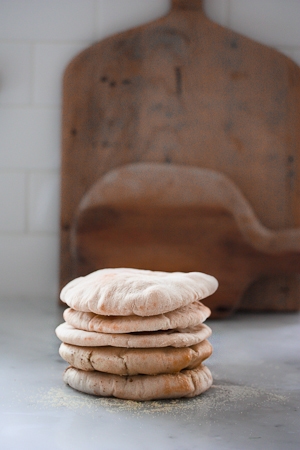
Growing up with an Egyptian father, homemade pita bread was a staple in our home! I have such fond memories of my mom and me making pita bread together when I was a child-imagine the surprise of seeing the fragrant pita bread puff up in the oven for the first time. I’ll never forget this- a fun thing to do with your kids!
Here’s my “chef’s perfected” pita bread recipe, with perfectly puffed and tender pocket. Using instant yeast shortens the rising time in this recipe, and you’ll have warm pita bread in your hands in about 1 1/2 hours-with only 20 minutes of hands-on time.
Ways to use Pita Bread
You’ll find a million uses for this homemade pita bread recipe!
- Serve it as a flatbread with hummus, baba ganoush, Tzatziki Sauce or labneh.
- Use the pita pockets for falafel sandwiches with cucumber, tomatoes, and creamy Tahini Yogurt sauce.
- Serve with chicken shawarma or Cauliflower Shawarma together with the Israeli Salad.
- Toast it up and use it in our Fattoush Salad!
- Repurpose leftover pita bread and make these toasty pita chips!
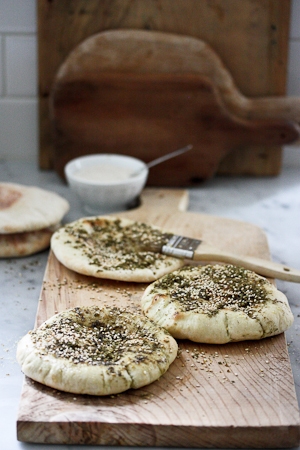
- Brush with olive oil and sprinkle with zaatar for a tasty appetizer ( see recipe notes)
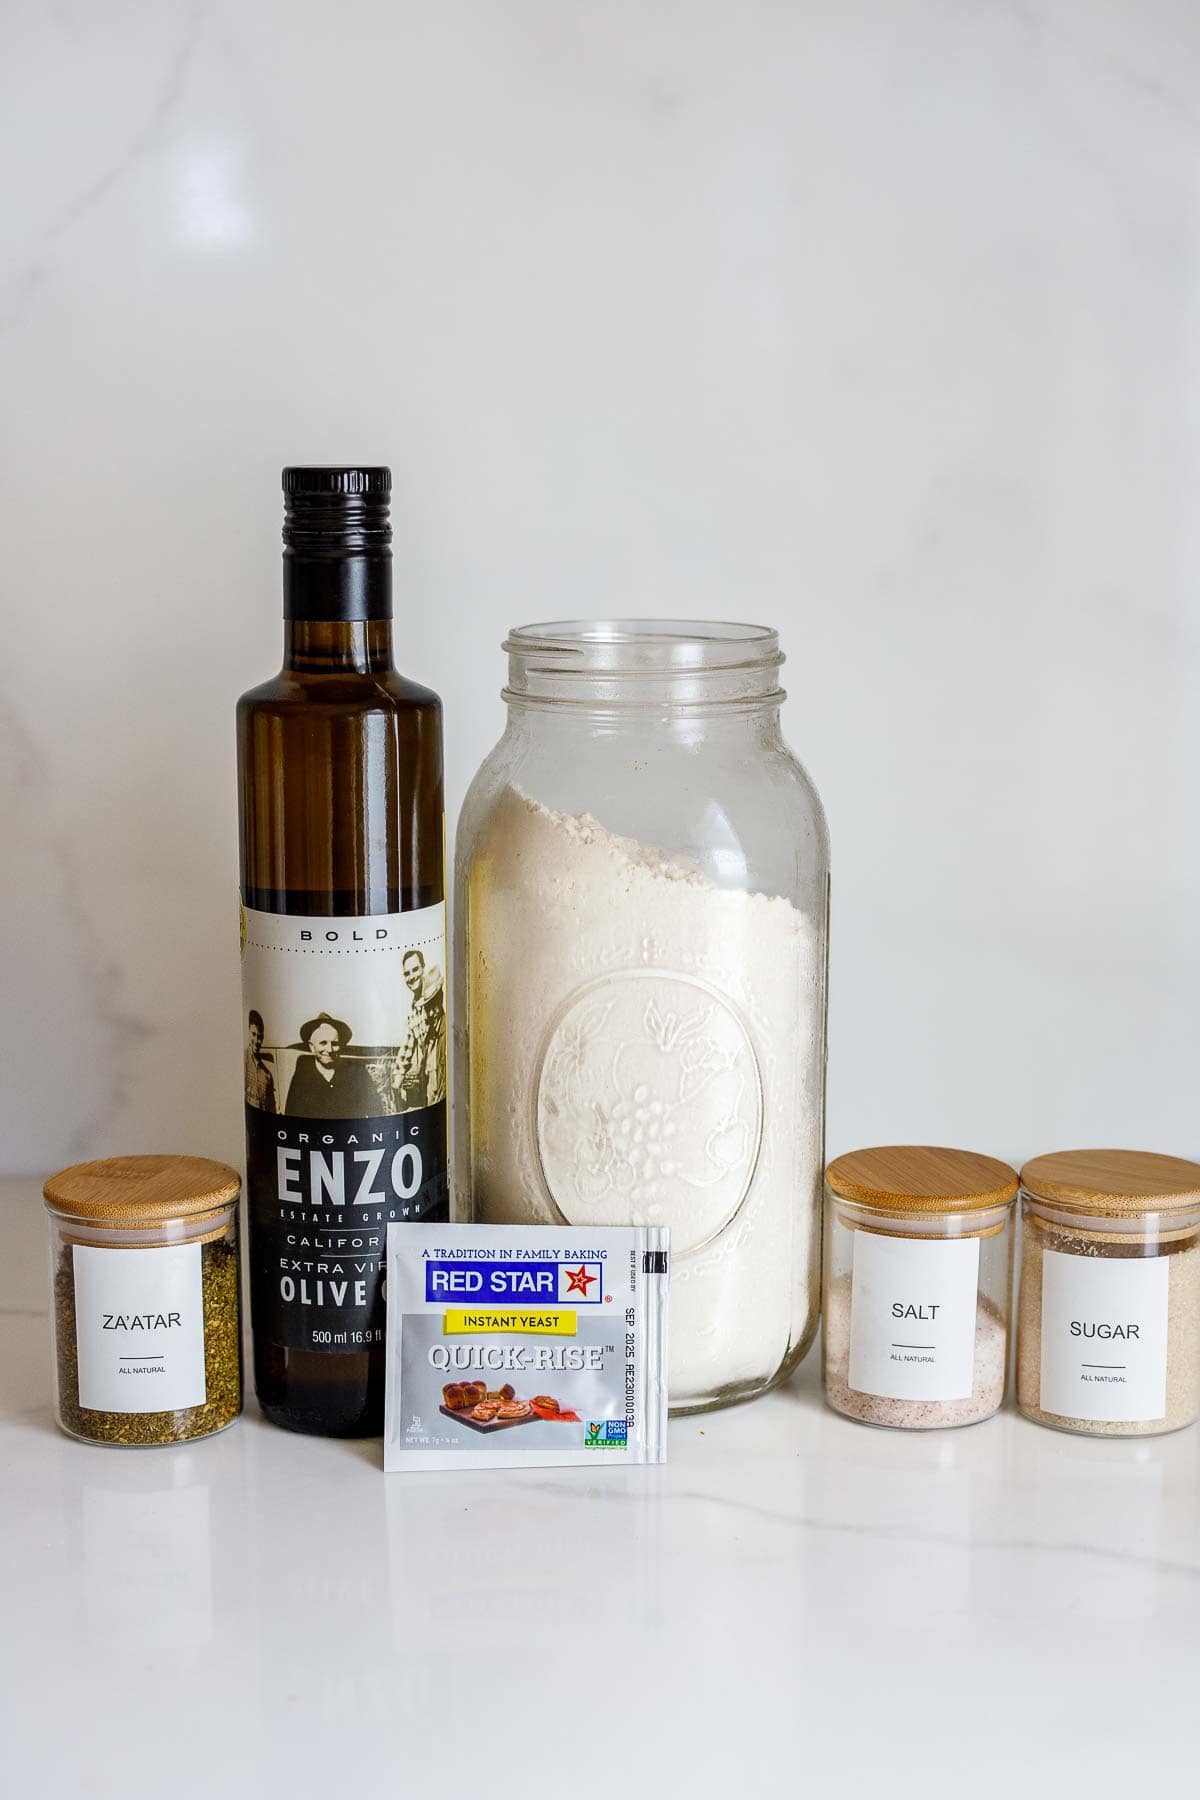
Ingredients
- Instant yeast – I love using instant yeast for its faster rising time and easier preparation. There is no need to mix this kind of yeast with water first, so you save a step. It also doubles in half the time as active dry yeast. (See notes for active dry yeast and usig sourdough starter)
- Extra Virgin olive oil – to add richness to the pita dough. You can also sub yogurt- see notes.
- Sea Salt – to add depth for flavor.
- Flour– all-purpose flour, or bread flour or a blend of both.
- Optional- zaatar spice, or sesame seeds.
What Other flour can be used in pita bread?
- All-purpose flour
- Organic Bread flour
- Whole wheat flour (use a mix of white and whole wheat for best results)
- Buckwheat or rye flour ( just use 1/2 cup)
- Spelt flour
- Einkorn flour
How to make Pita Bread: Step-by-step Tutorial
Use a large mixing bowl or a stand mixer- either work!
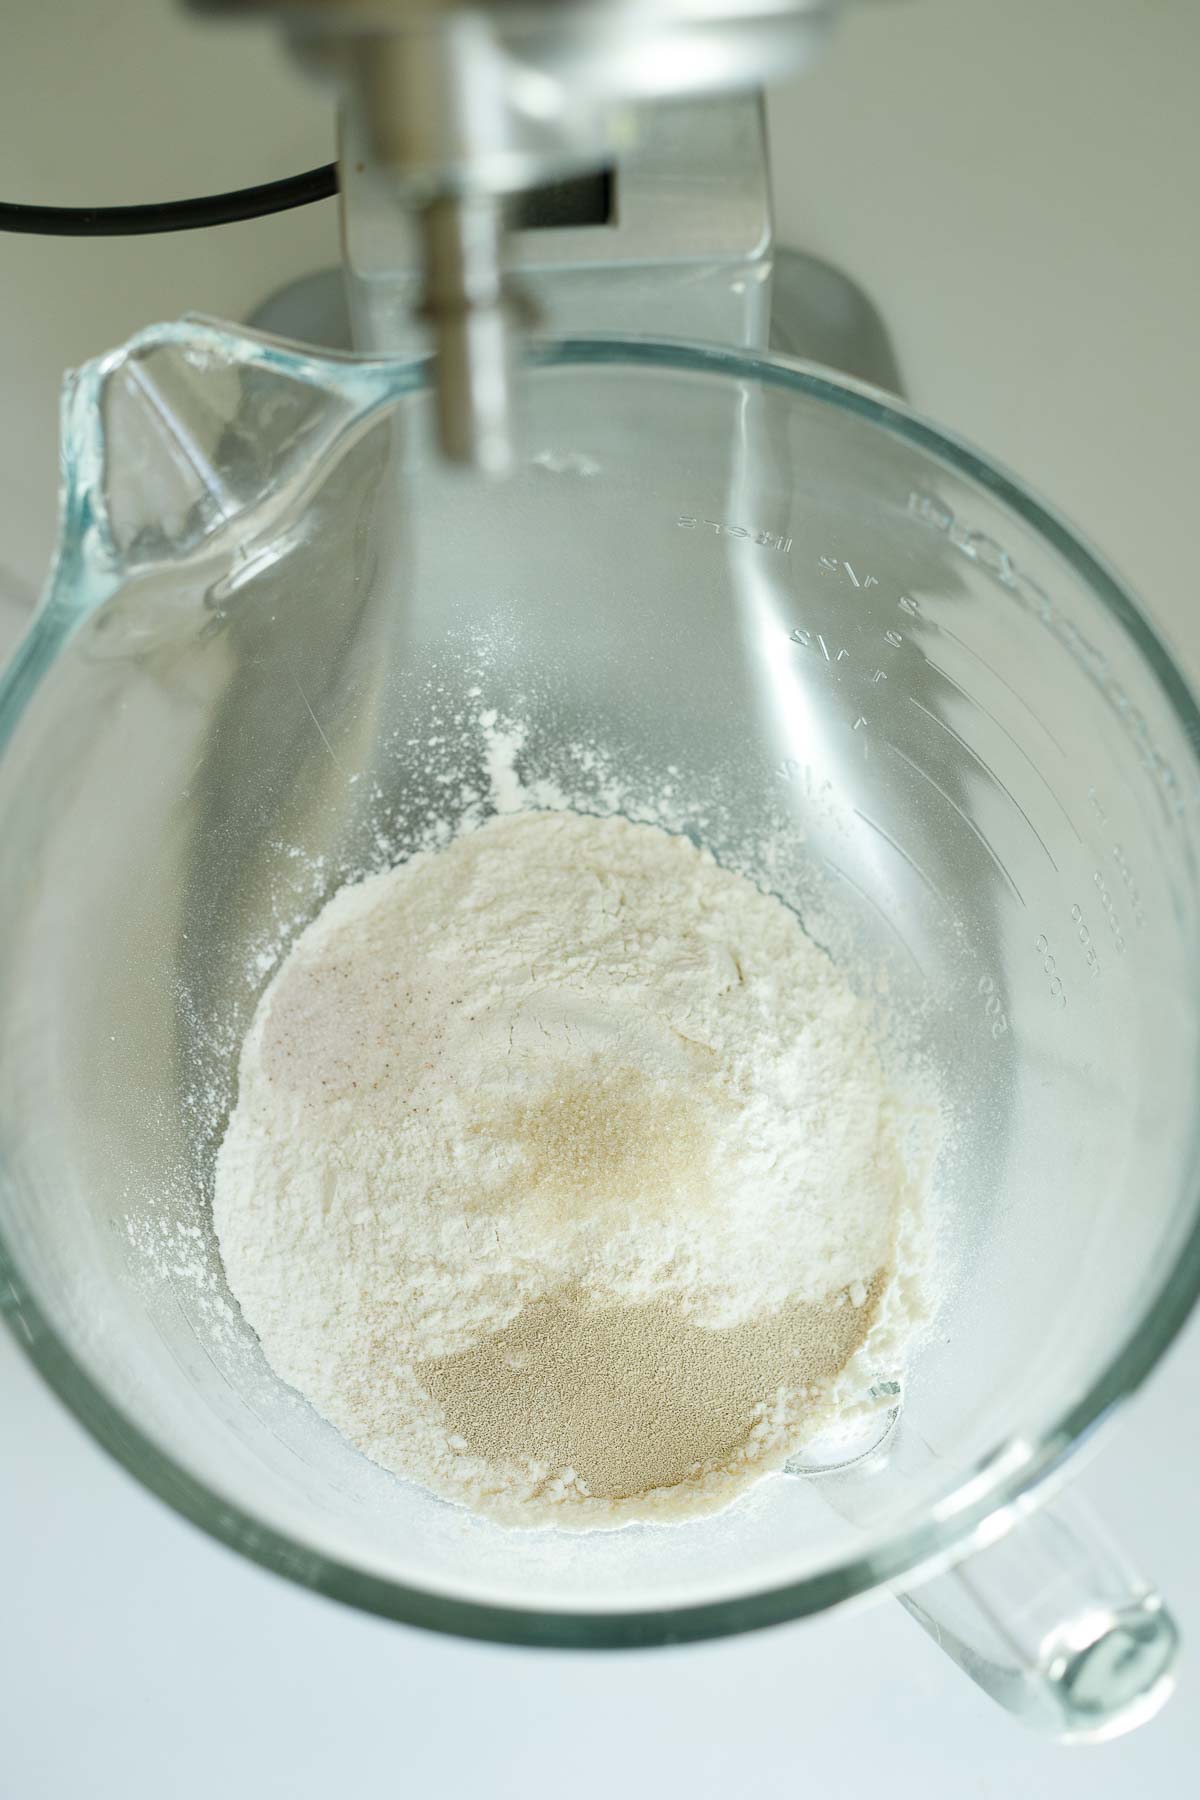
Step one: Place the flour, instant yeast, and salt in the bowl of a stand mixer and stir to combine. Alternatively, if using a large bowl, whisk it with a wooden spoon.
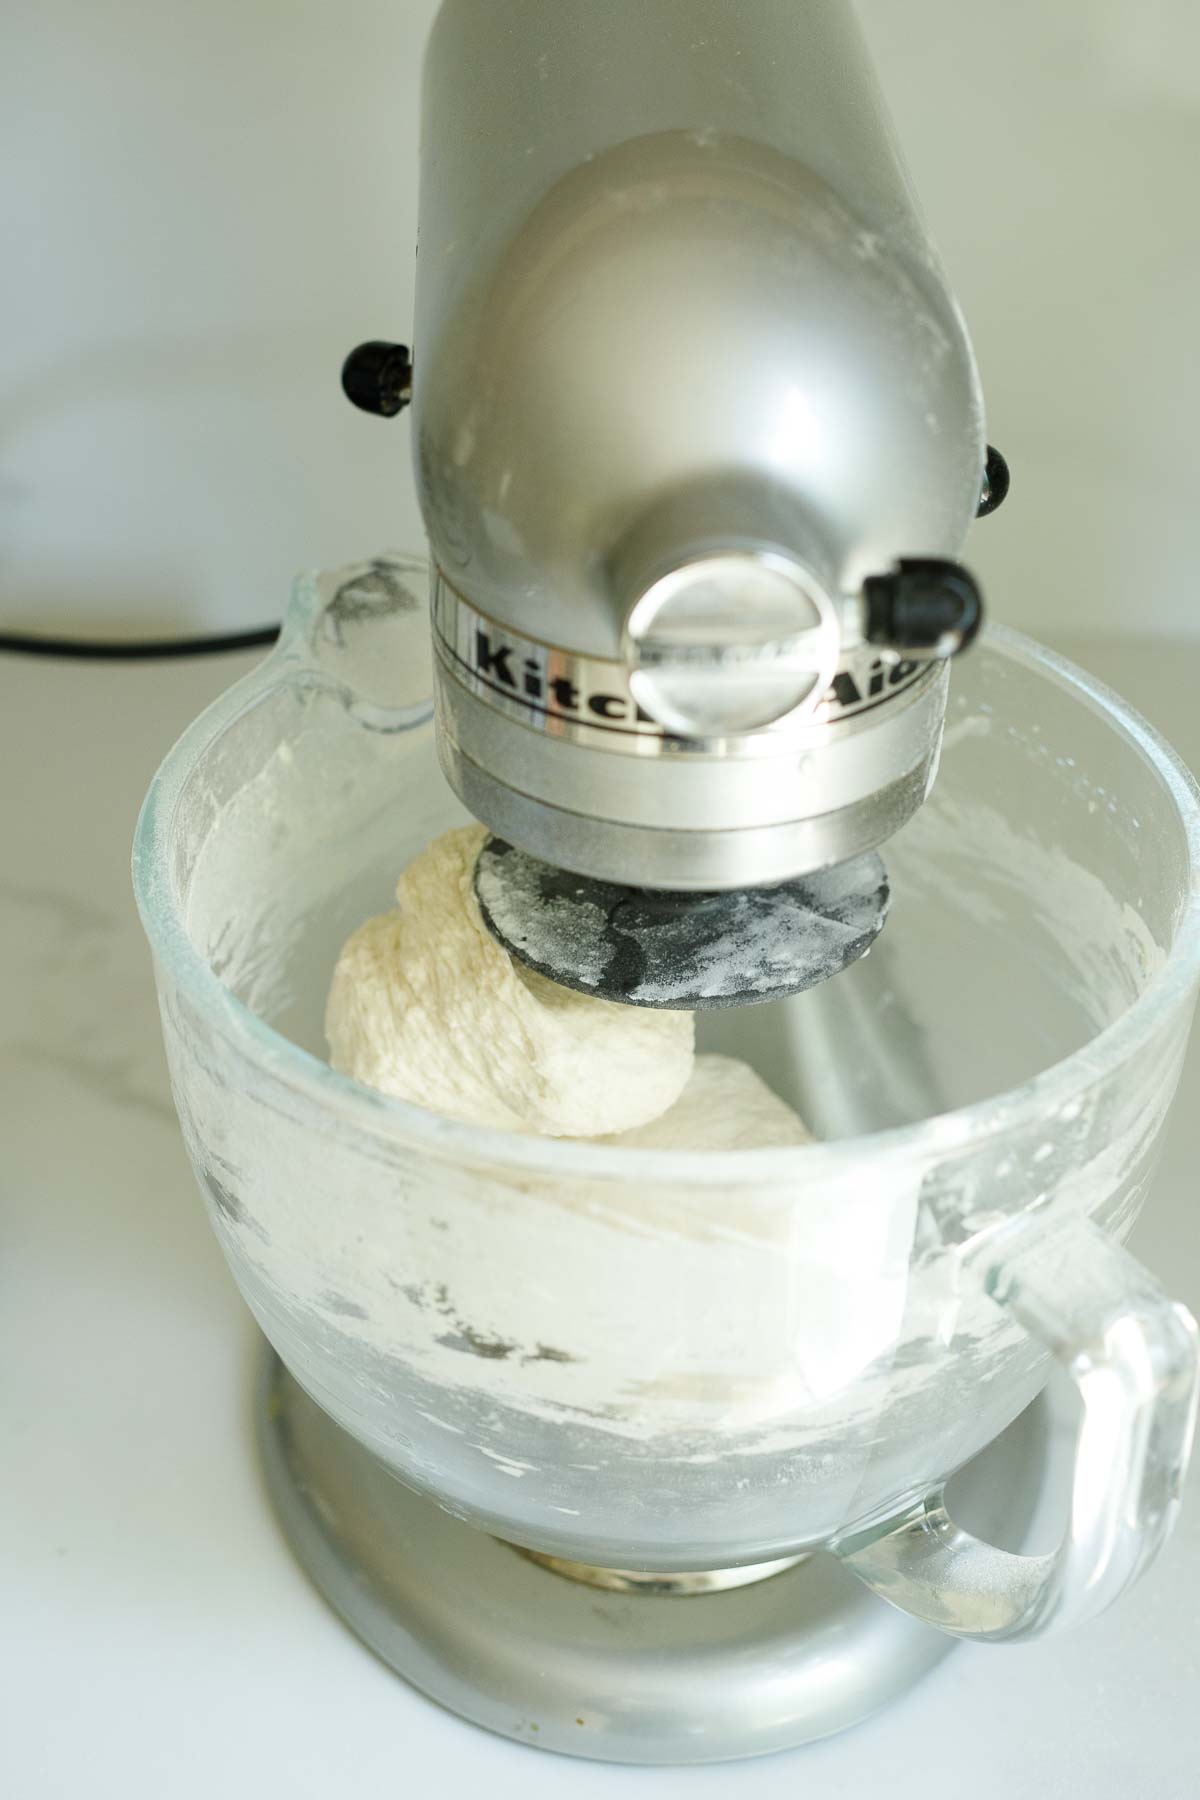
Step two: Drizzle the olive oil and warm water over the flour mixture and stir to incorporate. Add just enough water to incorporate all of the flour mixture, and knead 7 minutes using floured hands or a dough hook (medium speed). Pita dough should pull away from the bowl and become silky smooth.
Step three: Oil the dough ball and let it rise, covered, until double in size, roughly 1-2 hours.
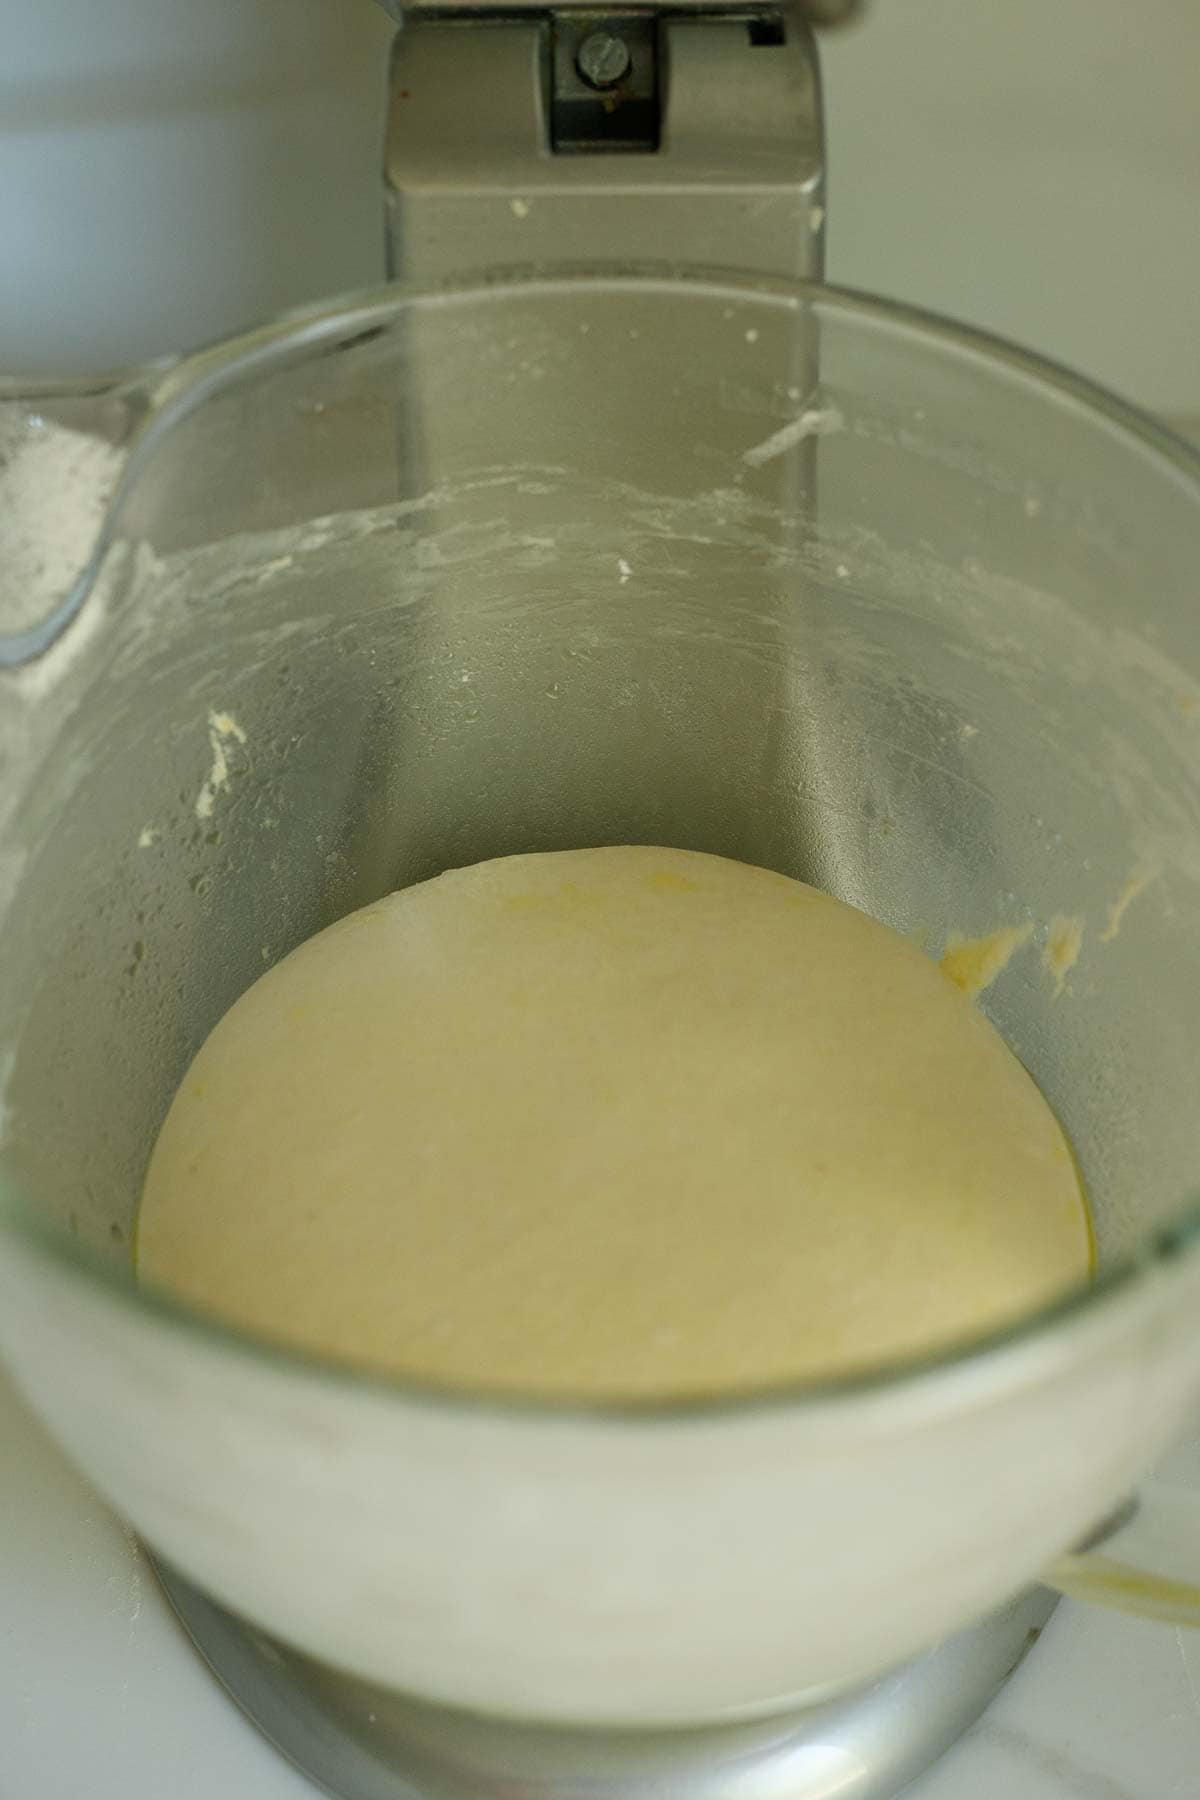
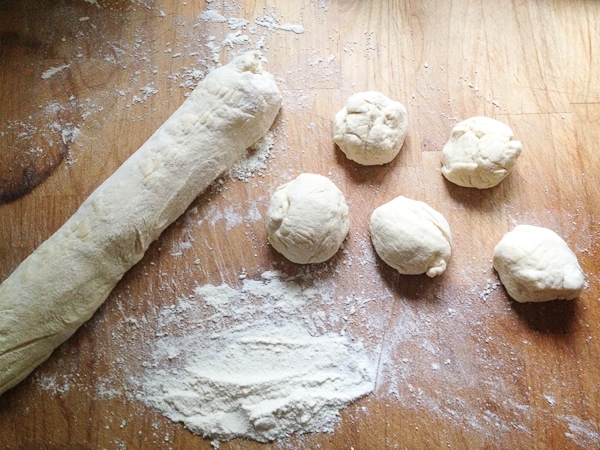
Step four: Punch down the dough, tip out into a lightly floured surface, shape into a log, then cut into 8 equal pieces. Shape into round balls, seam side down, and let rest 15 minutes on a floured work surface, covered with a kitchen towel.
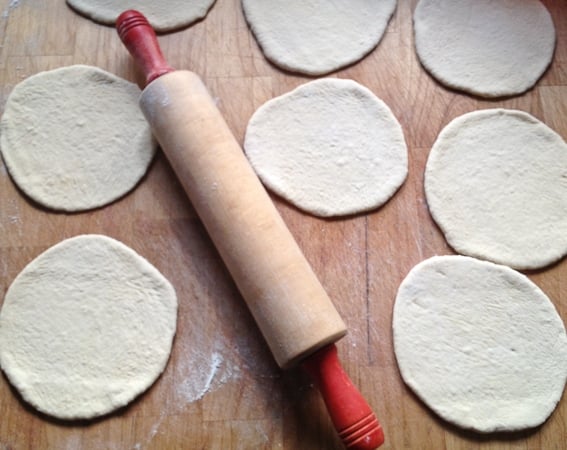
Step five: Using a floured rolling pin, roll into 8 disks about ¼ inch thick. TIP: The thickness matters here- rather than the diameter, to create that beautiful pocket! Not too thick, not too thin.
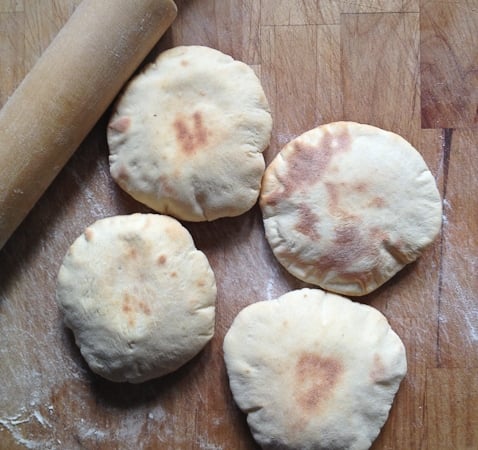
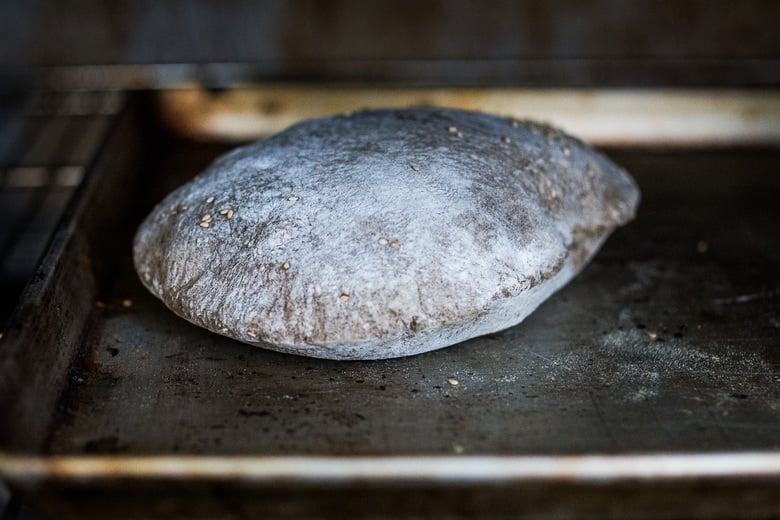
Step six: Bake! Bake in a 500F oven until puffed and golden, about 3-4 minutes. (You can also cook these on a cast iron skillet over medium high heat. )
Expert Tips on How to Make Pita Puff Up
- Let the dough rise until it has doubled in size. This is really important. Using quick-rising yeast will cut your time down significantly! Once the dough has risen and you have made the balls, let them rise again for at least 15 minutes, before rolling out.
- When ready to bake, make sure the oven is thoroughly preheated to 500F with the baking sheet or stone in it. A baking stone is even better! The baking sheet or bread stone should be hot. If it is not, your pita may not puff up. Bake on the lowest rack. They cook very quickly, so don’t walk away.
- Resist opening the oven door until ready to flip them.
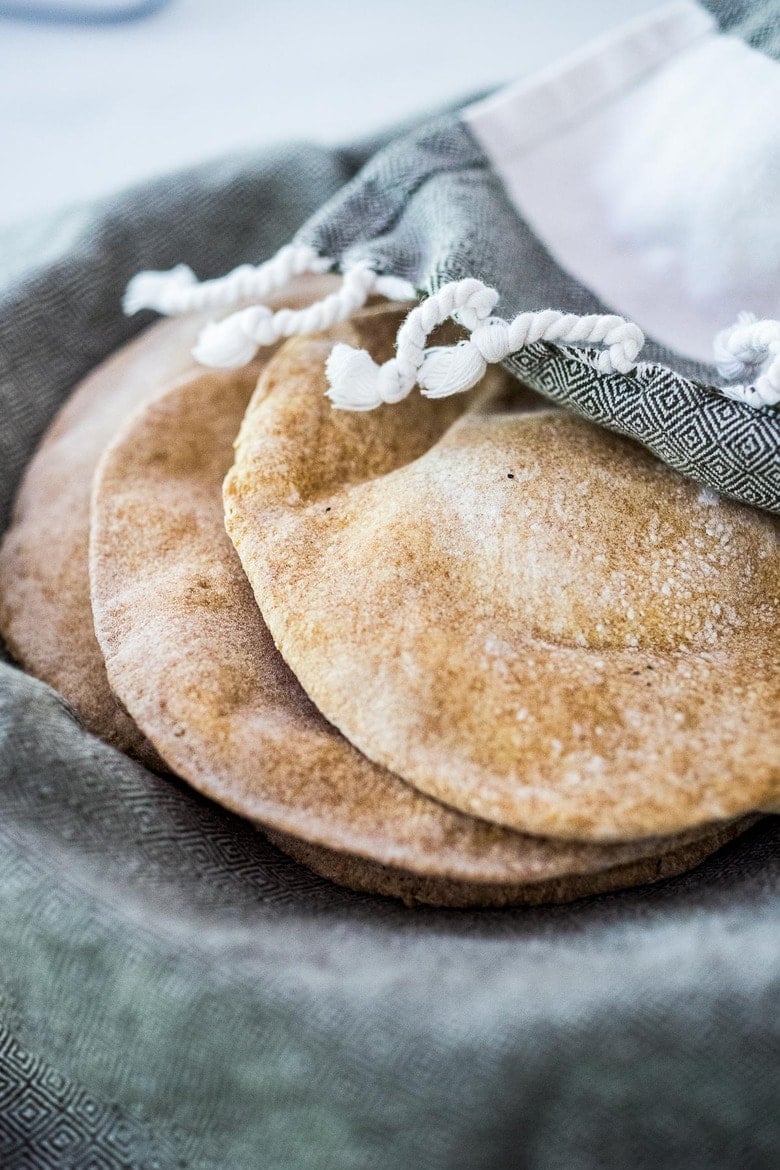
- When done, place them in a covered bowl or basket, which will keep the steam in and keep them from drying out.
Serving Suggestions
Storage
Store leftover pita bread wrapped up tightly in the refrigerator fridge for up to a week. Reheat in a toaster oven or oven. Freeze pita bread in a single layer first, then stack and wrap up tightly in the freezer for up to 6 months.
What to serve with pita bread?
More Favorite Bread Recipes
- Manoushe (Lebanese Flat Bread)
- Sourdough Pizza Crust
- Easy Homemade Naan Bread!
- Grilled Naan with Garlic Scape Chutney
- Homemade Tortillas
- Rosemary Olive Sourdough Bread
- Beginners Guide to Sourdough Bread
Homemade Pita Bread video
Pita Bread Recipe
- Prep Time: 80 mins
- Cook Time: 5
- Total Time: 1 hour 25 minutes
- Yield: 8 pitas 1x
- Category: Bread, baked
- Method: Baked
- Cuisine: Middle Eastern
- Diet: Vegan
Description
Learn how to make perfectly puffed pita bread with my chef’s perfected recipe. Includes an easy step-by-step tutorial with a video.
Ingredients
- 2 teaspoons Instant Yeast or quick-rising yeast ( if using active dry yeast please see notes)
- 2 tablespoons olive oil
- 1 cup warm water (or sub 1/2 cup plain yogurt for 1/2 of the water and skip the oil- see notes.)
- 1 1/2 teaspoons salt
- 2 1/2 cups flour, spooned and leveled (all-purpose white, whole wheat, or a mix of both - see notes for other fun options) More for rolling. 330-350 grams
- sesame seeds- optional
Instructions
- In a large bowl or stand mixer (with paddle attachment) stir flour, instant yeast, and salt until mixed well. Drizzle in the olive oil and lukewarm water and stir to combine. You want just enough water to incorporate all the flour- so add more as needed.
- Use the dough hook in stand mixer and knead on med-low speed for 7 minutes- or knead right in the bowl with the palm of your hand – folding, turning, folding, turning. If very tacky, use a floured hand. dough should be tender and smooth, pulling away easily from the bowl.
- Form a ball and coat all sides with olive oil. Cover with a damp kitchen towel and place in a warm spot for 1 -1 1/2 hours or until the dough has doubled in size. (At this point you could refrigerate for later use, letting the dough come to room temp before using.)
- Preheat oven to 500 F (with the sheet-pan or pizza stone inside) and make sure the oven rack is on the bottom of the oven, with no additional racks above. You’ll need this room to maneuver and prevent burning yourself.
- Once the dough has doubled, turn the dough onto a floured surface, gently shape the dough into a rope, and divide it into 8 equal pieces, and roll into balls. Let rest covered (on a floured surface) with a kitchen towel for 10-15 minutes. ( You can make smaller ones or bigger ones, no problem)
- Roll out each ball of dough with a rolling pin into 6-7 inch rounds, about ¼ inch thick. Let them rest for a few minutes before baking. By the time you get done rolling them all out, the first ones will be ready to bake. You could roll some sesame seeds on top of each one if you like.
- TIP: It’s good to start with one tester. Bake 3-4 minutes or so, until the pita bread puffs up. Carefully, using a kitchen towel or oven mitt, turn it over and bake for 1- 2 more minutes. ( Using tongs can puncture the pita, deflating them!) If your pita is not puffing up, make sure your oven is truly at a very hot 500 F and make sure your pan or stone is hot too. If pitas are rolled too thin, sometimes they will not puff up all the way. Working in batches of 2, carefully remove each pita with a spatula from the baking sheet and add additional pitas for baking.
- Immediately place the baked pita bread in a kitchen towel,folding it up and over the pita- this will keep the steam in and keep them warm and moist. Serve soon, while warm.
Notes
- If using ACTIVE DRY YEAST: In a large bowl or stand mixer, stir yeast, 1 teaspoon sugar and lukewarm water. Let sit for 10 minutes uncovered, until water is frothy and yeast is activated. Then add oil, salt, and flour. Follow the instructions above, mixing and kneading. Allow 2-3 hours of rising time.
- YOGURT: Often in Middle Eastern cooking, yogurt is substituted for some of the water- so in this case you could sub ¼- 1/2 cup plain full-fat yogurt for equal parts of the water, which will add a nice chewiness. Up to you.
- Flour: Play around with using different flours. Sometimes I’ll sub 1/2 a cup of buckwheat flour or rye flour for deeply colored pitas. Spelt and Einkorn are great options too! If unsure, blend with white or whole wheat. Some flours are “thirstier”- add more water if needed. Key is a tacky, elastic dough- not too dry! Have fun!
- Make this with sourdough starter. Stir 1/4 cup starter with the water. Stir in salt and olive oil. Stir in flour, and knead for 4 minutes. Cover with a damp kitchen towel and let rise 8-12 hours until almost doubled. Proceed with recipe.
- Storage: If making ahead, let them cool slightly, then seal in a ziplock bag to retain moisture. Refrigerate during the summer months up to a week. To freeze: Freeze in a single layer first, then stack and tightly seal, for up to 6 months. Reheat frozen in a toaster oven.
Nutrition
- Serving Size: 1 pita
- Calories: 175
- Sugar: 0.4 g
- Sodium: 293.2 mg
- Fat: 4.6 g
- Saturated Fat: 0.7 g
- Carbohydrates: 30.4 g
- Fiber: 4.7 g
- Protein: 5.9 g
- Cholesterol: 0 mg

I made these again and they all puffed up! 🙂 feeling really happy and proud. Next time I’ll try it with sourdough starter 🙂
Yay, such a good feeling isn’t it?!
It’s the best 🤩🤗
🙌♥️
Hi, can I use baking soda instead of yeast for this recipe?
Hi Allison, this is typically a yeasted bread. Not sure that baking soda would work here?
So good! I forgot to buy pita at the store last week, so I made these instead 🙂 5 out of 8 of mine puffed all the way up, which I feel is pretty good for a first try! I am definitely encouraged to try again and will let you know 🙂 thanks team!
That is awesome! Doesn’t it feel amazing watching them puff up like that?
Yes! It was amazing!! 🙂
Hello,
Can I use sourdough (or sourdough discard) instead of yeast, and in this case in which proportion? Thank you!
Hi Marianne- yes I think you can, but I don’t have specifics for you, so you would have to experiment.
Thanks for your answer! I saw you added a note on using. sourdough starter: I am making the dough right now ! I will let you know …
Yes please do!
Hi Sylvia, can you freeze the falafels until ready to fry to prevent from them falling apart? They are very wet. Didn’t add any flour and haven’t fried them yet.
Hi Danette, they do tend to feel a little wet. I would fry first then freeze!
Hi, thank you for sharing.
Can I use gluten free self raising flour?
Hi Annabell- I have not personally tried either, so not sure! My guess is yes, either should work, but not positive.
can the yogurt be far free and still work?
Yes should should be ok!
I would love to make these, but going gluten-free for a bit now, after the holidays. Have you ever tried to make these with Cup 4 Cup gluten free flour? Do you think I would need to change anything else in the recipe?
Hi Lisa, I have not tried with GF Flour, so not super sure here! Let me know how it goes!
Hi Sylvia,
Thank you for this recipe! If I were to use wholegrain spelt flour only in this recipe would this have any effect on the amount of water which would need to be added? Thanks.
You may need to add a bit more water? Spelt can be “thristier”.
Thanks!
Hi Sylvia!! Thanks for this recipe. Quick question- I don’t see any salt in this recipe yet it has 293.2mg sodium. Where is the sodium coming from?? The AP flour?? Thanks!!!
There is 1 teaspoon salt in the recipe- scroll down to recipe card. 😉
This is the worst recipe ever. Where are the ingredient amounts? How much flour? Water?
Hi Nikki, sounds like you missed the recipe card. Scroll down to the bottom of the post to the card. 🙂 Or you can use the jump to recipe button at the top.
Absolutely fantastic. Followed to the letter and they were absolutely perfect.
Great to hear!
Used yogurt. They turned out great!
How long can I keep the dough fridged before baking? I was thinking of making it today and using it in around 24 hours. Is that too long? Thanks!!
Give it a try! I’m not sure, but curious! Please let me know how it goes.
Does the dough freeze? Or can the recipe be halved?
Yes, half the recipe! Not sure about freezing.
These turned out great, and the process was surprisingly easy! I used pizza yeast (because that’s what I had on hand), half spelt and half all-purpose flour, and omitted the yogurt. I poured a generous amount of olive oil on my ball of dough before letting it rise and also made 7 (instead of 8) that were not rolled out too thinly, so perhaps that’s why the pitas turned out soft and delicious while still remaining vegan 🙂
These turned out great, and the process was surprisingly easy! I used pizza yeast (because that’s what I had on hand), half spelt and half all-purpose flour, and omitted the yogurt. I poured a generous amount of olive oil on my ball of dough before letting it rise and also made 7 (instead of 8) that were not rolled out too thinly, so perhaps that’s why the pitas turned out soft and delicious while still remaining vegan 🙂
Love this recipe, I did use fresh yeast, as its what I prefer to use.
I mixed 50 -50. An Italian Manitoba flour and wholewheat flour. I did only do 330g, plus I went with the Yogurt and water (50-50)
This is a very nice recipe If you have a thermomix , you can put all the ingredients in together and put on the dough setting.
Glad you liked it!
These were great! I just have a question. Since I am vegan and can’t use yogurt, do you have a suggestion to make these more soft? They came out just a bit crunchy, but still very good.
You could a little 1 T more oil ( 1 T less water), or try nut milk for part or all of the water, or vegan yogurt?
Successfully puffed up, look beautiful, a bit crunchy. Used half regular flour, half sprouted grain flour. It’s a high protein flour so wondering if using yogurt would soften them up a bit? I’m a yeast-phobe and was so excited to see the dough double! Thx for a great recipe!
You are so welcome. Yes, I really like using yogurt.
Turned out perfect!
These were excellent! Clear directions, used the fast rising yeast and a blend of white, wheat and rye. Froze the leftovers and simply toast as needed. Delicious !
These turned out so good. Used 1/2 cup yogurt as you suggested and the Instant Yeast! So fast and easy. Made with whole wheat flour. Everyone loved them.
Excellent and easy!
In number 1 in the instructions you say to add oil, salt and flour but there is no oil listed in the ingredients. Please help!
Opps sorry about that! Somehow it got deleted…it is back in there now. 🙂