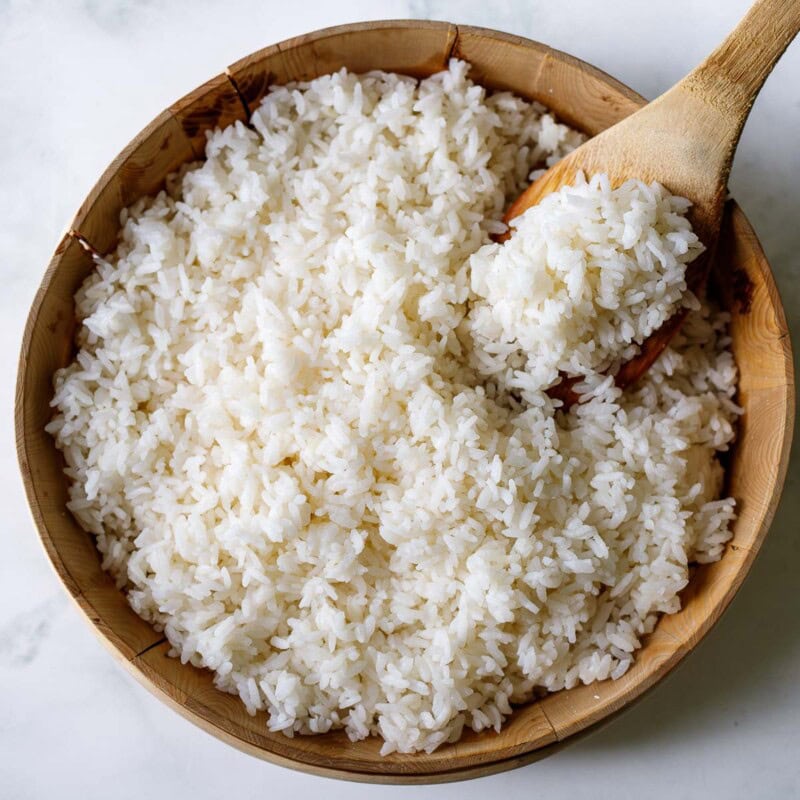
This sushi rice recipe is easy to make on the stovetop with no special equipment. Use it to make sushi rolls, nigiri, poke bowls, temaki hand rolls, sushi burritos and more!
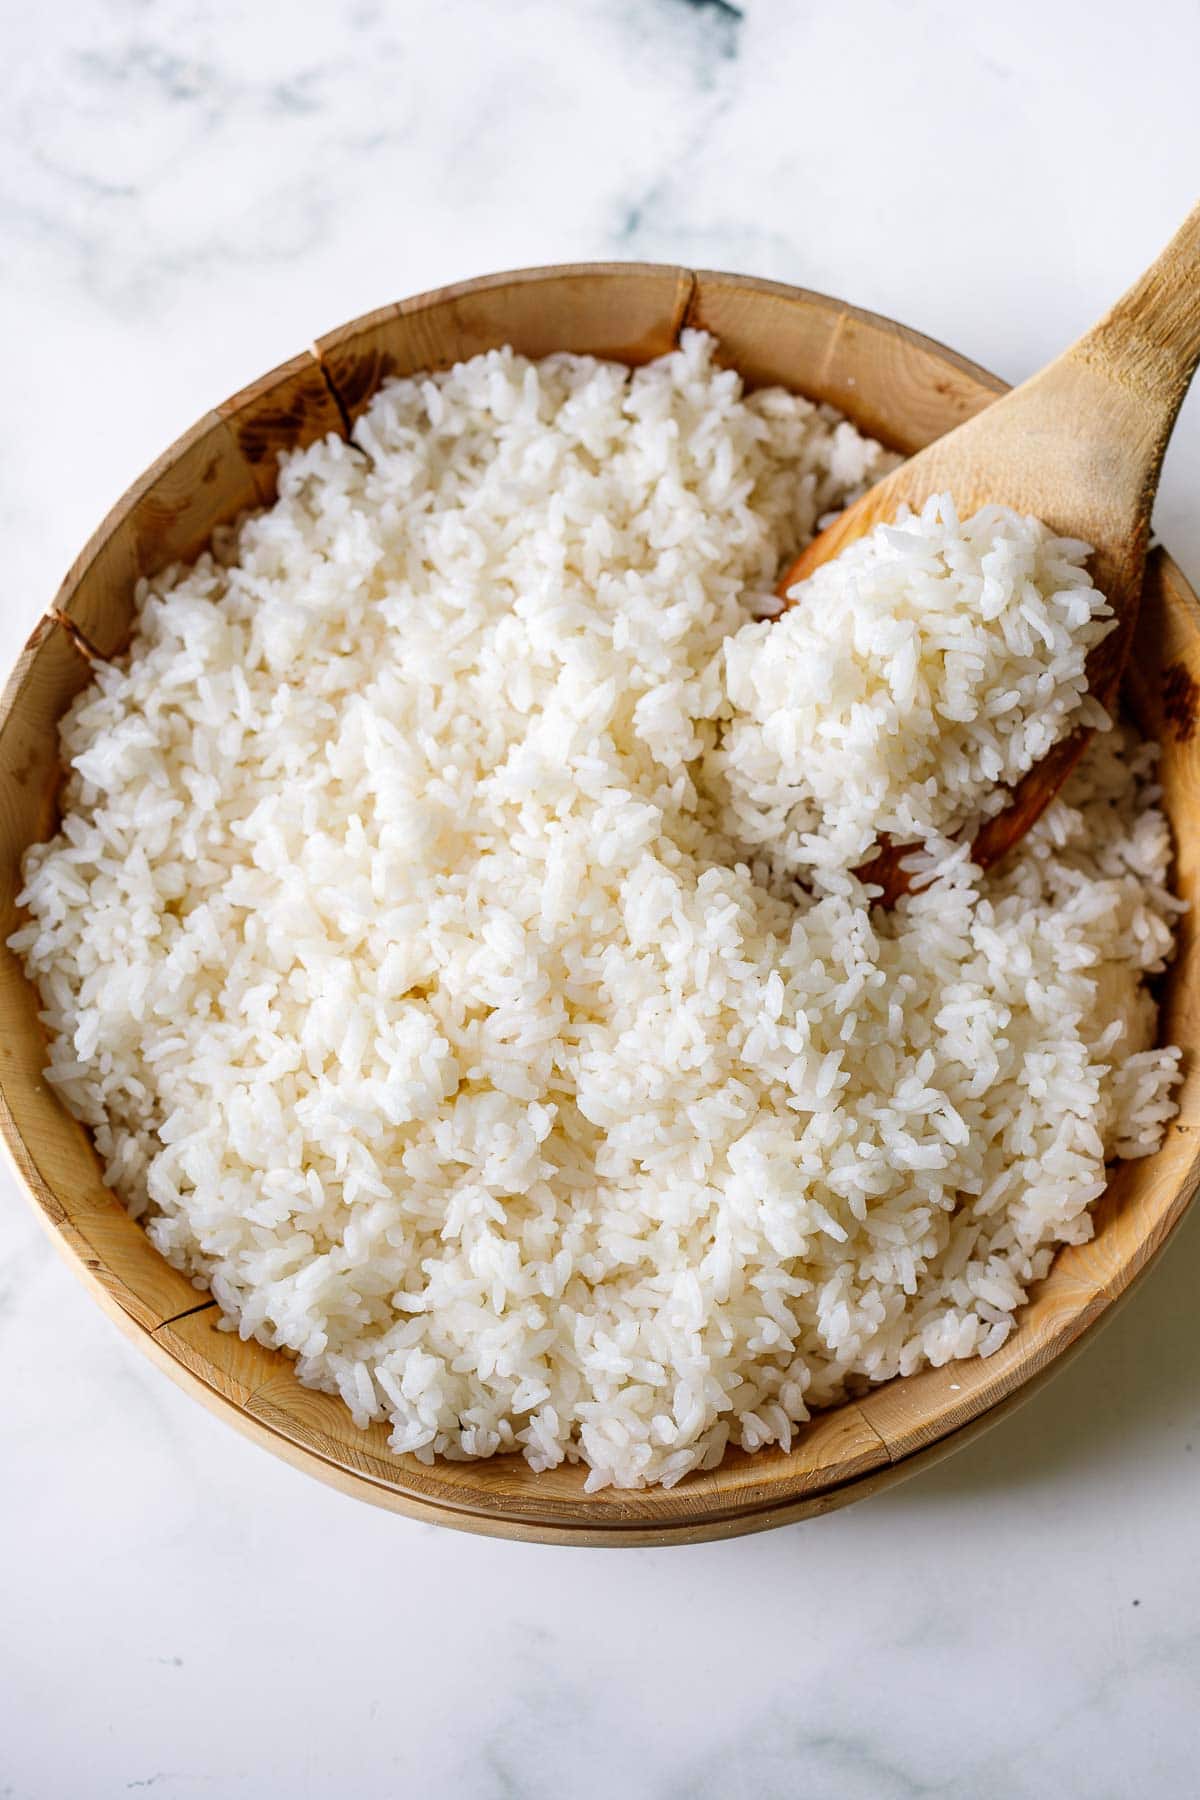
Making sushi rice at home is incredibly easy and can be made in under an hour on the stovetop. While you can use a rice cooker or instant pot, I prefer using the stovetop method for its simplicity and ease.
Good sushi rice is firm yet sticky, with the perfect balance of flavors- sweet, salty and tangy.
Why You’ll Love This
- Quick & easy! A 30-minute, 5-ingredient recipe, made on the stove top.
- So many uses! Sushi rolls, sushi burritos, Chirashi bowls, poke bowls, temaki hand rolls, sushi bowls, and more!
- Perfect flavor. Sweet, salty, and tangy, the perfect balance. Just so.
Sushi Rice Ingredients
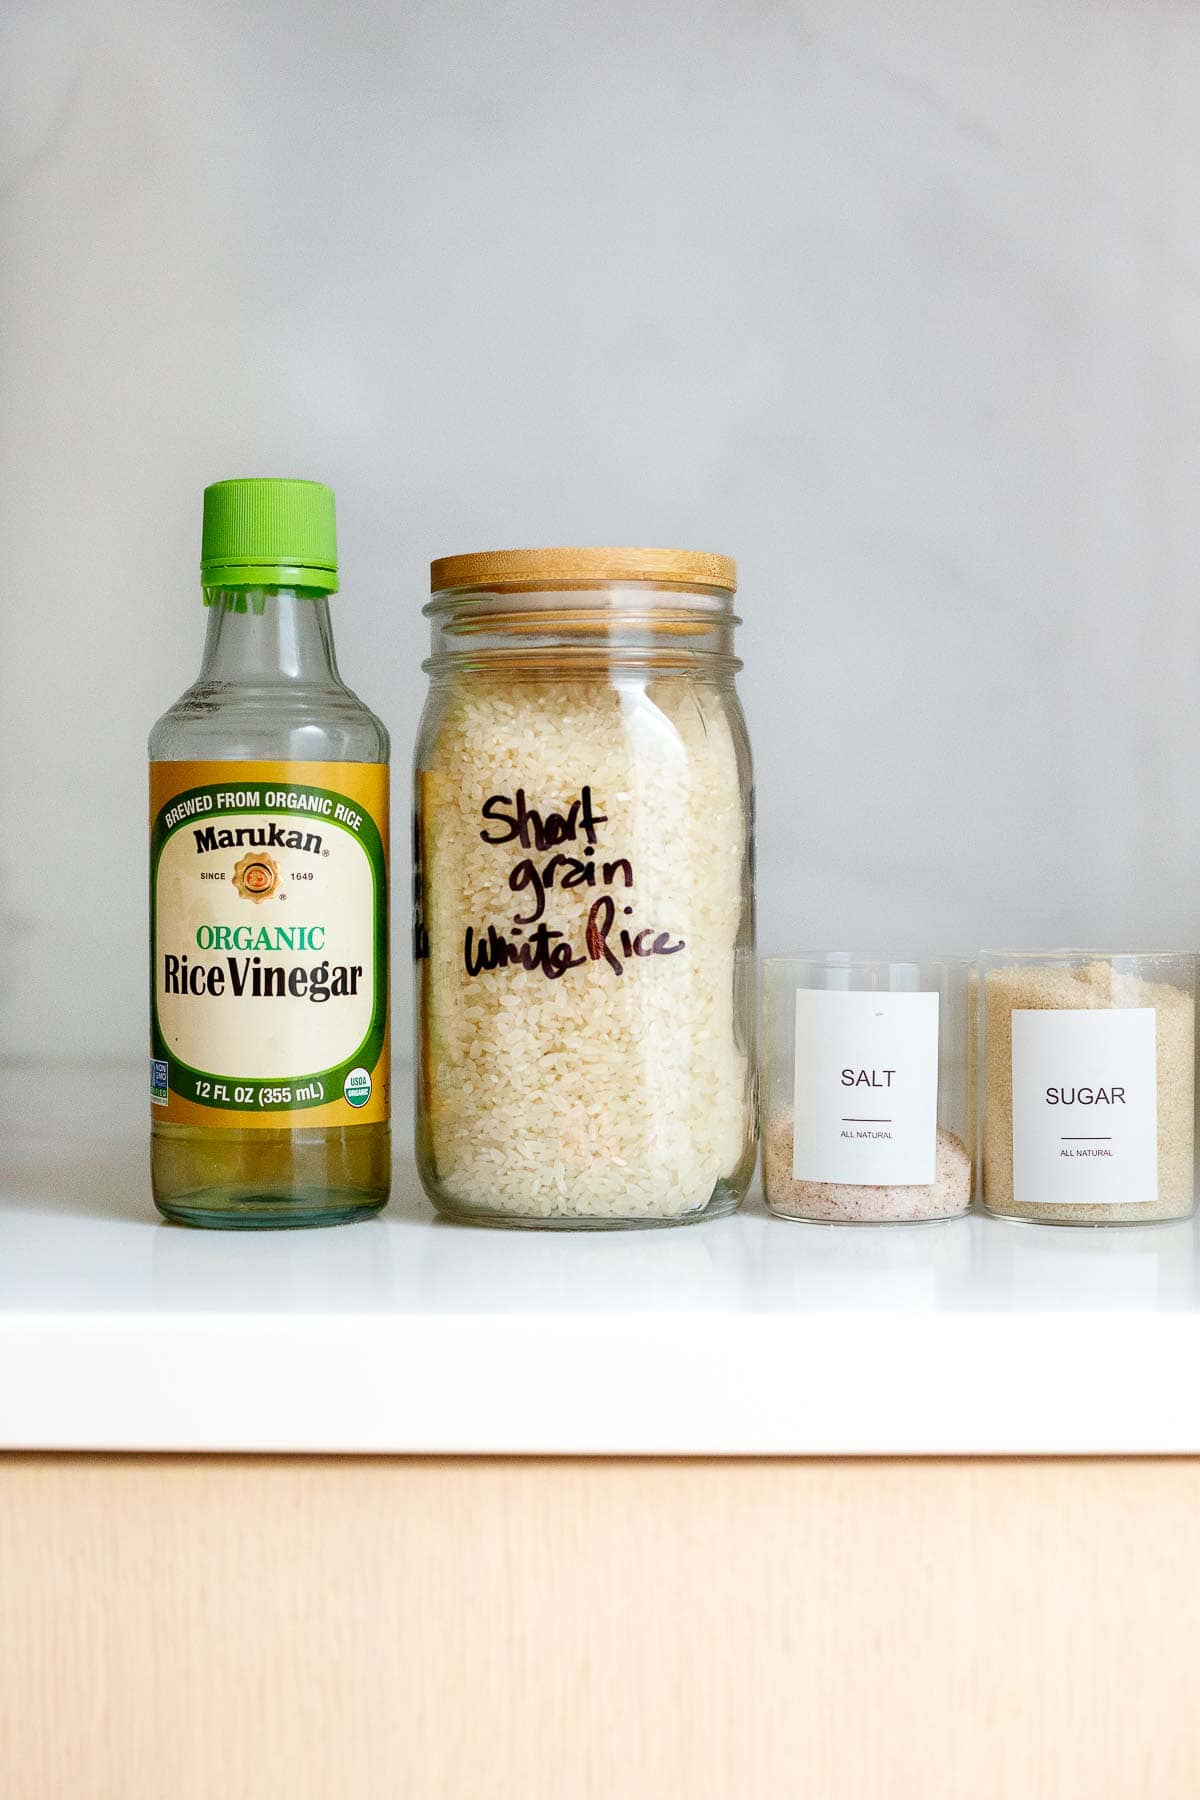
- Japanese sushi rice: Use a short-grain rice like Nishiki, Nikko Nikko Calrose Rice, Kokuho Rice, or California-grown Lundberg Organic Sushi Rice.
- Unseasoned rice vinegar: Adds acidity and breaks down the starch, resulting in fluffy and sticky rice.
- Sea salt and sugar: Warmed with the rice vinegar to enhance the flavor of the rice.
- Kombu: Optional, but adds a subtle umami flavor and helps the rice get perfectly tender.
How to make Sushi Rice
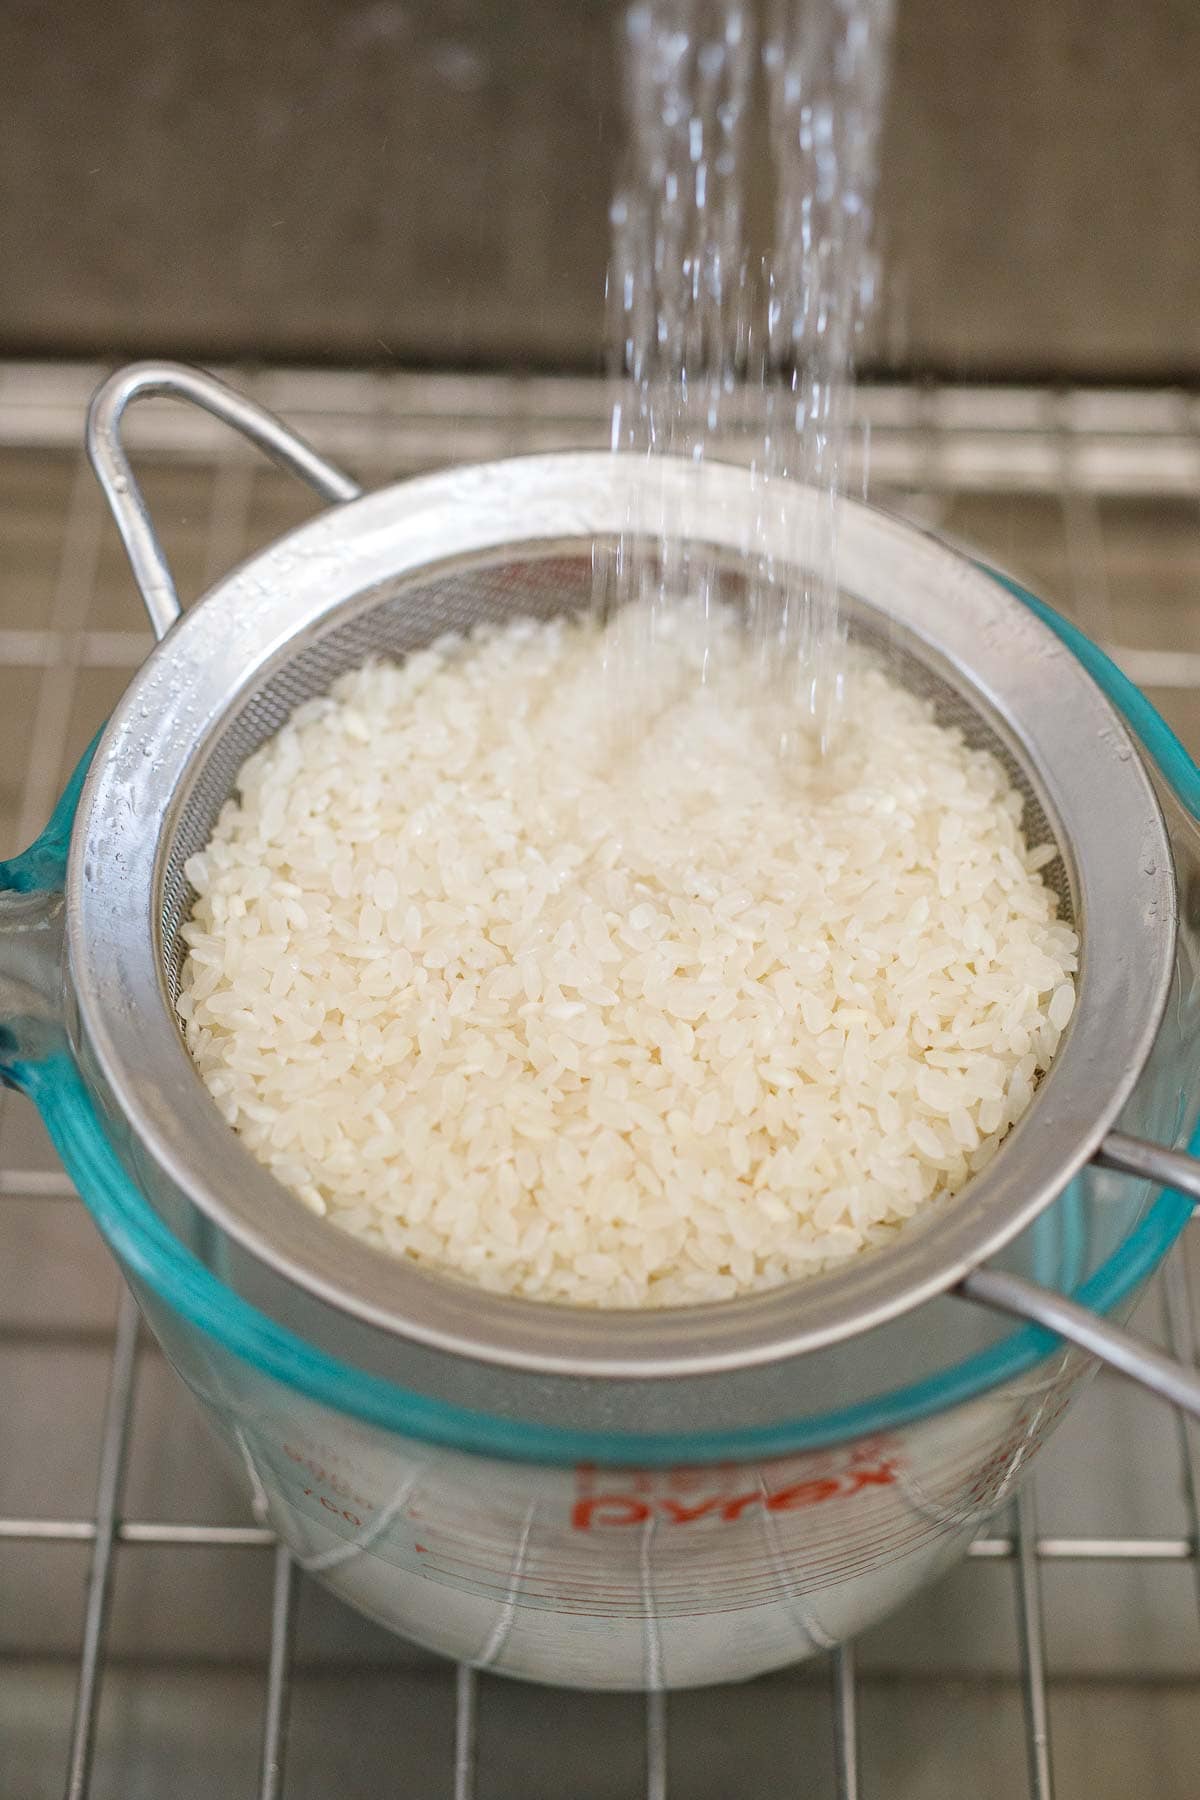
Step 1: Soak the rice. Soak in cold water for 20 minutes or rinse it until the water runs clear. This helps remove some starch to improve the texture. Drain.

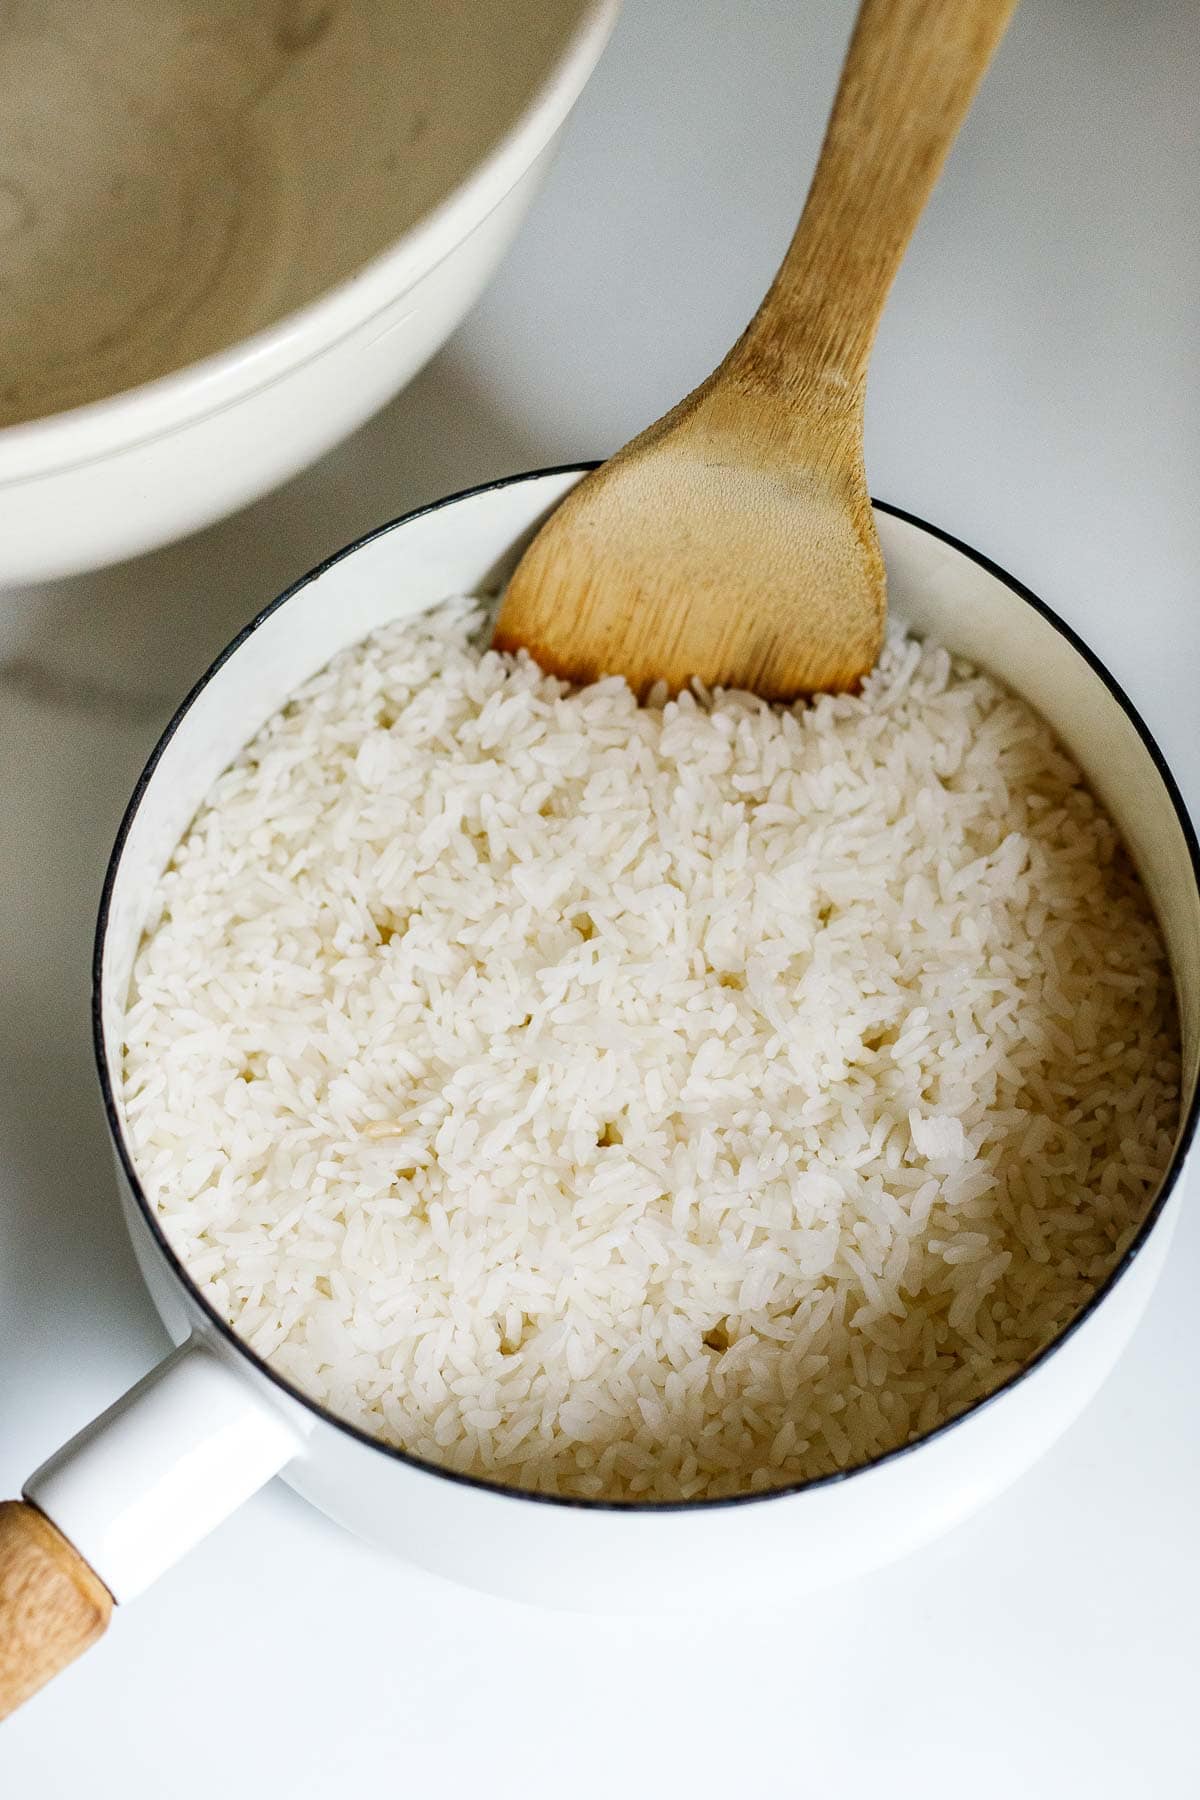
Step 2: Cook the rice. Place rice in a medium pot with 2 cups water. Add kombu if using. Bring to a boil over medium-high heat, then reduce heat to low and cover, maintaining a gentle simmer for 10 minutes. Turn off the heat and let sit covered for 10 minutes. The rice should be al dente, with the kernels firm and intact.
Tip: If you don’t have a tight-fitting lid, place a thin kitchen towel between the pot and lid and bring the corners up to tie over the lid. This creates a tight seal, which is imperative!
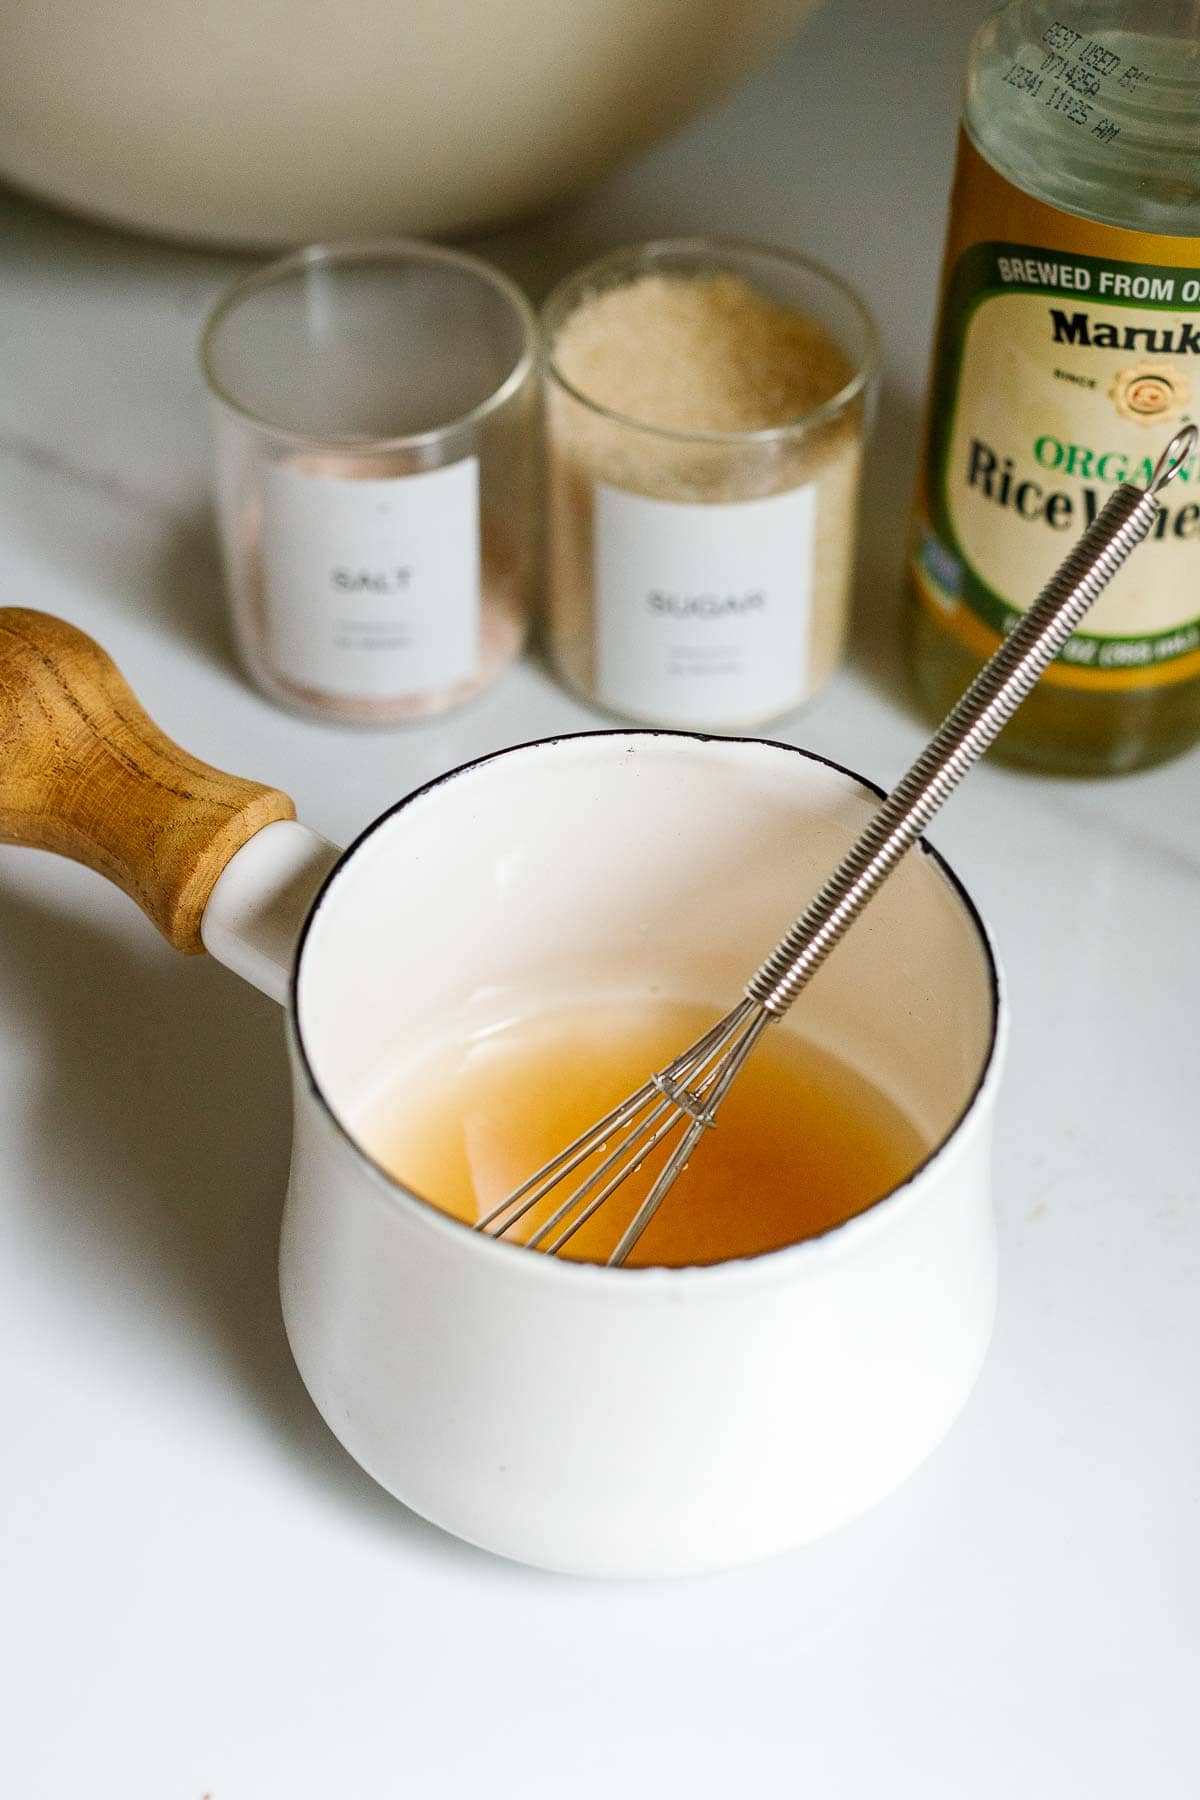
Step 3: Heat the rice vinegar. While the rice cooks, warm the rice vinegar in a small saucepan on the stove or use the microwave. Stir in 1 teaspoon salt and 1 1/2 tablespoons sugar until dissolved.
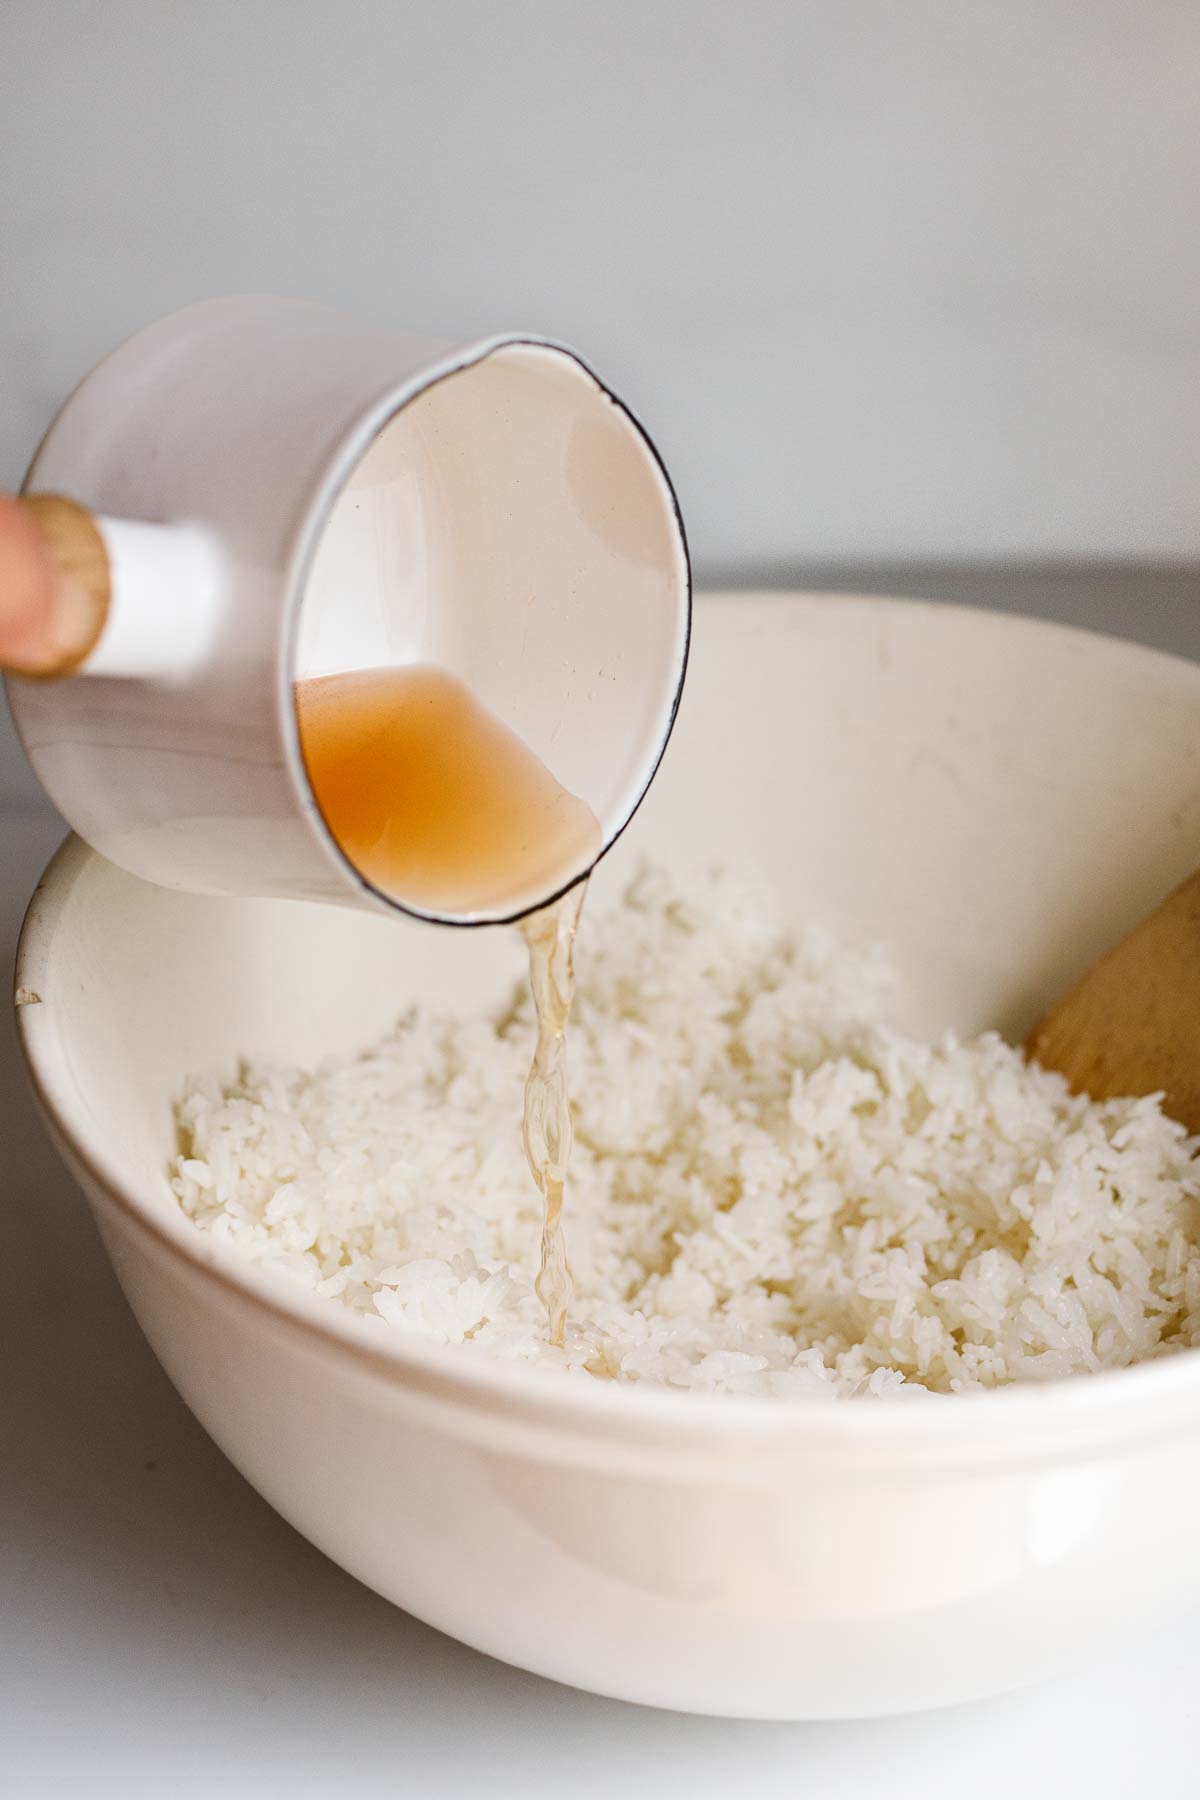
Step 4: Add vinegar mixture to rice. Transfer rice to a wide large mixing bowl and drizzle with vinegar mixture. With the side of a wooden spoon or paddle, use a slicing motion while rotating the bowl. Slicing rather than stirring prevents gluey texture.

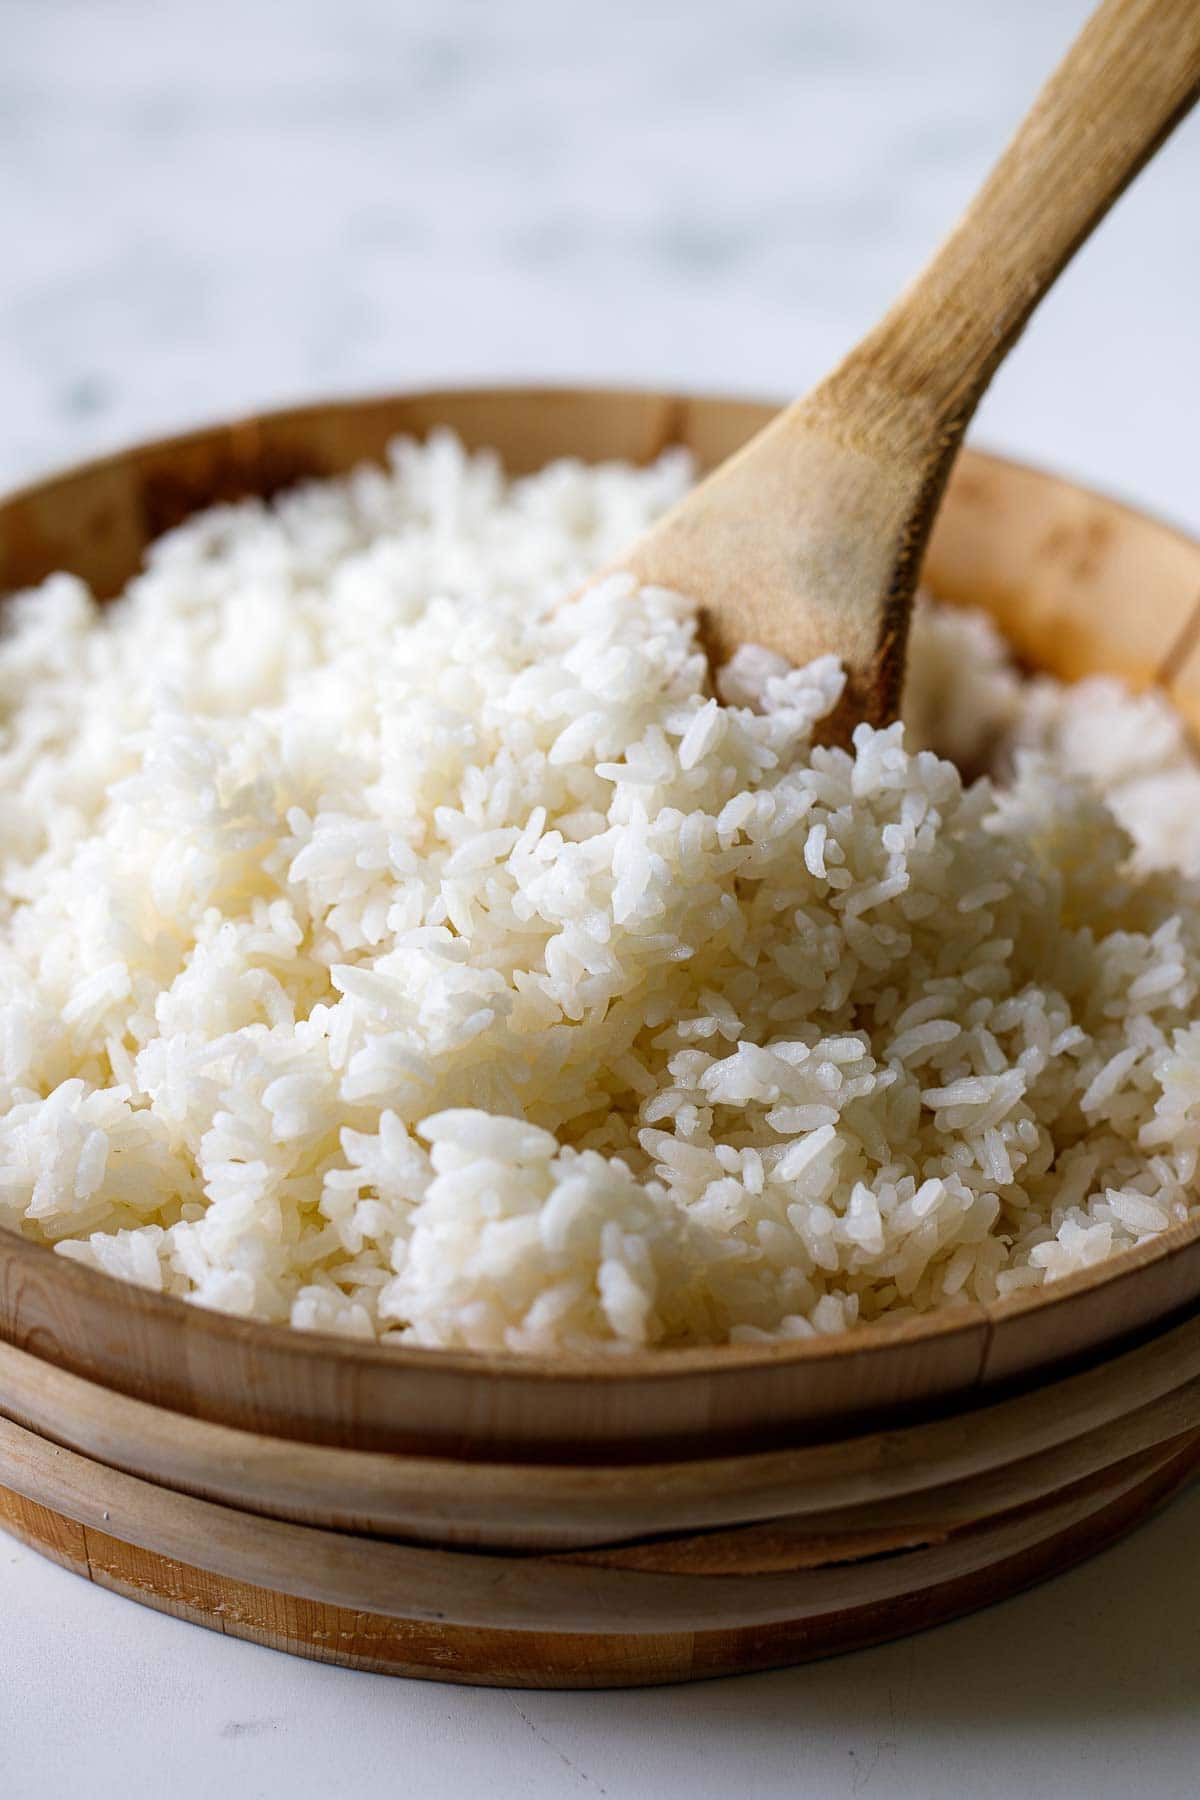
Step 5: Cool the rice. Spread out the rice and fan it until cooled, or cover it with a damp kitchen towel. Drape the towel over the bowl, gently pressing it to the top surface of the rice. Once at room temp, it’s ready to use or refrigerate (with the damp towel) for later.
Chef’s tips
- Rinse the rice: This key step removes some of the starch from the rice to result in a firm, yet sticky texture.
- Create a tight seal: A tight-fitting lid will keep moisture in, preventing dry and hard rice. If you don’t have a tight-fitting lid, place a thin kitchen towel between the pot and the lid and wrap the towel around the lid with a knot.
- Cook to al dente: The kernels should be firm and intact.
- Slice rather than stir: When adding the vinegar mixture to the rice, be sure to use the side of your wooden spoon or paddle to use a slicing motion while rotating the bowl. This prevents a gluey texture.
Serving suggestions
- Sushi rolls
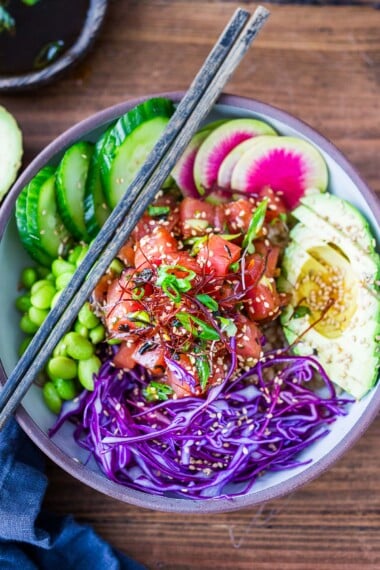
- Poke bowls: Check out our Poke Bowl Recipe with ahi tuna, or try our Vegan Poke Bowl.
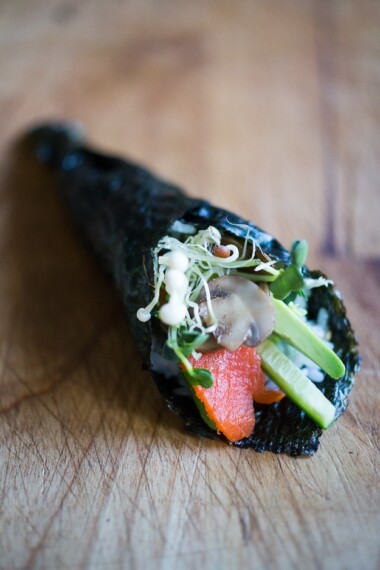
- Hand rolls: Use for Hand Roll Sushi (Temaki).
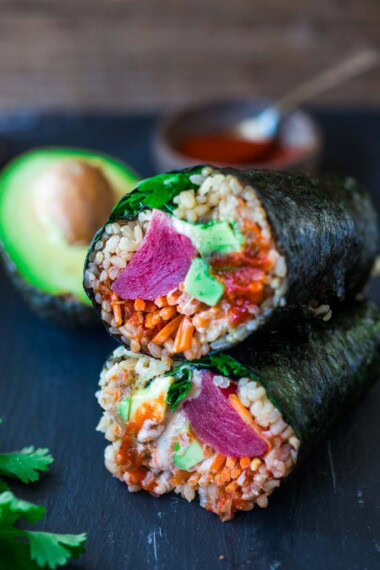
- Sushi burritos: See how to make a sushi burrito!
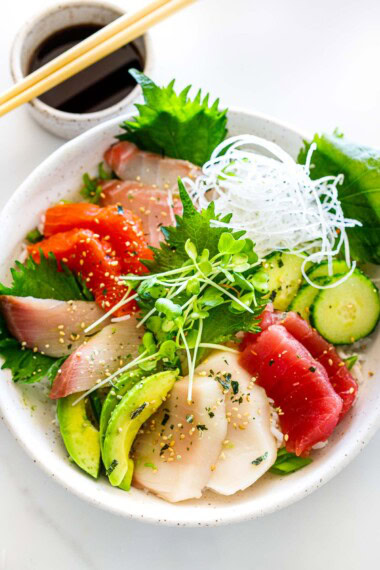
- Sushi bowls– We love this Chirashi Sushi Bowl
- As a base for protein: Serve with Furikake Salmon, Sesame Crusted Ahi Tuna, Teriyaki Chicken, Chicken Katsu (or Tofu Katsu), or Grilled Lemongrass Shrimp.
- As a base for buddha bowls: See our 31+ Best Buddha Bowl Recipes!
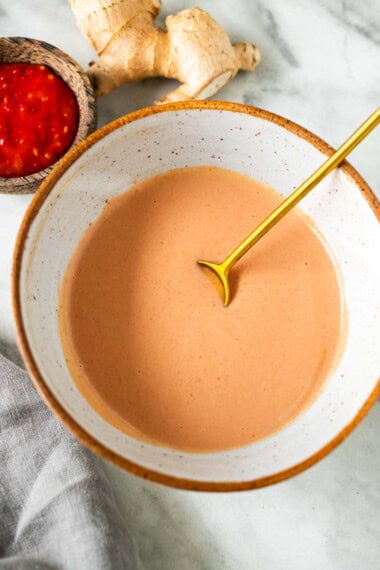
- Serve with Yum Yum Sauce or Ponzu Sauce: Try our Avocado Salad with Ponzu Dressing and a base of sushi rice.
FAQs
Sushi rice is a rounder, short-grain white rice, also known as Japonica rice, which is cultivated in Japan and Korea. The best rice to use is Nishiki, Nikko Nikko Calrose Rice, Kokuho Rose Rice, or California-grown Lundberg Organic Sushi Rice. The texture is firm, yet sticky with a sweet, salty, and tangy flavor.
Yes! This step is essential for removing starch and achieving sticky texture. Soak for 20 minutes or rinse in a strainer until the water runs clear.
Yes. Sushi rice is always seasoned with a mixture of rice vinegar, salt, and sugar. This results in the perfectly balanced sweet, salty, and tangy taste. Be sure to use unseasoned vinegar.
The rice-to-water ratio is 1:1. Here, we use 2 cups of rice and 2 cups of water.
Storage
Once cooled, store sushi rice in an airtight container or plastic bag in the refrigerator for 2 days. Storing too long in the fridge can result in a gummy texture. Before using, set the sushi out for a couple of hours to bring it to room temperature.
You can freeze cooled sushi rice for six months.
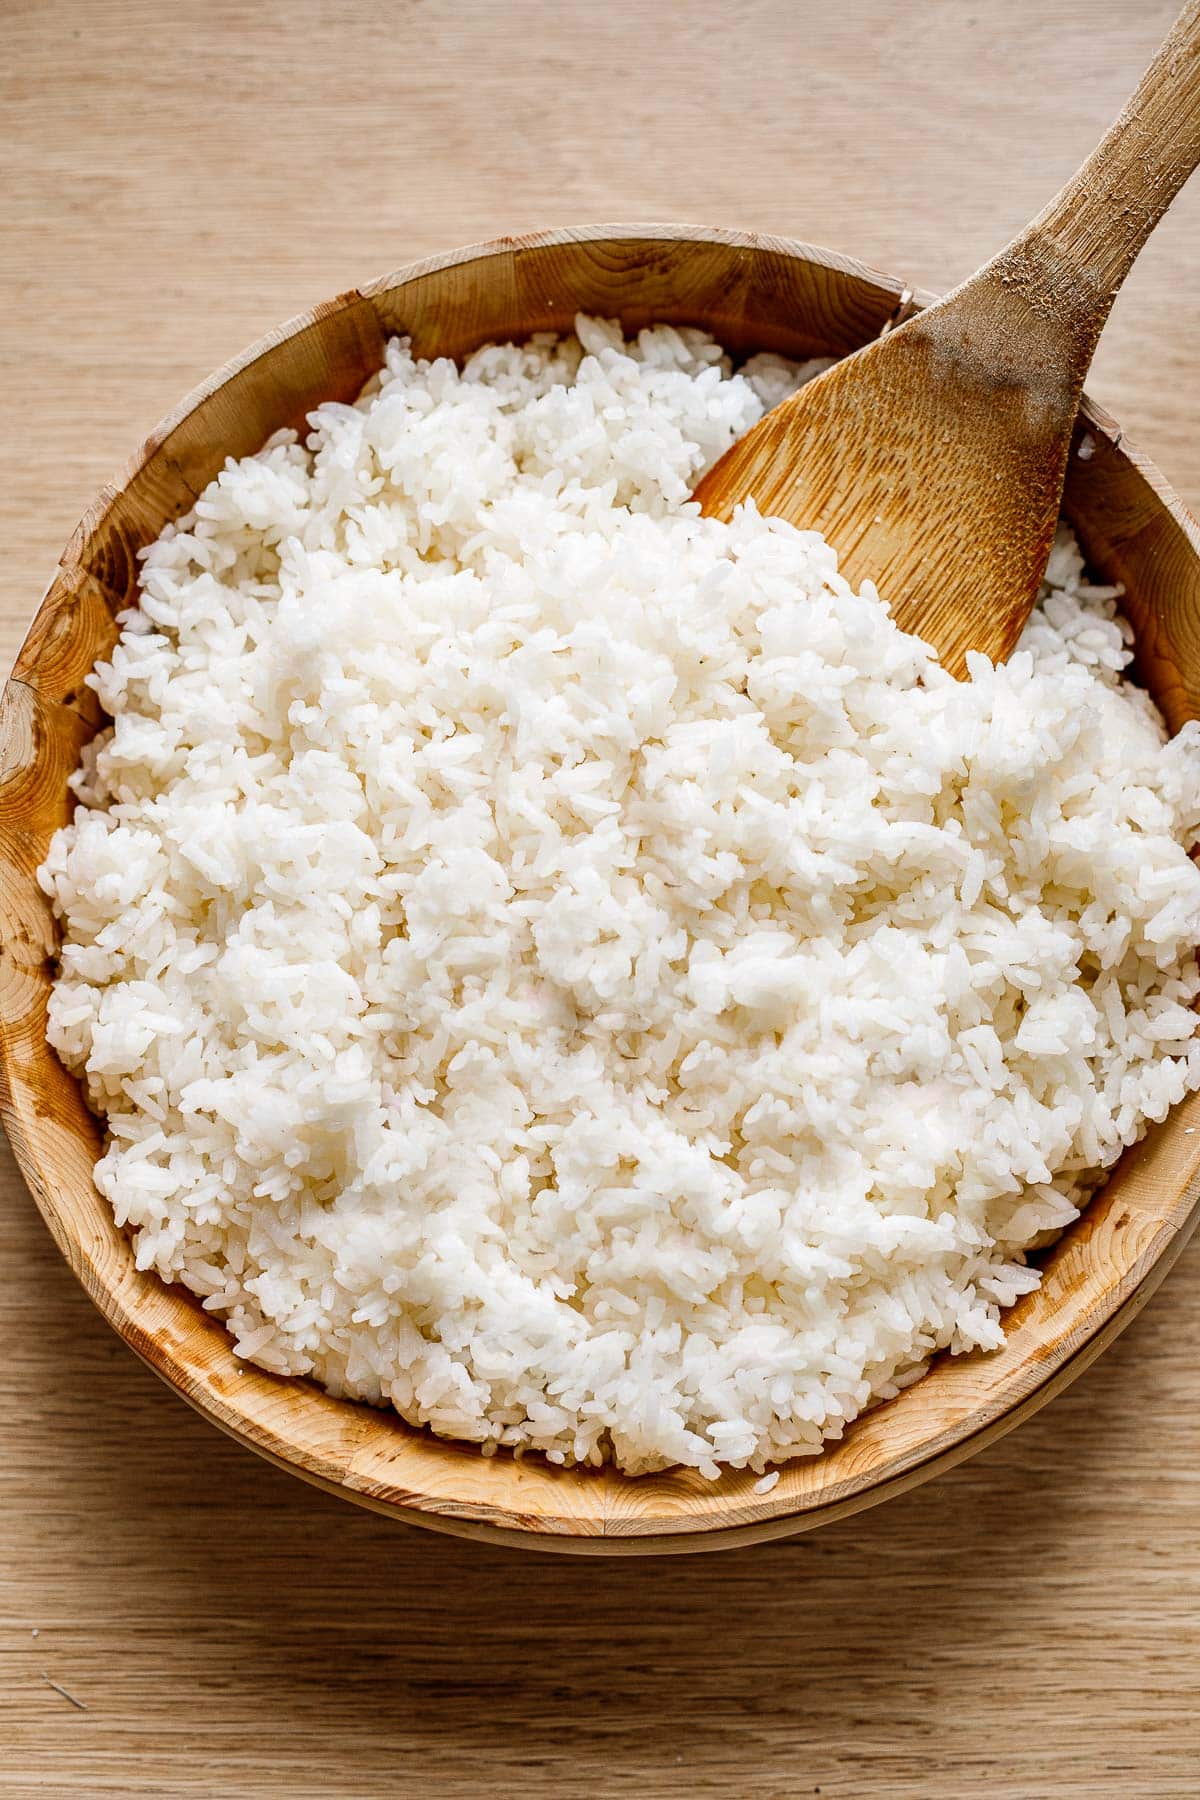
Hope you enjoy this one – please rate and share your comments below! Pinning and sharing is always appreciated too! You may also enjoy this Furkike Rice or our Coconut Rice!
Ways to Enjoy Sushi Rice
Sushi Rice Recipe
- Prep Time: 20
- Cook Time: 12 minutes.
- Total Time: 32 minutes
- Yield: 4 cups
- Category: side dish
- Method: stovetop
- Cuisine: Japanese
- Diet: Vegan
Description
Learn how to make perfect sushi rice on the stovetop! Sticky yet firm, perfect for sushi rolls, sushi burritos, temaki hand rolls, nigiri, poke bowls, and chirashi bowls.
Ingredients
- 2 cups Japanese sushi rice
- 2 cups water
- 4 tablespoons rice vinegar (unseasoned)
- 1 teaspoon sea salt
- 1 1/2 tablespoons sugar
- optional: 4×4 piece kombu
Instructions
- Soak the rice in cold water for 20 minutes or rinse it until the water runs clear. This will help remove some of the starch, improving the texture. Drain.
- Place rice in a medium pot with 2 cups water. Add kombu if using. Bring to a boil over medium-high heat, then lower heat to low, and cover so it’s at a gentle simmer. Tip: If you don’t have a tight-fitting lid, place a thin kitchen towel between the pot and lid, bringing the corners up and tying over the lid to create a tight seal. A good seal is imperative. Simmer for 10 minutes, turn the heat off, and let stand covered for 10 minutes. You want to cook the rice to al dente, so the kernels stay firm and intact.
- While the rice cooks, heat the rice vinegar (either in a saucepan on the stovetop or use a microwave) and stir in the salt and sugar until dissolved.
- Place rice in a wide large mixing bowl and drizzle with the vinegar mixture. Use a slicing motion; use the side of a wooden spoon, wooden paddle, or large spoon to mix while rotating the bowl. Slicing rather than stirring will prevent the rice from getting gluey.
- Once combined, spread the rice out and either fan it until cooled, or cover it with a kitchen towel that has been soaked in water and wrung out. Drape this over the bowl, gently pressing it to the top surface of the rice. Once at room temperature, it is ready to use or refrigerate (with the damp towel) for later.
Notes
Short-Grain Rices: opt for Japanese sushi rice such as Nishiki, Nikko Nikko Calrose Rice, Kokuho Rice, or California-grown Lundberg Organic Sushi Rice.
Nutrition
- Serving Size: ½ cup
- Calories: 188
- Sugar: 2.4 g
- Sodium: 291.2 mg
- Fat: 0.3 g
- Saturated Fat: 0.1 g
- Carbohydrates: 41.9 g
- Fiber: 0 g
- Protein: 3.3 g
- Cholesterol: 0 mg



Perfect sushi rice. I used my rice cooker on the sushi setting. Love the flavoring with the rice vinegar, salt, and sugar. Thank you very much!!!
Awesome! Thanks Angeli.
If using kombu, when and to what do we add it? Thank you!! 🙂
Sorry about that- add it to the pot after you add the water. I adjusted the recipe to include this. 🙂