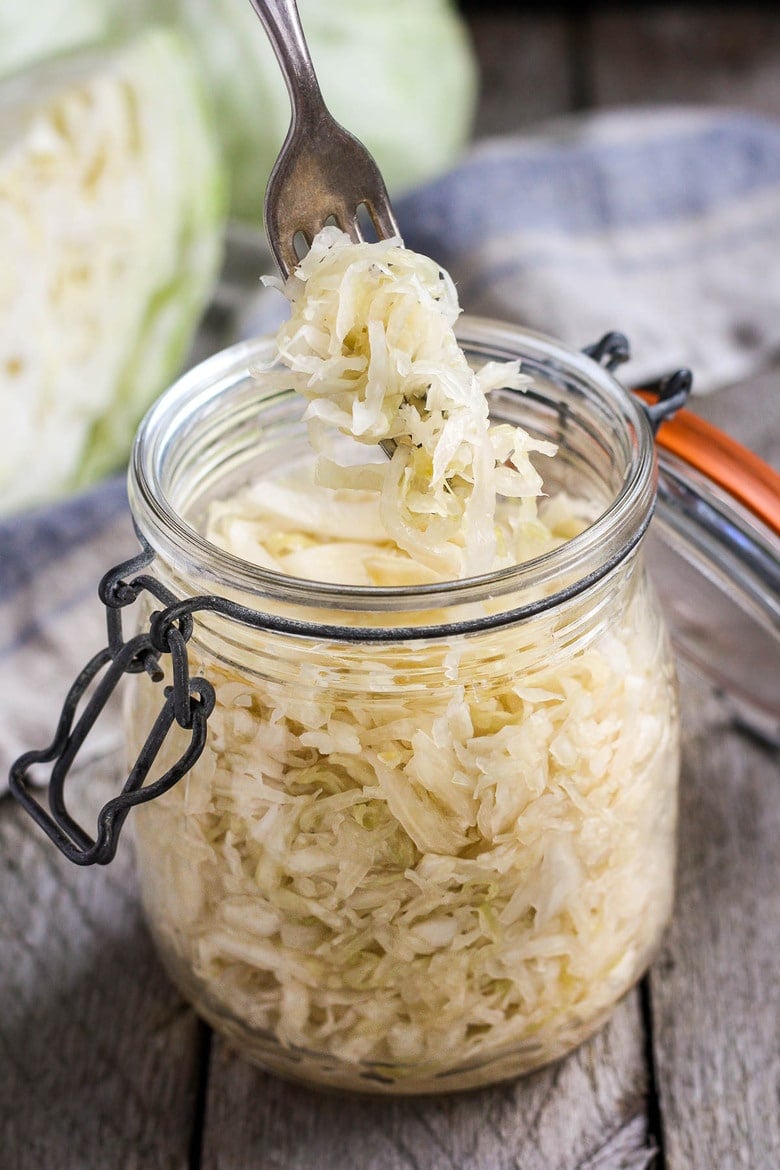
Making homemade Sauerkraut is easier than you think! Full of healthy probiotics that support our gut and boost our immune system, sauerkraut is fermented cabbage that takes under 15 minutes of hands-on time before mother nature takes over!
 Gratitude can turn a meal into a feast, a house into a home, a stranger into a friend. – Melody Beattie
Cabbage and sea salt. Time does the magic here. Once you introduce sauerkraut into your diet, your body may just start asking for more. Eating fermented foods like sauerkraut or kimchi feels so clean and alive. It is one of the richest sources of live probiotics, a tablespoon or two provides more benefits than a probiotic pill or powder! Talk about economical!
As a chef and after decades of fermenting foods, I’ve come to love the process of making sauerkraut! I love being able to et creative with flavors and control the taste. My family prefers a “less sour” sauerkraut. Tasting it as it ferments lets you find your own perfect sweet spot of flavor and texture. People who say they don’t like sauerkraut often tolerate homemade and even start to acquire a taste for it. My son, who currently likes about 2 vegetables, will eat this at almost every meal- thank goodness!
But First, What is sauerkraut?
Sauerkraut is shredded cabbage that has been cultured or allowed to ferment over time with the use of salt. The specific salt amount is crucial to a healthy fermentation. As it ferments, it gets more sour and tangy, a byproduct of the healthy living bacteria.
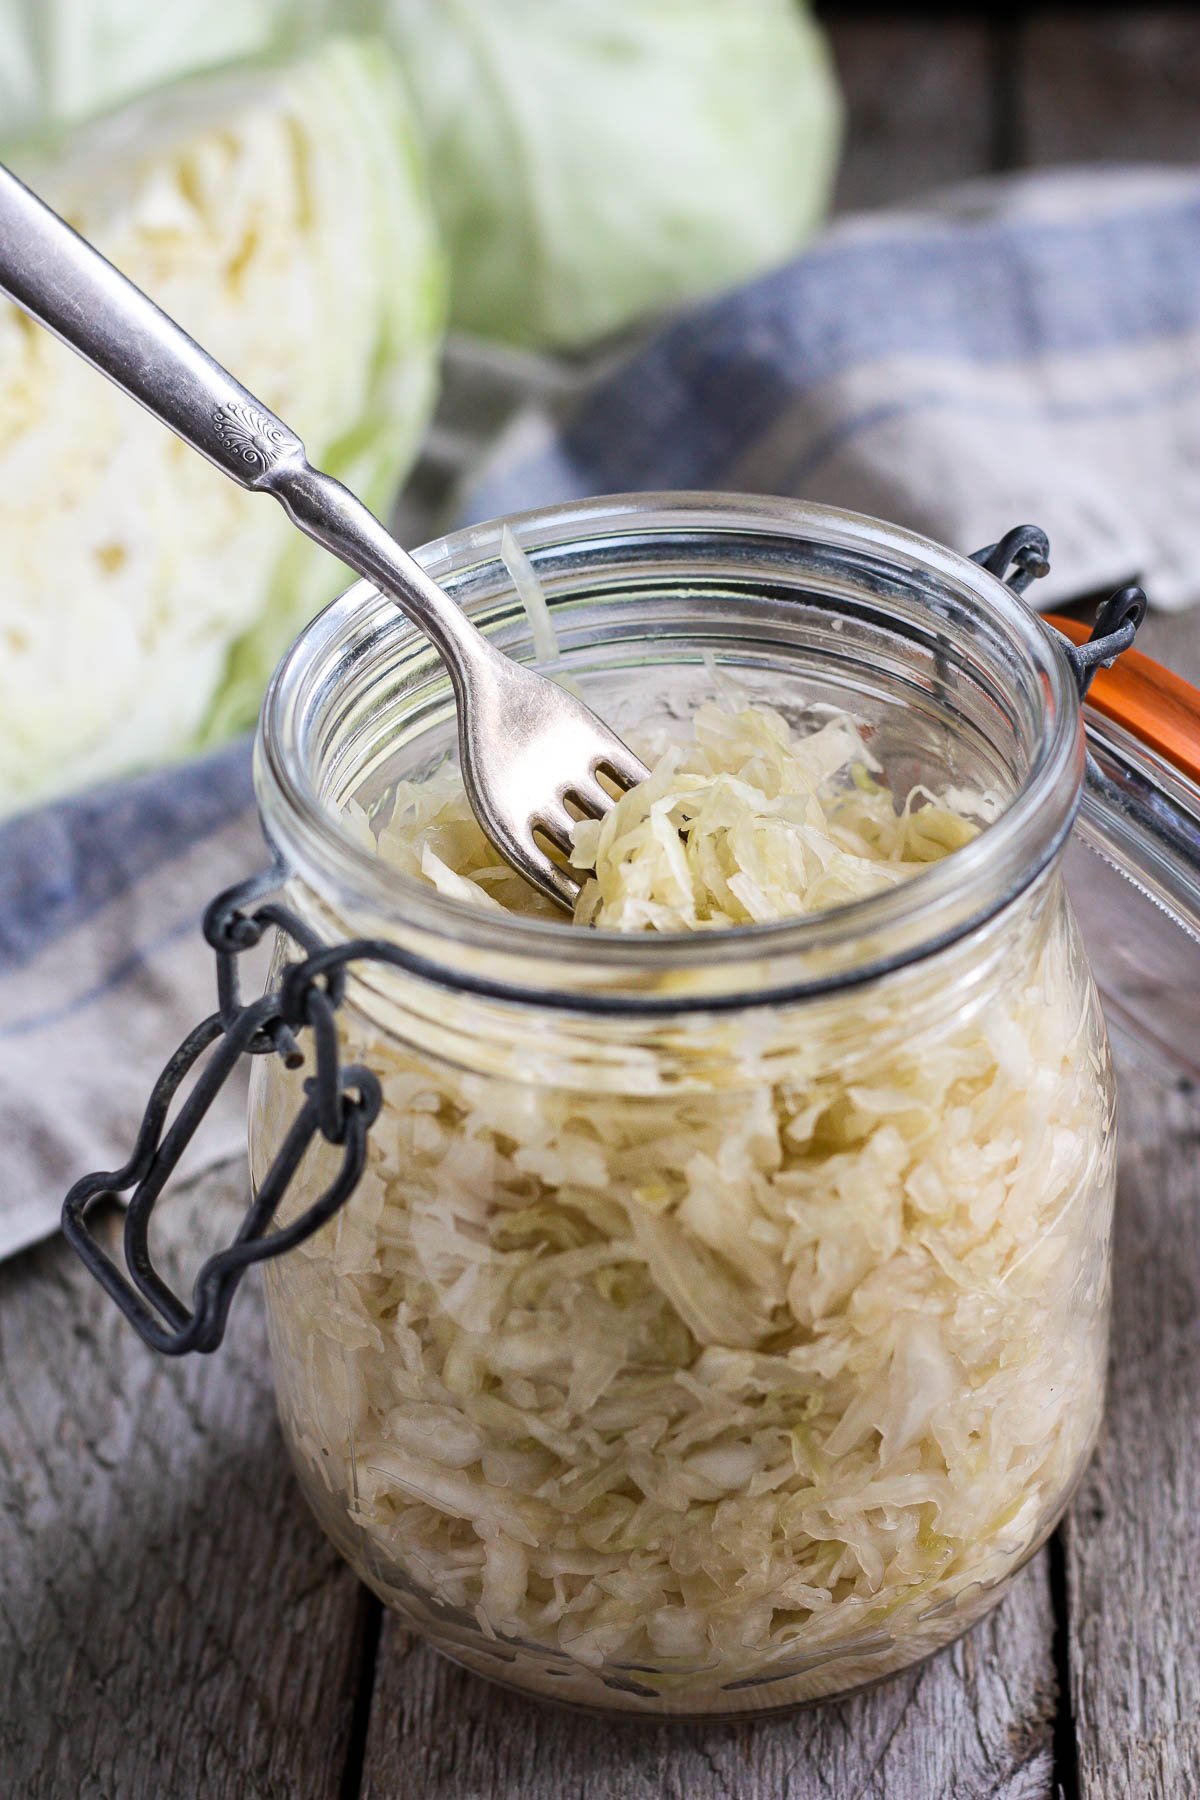
Everything you’ll need to make Homemade Sauerkraut
- Cabbage- typically made with green cabbage but really any color or type of cabbage will work!
- Sea Salt- Using a good clean salt without additives is important. Refined salt (including iodized and kosher pickling salt) with added iodine could hinder the fermenting process and cause unpleasant discoloring and undesirable texture. A good mineral-rich salt works best for fermenting. Salts high in minerals usually have a pink hue. Finely ground salt incorporates faster, helping the cabbage release juice more quickly which creates more brine and ensures a healthy ferment.
- Large bowl
- Clean Jars
- Fermentation weights
- Optional: air locks (a device that allows gases to escape the jar while preventing air from coming in)
How to Make SauerKraut
Step one: Start with clean and sanitized tools, containers and work surfaces. Set 2 cabbage leaves aside, and shred the rest with a sharp knife or mandolin. Weight the cabbage in grams. Multiply the weight of the cabbage in grams by .02. This is the amount of salt in grams, that you will need.
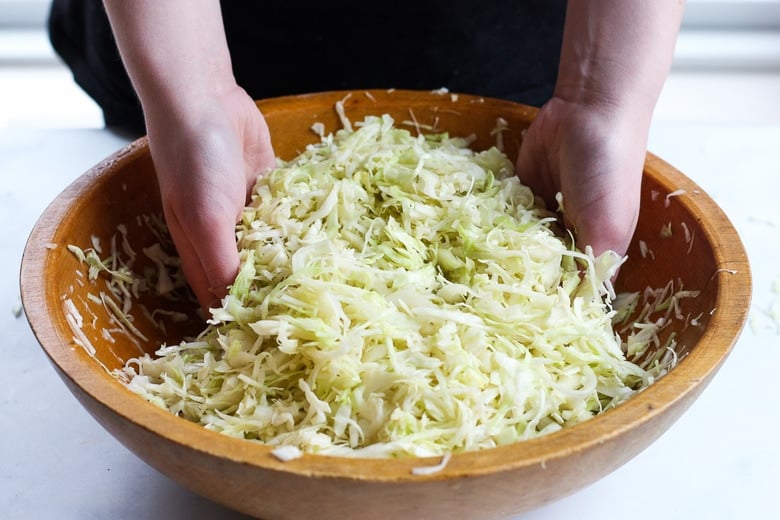
Massage cabbage with the salt in a bowl. Massaging the cabbage breaks down the cell walls, releasing the juices and incorporating the salt through the entire batch. If there is not a lot of brine, let it sit for a half-hour and check it. Once you start packing the cabbage into the jars it should be quite juicy.
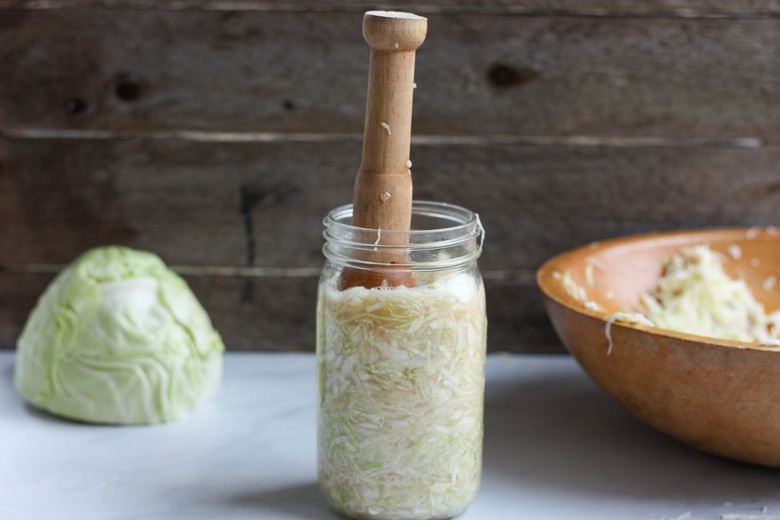
Step two: Pack in the jar. Transfer to a clean jar and pack tightly with a tamper, muddler, or your fist. If your cabbage is dry without much brine, you can create more brine by mixing 1 cup water with 1 1/2 teaspoons salt. Then add as needed to the jar.
Leave 3 inches of space between the brine level and the top of jar. Top with one or two cabbage leaves to keep shreds from floating above the brine. Keep cabbage below the brine, using a weight. This is an important key to good kraut health! This is your mantra “under the brine everything is fine.”
Step three: Weigh it down. Use a fermentation weight, or another clean, smaller jar that fits inside this jar to weigh the kraut down. Even a shot glass will work.
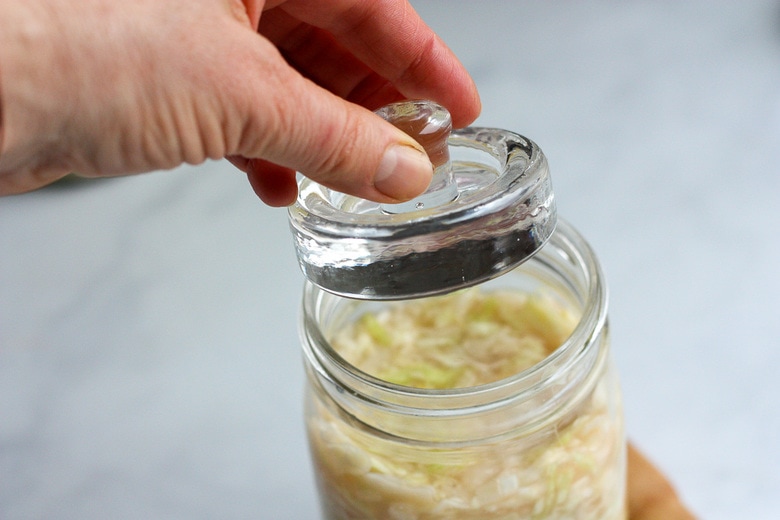
Step four: Ferment! Let this ferment out of direct sunlight and ideally where room temperature is a cool 64-72 degrees. A dark corner on your kitchen counter is good.
Step five: Check progress daily, making sure cabbage is still submerged and taste for tangy sourness starting day 3. It all depends on the climate, humidity and how sour you prefer the finished kraut to taste. 3-7 days seems to be when I get the results I like. Closer to 3 days in the summer, and more like 7 days in the winter. For really sour-tasting kraut, go 2-3 weeks. The larger your vessel, the longer the ferment.
Step six: Store! Once the sauerkraut is sour enough to your taste, remove weights and cabbage leaves and any oxidized kraut from the top, and store it in the refrigerator with a sealed lid where it will still slowly ferment. I think it tastes best after a week or two in the fridge.
How do I know when the sauerkraut is fermented?
- looks lighter and more yellow in color and slightly translucent, similar to a cooked vegetable
- smells pleasantly sour
- the texture will be firm, crunchy and not slimy
- the taste will have a tangy pickled flavor
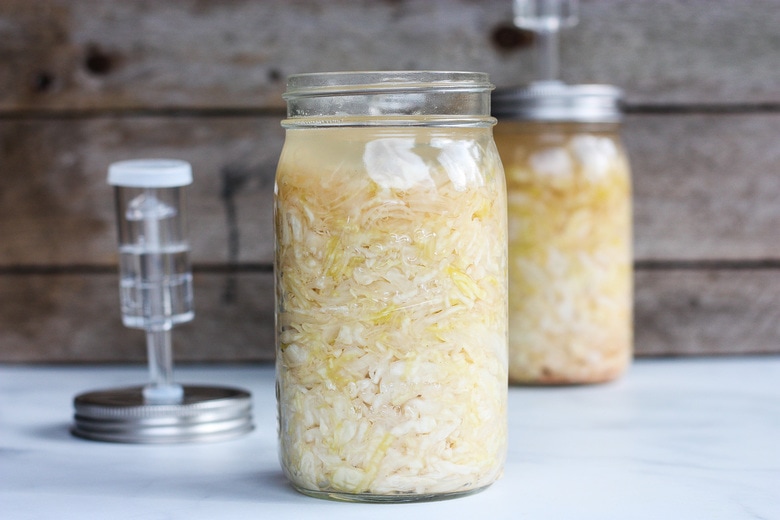
Sauerkraut Recipe Variations
Feel free to add flavorings to the kraut- caraway seeds, fresh ginger, fresh turmeric, onion, garlic cloves, dill or dill seeds, cumin seeds, etc. Take a peek at our Beet and Cabbage Sauerkraut and our Turmeric Kraut. You can also add grated carrots.
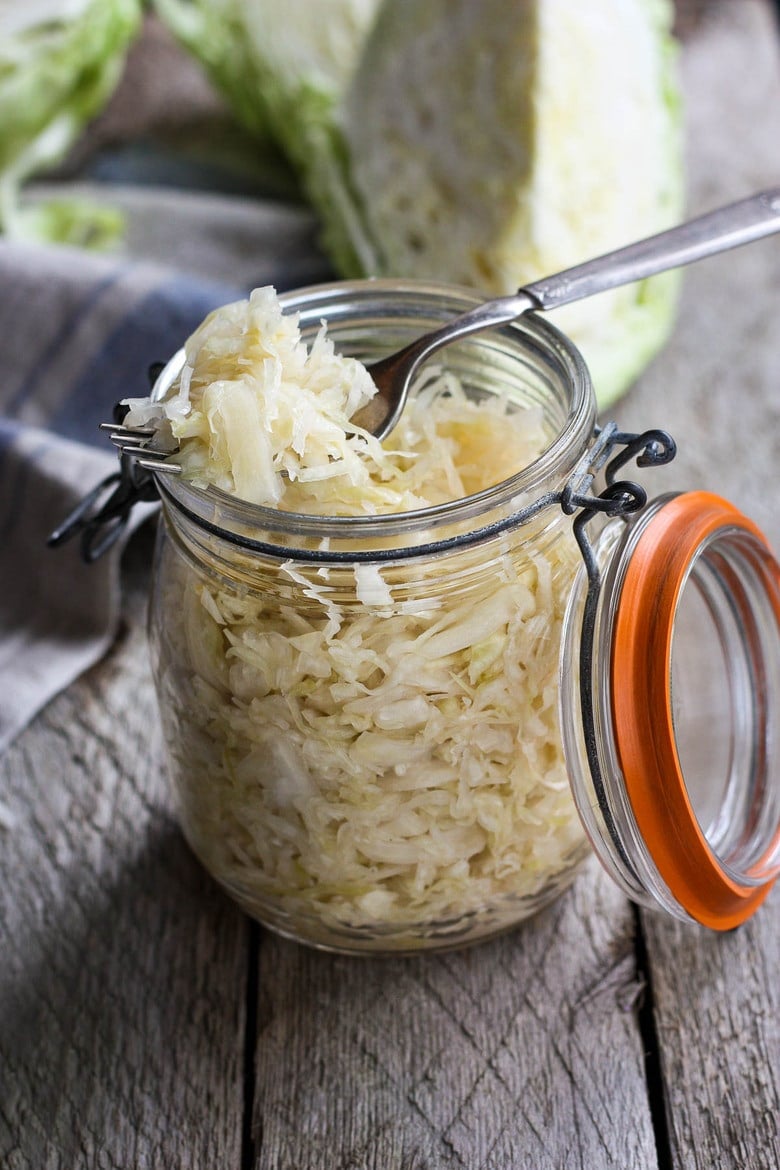
How to Store Fermented Cabbage
Once fermented, store the sauerkraut in the refrigerator, with a sealed lid where it will continue to ferment slowly. If kept below the brine, it will keep indefinitely.
Can you freeze sauerkraut?
Yes, you can freeze it but it may damage some or all of the healthy probiotics in the brine.
Ways to use Sauerkraut
Serve sauerkraut as a side dish to cut the richness of meaty dishes- roasts, stews, meaty sandwiches ( try out Tempeh Reuben), burgers, or hot dogs. Add to bowls, salads and wraps! Anything that needs a crunchy texture or a tangy component will work here!
Tips For Making Sauerkraut
Salt Ratio
Salts have different densities and weights. The recommended salinity for Sauerkraut is 1.5% – to 2.5% salt to the weight of the cabbage. Here we use 2% salt to the weight of the cabbage. Example: 1000 grams cabbage multiplied x .02= 2o grams of salt. Feel free to use more or less as long as it stays between 1.5% and 2.5%. I use Himalayan Sea Salt and Real Salt. Both are natural and unrefined with high mineral content. Once you are familiar with sauerkraut making, you will be able to add salt to taste. Tasting as you go gives you the best control over the quantity of salt. It is the simplest way to ensure success.
Benefits of using Airlocks
An airlock (below, left) is a device used in fermenting that allows carbon dioxide to escape the jar, while preventing air to enter the jar, thus avoiding oxidation.
I have fermented for many years without using airlocks. It is super easy yet I can’t say all my ferments have been successful. Since I decided to give airlocks a try, fermenting has become more foolproof with even less hands-on time.
Our goal is to cultivate friendly bacteria which thrive best in anaerobic environments. As the sugars and starches in the cabbage (or other fermenting specimens) begin to break down, an airlock allows the carbon dioxide to escape and flow out of the ferment but not back in. Keeping oxygen out means less contaminants and less potential for unwanted bacteria.
I have had great success with this Fermentation Kit that has crystal weights that fit perfectly in a wide-mouth mason jar. It is so convenient for small-batch ferments. This fermentation kit includes the jars which is a great option too!
The Benefits of This Sauerkraut Recipe
The probiotics in fermented foods like sauerkraut have been associated with a variety of health benefits, including bolstering immunity, improving digestion,and even supporting weight loss! Here are the most noteworthy:
- Increases the nutritional content of the foods being fermented.
- Supports the intestinal tract.
- Provides enzymes that aid in digestion.
- Stimulates and supports the immune system.
- May inhibit the growth of cancer cells.
- Antioxidant, anti-microbial, and antifungal
- Helps with inflammation
- Fermenting foods may increase the air quality in your home by introducing more healthy bacteria in your environment.
Watch How to Make This Sauerkraut Recipe
This sauerkraut makes it to our dinner table most nights, giving a delicious tang and crunch to many dishes. Try a dollop in soups, stews, salads, sandwiches, tacos, buddha bowls, and more! It truly elevates the meal with the added benefit of many amazing nutrients. Give it try and let us know what you think!
More Fermentation Recipes you may like:
- Curtido- Cultured Salvadoran Slaw
- How to Make Kimchi!
- Beet and Cabbage Sauerkraut
- How to make Turmeric Sauerkraut
- Fermented Hot Sauce -Simple and Delicious!
- How to make Fermented Pickles!
Homemade Sauerkraut
- Prep Time: 30 minutes
- Total Time: 30 minutes
- Yield: 1-2 Jars
- Category: fermented, preserved
- Method: fermented
- Cuisine: American
- Diet: Vegan
Description
Making homemade Sauerkraut is easier than you think! Full of healthy probiotics that support our gut and boost our immune system, sauerkraut is fermented cabbage that takes under 30 minutes of hands-on time before mother nature takes over!
Ingredients
- 1–2 heads of cabbage, about 2 pounds (1000 grams)
- Mineral or sea salt (not iodized)- ( 20 grams based on 1000 grams of cabbage). Or multiply .02 x the grams of cabbage, see notes)
Equiptment: 1-2 mason jars, fermentation weight, and a mudler
Instructions
- Set aside 2 cabbage leaves and leave them whole.
- Shred the remaining cabbage finely with a sharp knife or mandolin. Weigh the cabbage in grams (careful not to include the bowl’s weight). Take this number and multiply it by .02. This is the number in grams of salt you will need, so measure this out.
- Massage the measured salt into the cabbage. (Let sit 30 minutes, or longer if needed to extract more juices).
- Transfer cabbage and brine to your vessel and pack tightly with a tamper, or a muddler.
- Leave 3 inches of space between brine level and the top of the jar. Top with one or two cabbage leaves to keep shreds from floating above the brine add a fermentation weight.
- Keep the jars at room temperature (65-72F is ideal). Check progress daily making sure cabbage is still submerged ( pushing it down if not) and taste for doneness starting day 3. It will generally take anywhere from 3-5 days and will get sourer as it ferments.
- You will know that it is adequately fermented when it looks lighter in color, with a pleasantly tangy flavor.
- Store in the refrigerator with a sealed lid. To create a bubbly kraut, burping on occasion.
Notes
Salt Ratio: The recommended salinity for Sauerkraut is 1.5% – to 2.5% salt to the weight of the cabbage. Here we use 2% salt to the weight of the cabbage. Example: 1ooo grams cabbage multiplied x .02= 2o grams of salt. Feel free to use more or less as long as it stays between 1.5% and 2.5%. I use Himalayan Sea Salt and Real Salt. Both are natural and unrefined with high mineral content.
How to store: Cold temperatures (refrigeration or a root cellar if you are so lucky!) slow down the fermentation process. Make sure you store your kraut in its brine, and it will keep for at least 6 months.
Flavors: Feel free to add flavorings to the kraut- caraway seeds, fresh ginger, fresh turmeric, onion, garlic cloves, dill or dill seeds, etc.
Nutrition
- Serving Size: 2 tablespoons
- Calories: 35
- Sugar: 4.3 g
- Sodium: 728.3 mg
- Fat: 0.2 g
- Saturated Fat: 0 g
- Carbohydrates: 8.4 g
- Fiber: 2.4 g
- Protein: 1.6 g
- Cholesterol: 0 mg


I recently discovered the benefits of ferments for good health, but have struggled to find clear, concise recipes that accurately combine the science of fermenting with the amazing flavors that come from ferments. That is until I discovered Feasting At Home. Your ferment recipes are the best on both of these points and this includes the sauerkraut, but I’ve also used your site to make pickles and kimchi as well. Congratulations to the team for putting out what I think is the best site out there for ferments. Now I’m moving onto some of your tempeh recipes. As a vegan this site is such a find. Thank you!
Awesome to hear this Bill! Happy you are enjoying!
How big of a jar should I use for this recipe? Thank you
Start with 2 quarts. It will vary depending on the size of your cabbage.
Thank you looks like a good recipe to follow! The link those Jillmo jars -I searched on amazon and apparently they can not be sterilised as they dont with stand temperatures above 122F which is only sent in a small note after purchase. In case you have any other recommendations please let me know thanks
Oh weird! It says they are dishwasher safe, that is disappointing. I use mason jars with the fermentation lids. There are a lot of different brands of lids available.
Thank you looks like a good recipe to follow! The link those Jillmo jars -I searched on amazon and apparently they can not be sterilised as they dont with stand temperatures above 122F which is only sent in a small note after purchase. In case you have any other recommendations please let me know thanks
Hiya, thanks so much for sharing this recipe. I am a total beginner, but will be definitely be giving this a go! I note that some recipes have a longer fermenting time. What would be the longest time you would ferment your sauerkraut for? Does the fermenting time alter the amount of probiotics it produces? Thank you!
hey Kristie! I like “younger” krauts, crunchier and more refreshing. But feel free to ferment for up to 3 weeks.
I am surprised there is no apple cider vinegar used.
Hi Carolyn, This is the old method of salt brine curing. The post gives a few more details on how it works. Super nutritious!
Will this work with savoy cabbage as well? Or will it get too soft? Just wondering, before I get started…
Sure! It should work just fine.
Help please? I successfully made this about 2 months ago, and was delighted with the result.
However I have a concern about my new batch which has been sitting on my counter for about a week. I just noticed a fuzzy mold growing on the cabbage that was not totally submerged in the brine. It’s mostly on the edge of jar, but it’s definitely a ring of a hairy fungi. This would be a very recent development. Must I toss the whole batch? Thanks.
Hi Monica- If it were me, I would try removing the moldy parts. Then smell the kraut. If I smell mold, toss. If you feel you removed the mold successfully, and can’t smell any mold, you could taste a little spoonful. Taste mold? Toss. Tastes good, keep and monitor it. It is really a personal decision here! Sometimes, even if the mold is successfully removed, the mental image of this may keep you from enjoying it, so in this case, I would just start over, making sure the cabbage leaf is completely submerged under the brine. 🙂
@Renee says it well. I use a gallon glass jar for the packed ingredients and another tall, skinnier glass jar (filled w/water to add weight) that fits into the gallon jar opening. I cover with towel and set in a rimmed tray to catch any overflow the first ~48 hrs. Also, just a correction suggestion on the salt:cabbage ratio. It should be written “2%” not “.02%”. Thanks, Tonia, for your expert tips!
Thnks Deb, fixed the typo, appreciate this!
I have made this now many times with great success! I love this recipe.
The first time I tried making sauerkraut, I used a different recipe that claimed you can use a bag of water on top instead of a weight. Don’t do this, it turns moldy.
I have since found many suitable glass items to use as weights in thrift shops. They’re a great place to find random items 😊
The first time I made this recipe I packed it into a jar that was too small, filling almost all the way to the top. The next morning so much extra brine was created and it had spilled all over the counter. Now I know to leave a good amount of space at the top for the brine that will come overnight.
If you’re going to make this, I recommend you read all the helpful information provided in the body of the post first.
Glad this is working for you and you have figured out your system!
Could you clarify the amount of salt required? The ingredients say 2 tablespoons, but the body of the recipe says 2 teaspoons…
Hi Teegan, I can see how this is confusing! The two teaspoons are a start and you continue to add salt in until the taste is right. I will try to make that more clear in the recipe.
I just rating a 4 as I’ve not tried it yet. Pretty stuff it will likely rate a 5 tho.
I’ve done some fermenting … You quite correct on the kits being super handy making it all super easy.
Wish I’d known about the larger jars taking longer.
I’ve made it with garlic & dill sprinkled in the layers. Also grated kohlrobi & mixed in with cabbage. Really like that. I’m excited try your kimchi! WOULD IT MAKE MUCH DIF DIFFERENCE KIMCHI if used red cabbage?
Thank you
HI Linda- I’ve made kimchi with many kinds of cabbages. All seem to work, though vary in fermenting time. 😉
Do I take the weight and top cabbage leaves off before storing in fridge?
Thank you for this recipe.
Yes!
About to make this- could you give measurements of cabbage and salt in weight or grams? I’m hesitant with the rough estimates you list.
Hi Peter, There is not an exact science when it comes to fermenting foods. If you read through the body of the post it may help explain the process and how to get a sense of the right measurements.
Yes, I did read that, which is why I purchased the salt recommended in the blog. I guess I’ll have to experiment with both quantities and different salts. I am a salt-hound, so not upset with the saltiness, just the flavor. It could be that I am comparing the flavor to a delicious kraut made by a friend using a slower process. Do you have any other salt you like to use than the one listed? Thanks for your responses.
I primarily use the mineral salts. What does it taste like?
Are you hoping for more sour? The longer it ferments, the less salty it becomes.
You could try letting it sit in the back of your fridge for a couple weeks and see if the flavor changes.
I was disappointed in the flavor of my fermented cabbage. I used the salt suggested in the recipe and my cabbage was a lovely, fresh little organic jobber, so I am assuming the disappointing flavor was due to the salt. I’d really like to get this right and have it be a thing I do regularly. Do you have any suggestions for how I might come by a better outcome next time?
Hi Melanie, did you read the section above the recipe titled Salt Matters? This may help sort it out. It took me a while to find my rhythm with ferments. The best way I found is to taste the saltiness as I am making it- I don’t measure anymore, I just know the taste of the ratio I am looking for. Another way to cut down on salt is to add brine from a previous batch- just a tablespoon will get it activating and juicy without needing a lot of salt. Does this help?
I find using a salt ratio works perfect every time. .02% salt to weight of cabbage. Eg: 1200grams cabbage X .02= 24grams salt
Thanks for this Joyce!
So I just made a batch, let it sit for an hour but still not much liquid. I have transferred it to a glass jar and hoping it will let out more water by tomorrow. I think I added enough salt but does it have to be extremely salted?
I would give it more time. You may find some helpful pointers in the comments.
Is it better to use glass jar or wouldn’t make a difference if plastic?
I prefer glass. Not sure about plastic leaching into the food.
It did! I opened the jar once on the second day to push everything down. I’m guessing that was a mistake. A lot of bubbles rose up when I took the jar off. Do you think I should discard the whole batch and chalk it up to a learning experience, or will there be clues if it became contaminated or not? Naively yours!
That is totally fine to open and pack ingredients down daily! The bubbles mean it is activating, this is a good sign! Make sure the cabbage is completely submerged under brine. If it still looks and smells good it is fine! (you would know if it smells off)
I just tried my first batch, but I’m confused about the brine. How much moisture is supposed to be present after adding salt? When I packed my head of cabbage with 1 tblsp of salt into a jar, there was no brine, just wet cabbage. The salt-massaged shredded cabbage sat for 30 minutes before I packed it into a jar.
I’m curious if it created brine after a few hours of being packed in the jar? It is important to use whole (as oppose to preshredded or cut) fresh cabbage as the older it is the less water content it has. You can try adding a couple of tablespoons of lemon juice to increase the liquid. You can make brine with water and salt, though I don’t prefer this because it can (not always…) affect the texture of the cabbage, making it mushy.
Haven’t made this yet but am going to. I am surprised there isn’t any vinegar in this recipe.
There is a magical transformation that happens with fermentation that produces that sour tang. Just salt and time!
when the sauerkraut is done and ready to eat, can it then be put through the canning process?
Canning would kill all the living probiotics in this recipe, defeating its purpose really. 😉
got it! that makes sense. is there a way to make fermented products shelf stable? does the 6 month life have to be in the fridge?
Yes my understanding is that it needs to be in a consistent non-fluctuating cool temperature. A root cellar or fridge is best.
Does it have to have so much salt? What is the minimum I can use and get good flavor? I don’t mind having to ferment it for a longer time if using less salt has that result, but my dad, who has to restrict his sodium, loves sauerkraut but thinks one serving is at least a half cup, which would be over 60% of his allotted salt just for this one thing.
There are versions that use less salt and there are also no salt versions using a tablespoon of brine from a previous batch (once you get it going regularly) or whey (strained from yogurt) per pint of cabbage. I have not experimented with this but it sounds doable! You can try less salt just be sure to keep everything under the brine and make sure it smells and looks fresh and good.
Please, do I add seeds before packing for ferment, or when it’s done?
Mix them in with the cabbage before packing into the jars. This way the cabbage gets infused with the flavor.
I do not see any recipe for the brine?
As you massage the salt into the cabbage it will get juicy, which creates the brine!
I’ve had my salted, massaged cabbage resting for 35 minutes and still no liquid. Do I just pack it in jars as is?
You can try pounding it with a tamper in the bowl and then as you pack it see if it juices. You can also add a few tablespoons of lemon juice you just need enough liquid to cover the cabbage.