How to make homemade Sourdough English Muffins using sourdough starter or sourdough discard -no yeast! They raise overnight and are cooked on the stovetop in the morning. Tender, delicious, and easier to make than you might think! Vegan adaptable. Watch the video!
When we question our thoughts, we see that the craziness was never in the world, but in us. ~Byron Katie
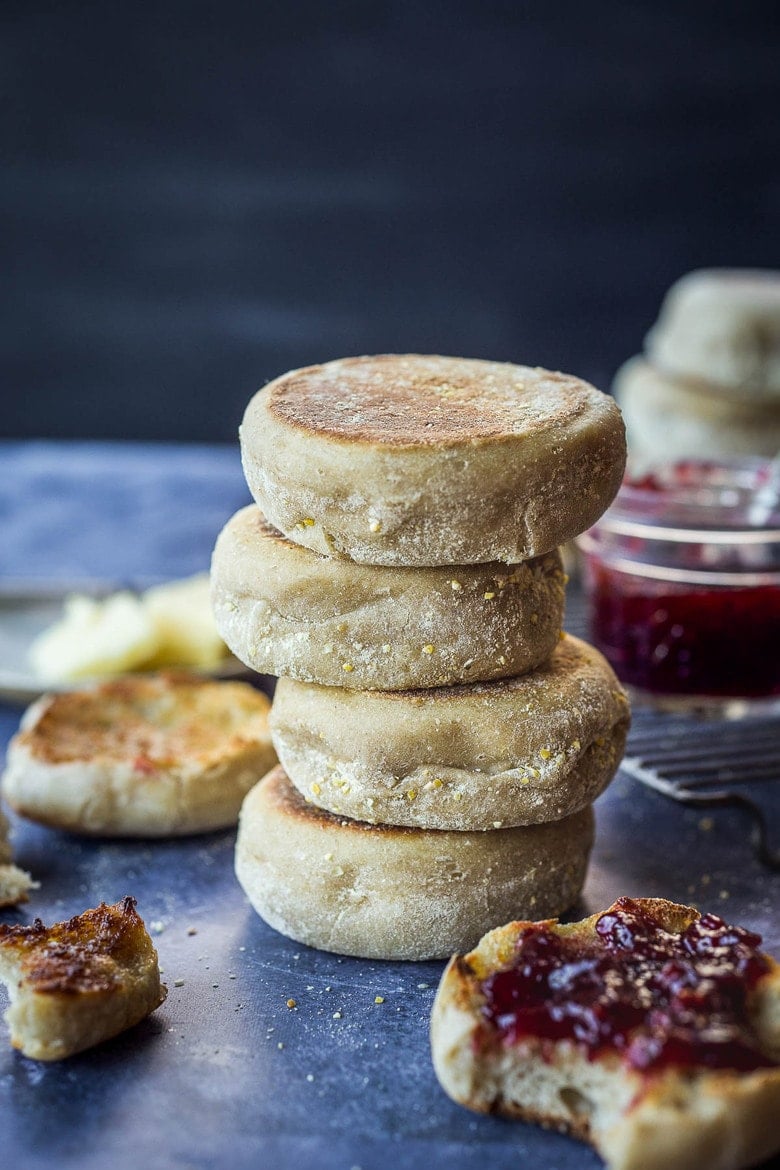
Oh my, these Sourdough English Muffins are so tasty! They are so tender, so flavorful, and so impressive with all the happy little nooks and crannies. Tuck a few batches away in the freezer for company and weekend breakfasts.
There is a little planning ahead as the muffin dough requires 1 cup of proofed starter (fed 6-8 hours before using). If you are in the routine of making sourdough bread, this is not too hard of a feat!
Simple to whip up in the evening letting the dough do its lofty magic. In the morning, knead in baking soda, salt and enough flour to make a soft but not sticky dough. Roll it out, shape, rest and “bake” the Engish muffins on a cast-iron skillet or griddle on the stovetop.
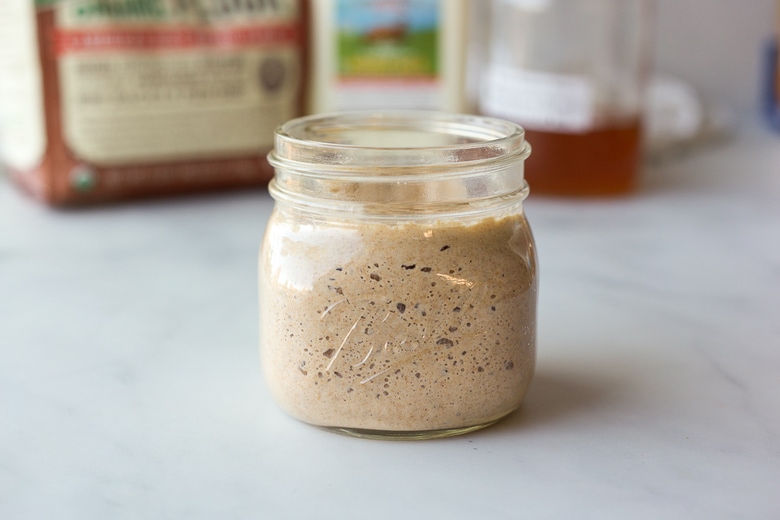
What you’ll need for Sourdough English Muffins
- proofed sourdough starter (fed 6-8 hours before)
- honey
- milk (many options will work)
- all-purpose flour or 1/2 wheat and 1/2 white
- baking soda
- sea salt
- cornmeal
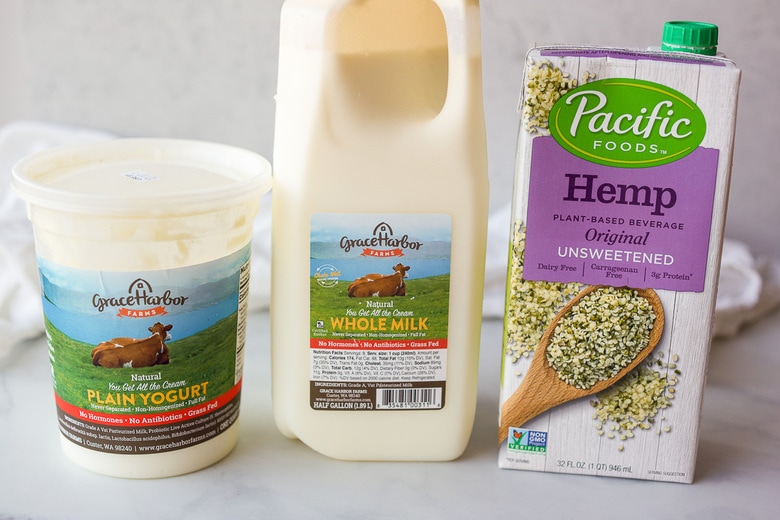
This recipe calls for milk which will enrich and soften the muffin. I use whatever I have on hand. Sometimes raw milk, sometimes hemp milk, and sometimes half yogurt and half water. They all turn out just fine!
How to make Sourdough English Muffins in a nutshell
- In a large mixing bowl combine sourdough dough starter, honey and milk (vegan or dairy!).
- Add flour mixing until fully incorporated.
- Cover and let rest on the kitchen counter overnight for 10-14 hours. ( 65-70 F)
- In the morning knead in salt, baking soda and more flour until dough is smooth.
- Roll out dough and cut into rounds. Rest 1 hour on a cornmeal-lined tray.
- Cook on a dry cast iron pan or griddle.
How to make Sourdough English Muffins
Step one
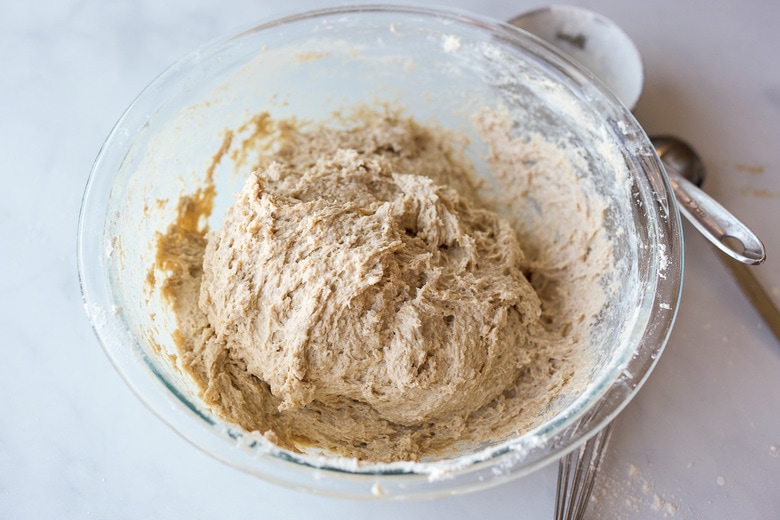
In the evening: In a large mixing bowl combine sourdough starter, honey, milk, and flour mix thoroughly.
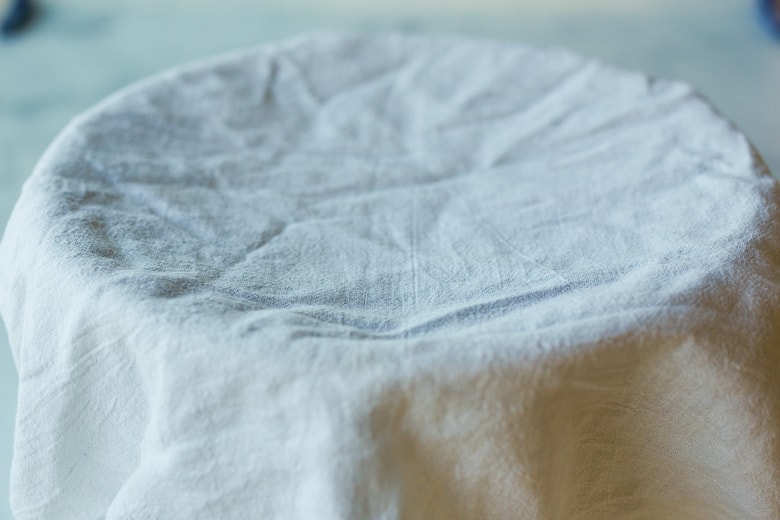
Step two
Cover and leave at room temperature for 10-14 hours.
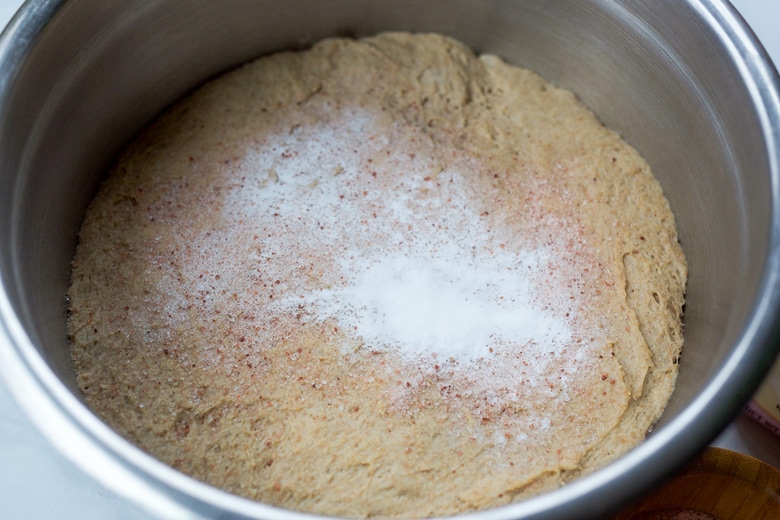
Step three
In the morning, sprinkle baking soda and salt over the dough.
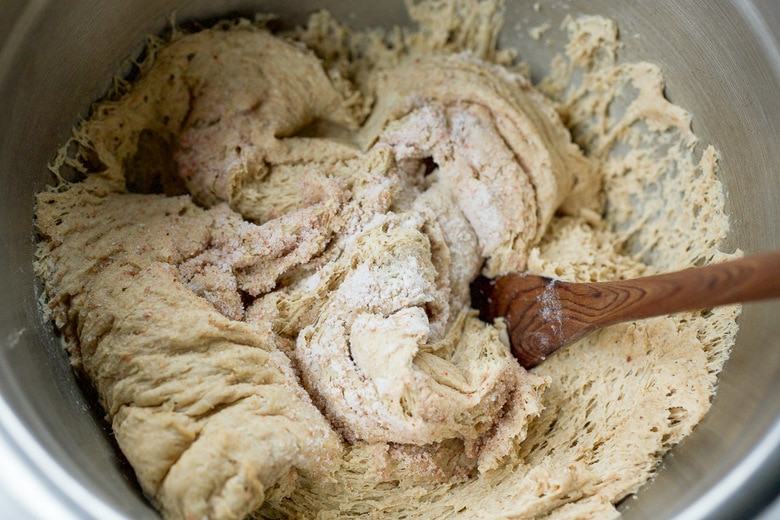
Step four
Work these into the dough adding more flour.
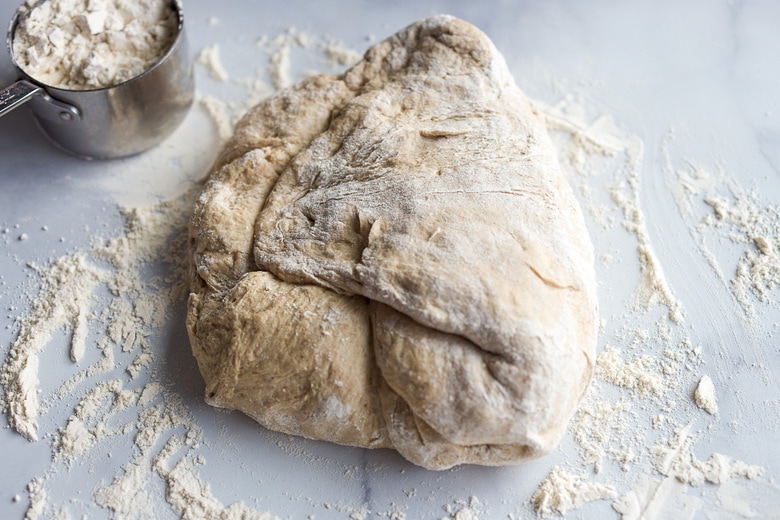
Step five
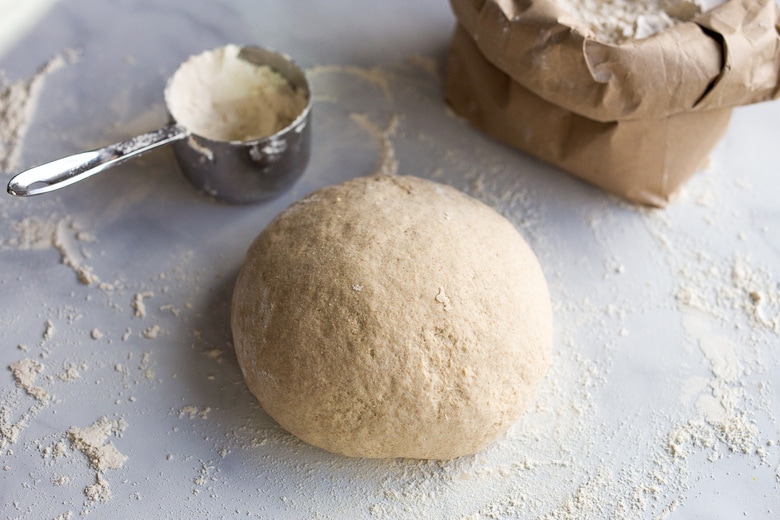
Turn out onto a floured surface and knead just enough flour into the dough so that it is smooth and just beyond the sticky point. Form a ball.
Step six
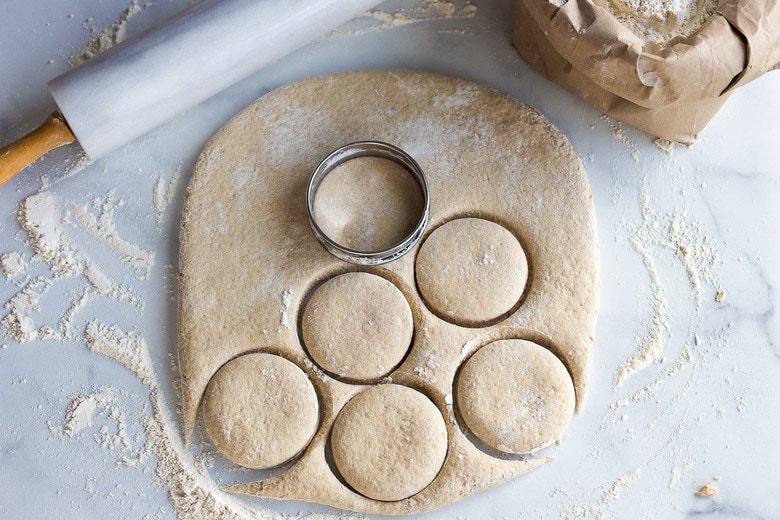
On a floured surface, roll the dough out to 1/2 inch thick and cut out with a large biscuit cutter (3- 3 1/2 inches).
Step seven
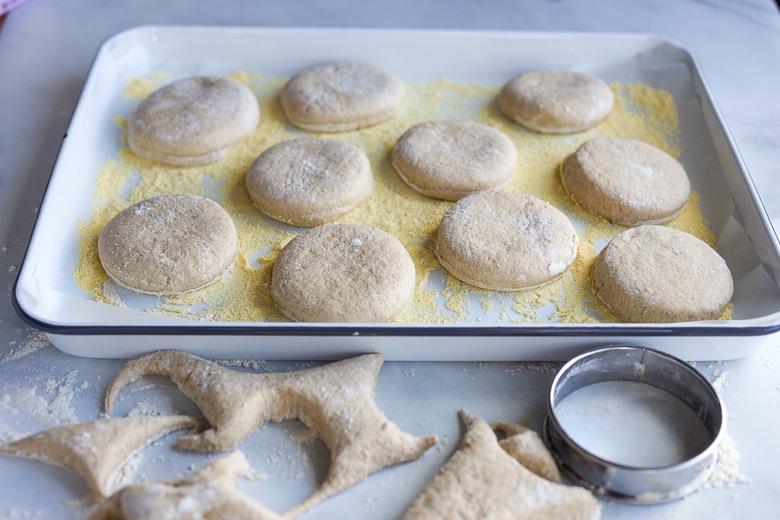
Using a metal spatula, place on a baking sheet generously sprinkled with cornmeal to keep them from sticking to the pan. Sprinkle a little more over the top. Not totally necessary, but gives a nice texture and both sides will look more even when cooked.
Step eight
Let rest about 1 hour on the counter. Less time if your kitchen is particularly warm, like above 80 degrees.
Step nine
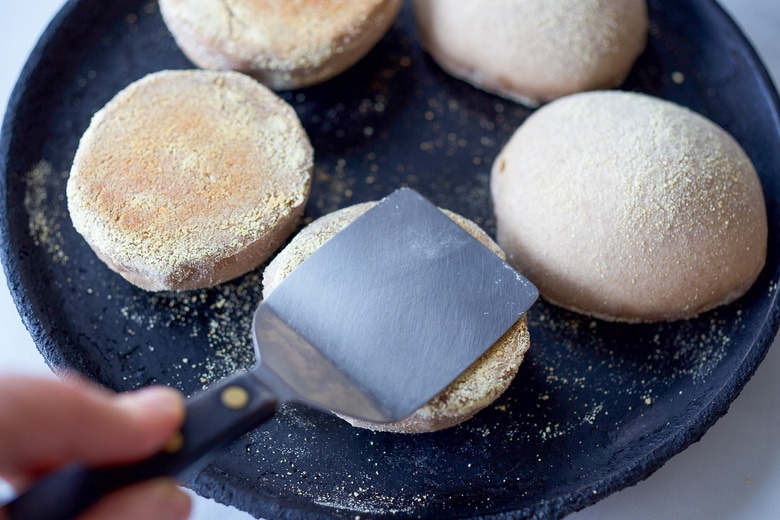
Cook! Heat a dry skillet. With a metal spatula, carefully transfer the muffins to the pan, allowing an inch or so between them. Cook 10-15 minutes on each side. When flipping to the second side press down slightly with the metal spatula to get more of the muffin in contact with the heat. This helps keep the muffin flat rather than dome-shaped.
To assure the muffins are cooked through, their internal temperature should be around 200 F.
Tip: If muffins are getting too brown but not cooked in the center, pop in an oven at 350F for 10 minutes or until done in the middle.
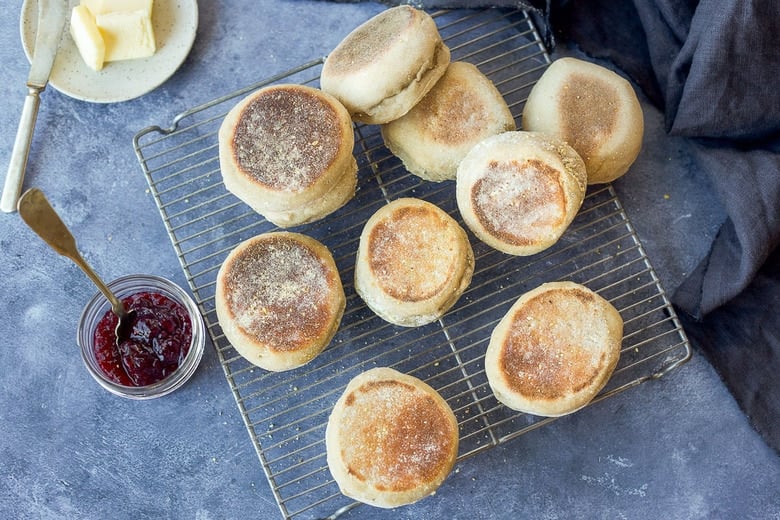
Expert Tips
- Use sourdough starter that is fed 6-8 hours before using in the recipe.
- Split with a fork for all those amazing nooks and crannies. (rather than cutting with a knife.) Just stick a fork in the side of the muffin in about 4 places around the muffin and pull apart with your fingers.
Can this be made Vegan?
Yes! Use non-dairy milk and maple syrup or another sweetener of choice.
Storage
- On the counter sealed in an airtight container at room temperature up to 5 days.
- Freeze well sealed for up to 3 months.

More sourdough recipes you may enjoy
- Simple Sourdough Starter
- Sourdough Crackers
- Quick Sourdough Buns
- Sourdough Scones with Lemony Glaze
- Sourdough Waffles!
- Sourdough Pancakes
- Soft Sourdough Rolls
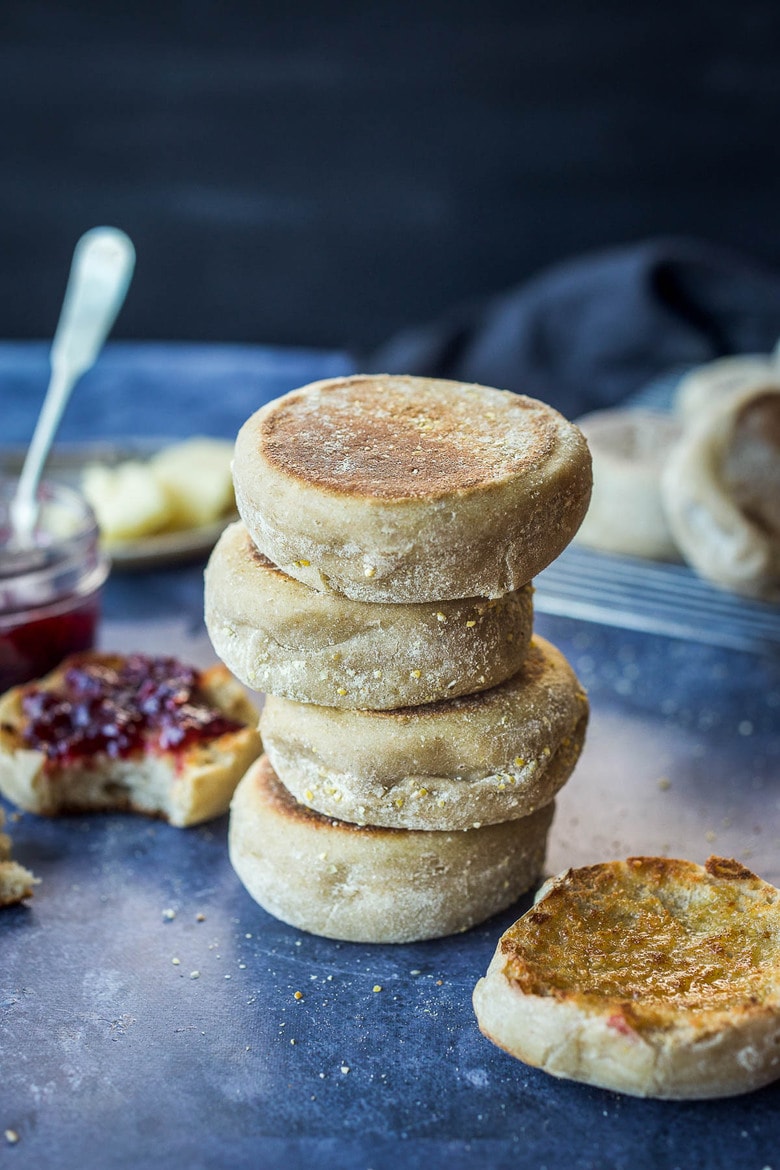
My family gobbles these up, I hope you enjoy them as much as we do!
Sourdough English Muffins Video

Sourdough English Muffins
- Prep Time: 14 hours
- Cook Time: 30 minutes
- Total Time: 14 hours 30 minutes
- Yield: 12-14 muffins
- Category: baked, sourdough recipes
- Method: stovetop
- Cuisine: American
- Diet: Vegetarian
Description
How to make homemade Sourdough English Muffins using sourdough starter (no yeast!). They raise overnight and are cooked on the stovetop in the morning. Tender, delicious and easier to make than you might think! Vegan adaptable. Allow
Ingredients
- 1 cup sourdough starter, (276 grams) fed 6-8 hours before
- 2 tablespoons honey (42 1/3 grams)
- 2 cups milk (1/2 liter) (or nut milk, reconstituted powdered milk, or a mix of yogurt and water)
- 4 cups bread flour (548 grams) (can use 1-2 cups whole wheat flour)
- 1 teaspoon (4 2/3 grams) baking soda
- 1-2 cups (137-250 grams) bread flour or all-purpose flour
- 2 teaspoons sea salt
- 1/4 cup (40 grams) cornmeal
Instructions
the night before
- In a large mixing bowl combine sourdough starter and honey. Mix until fully combined. Add milk, mix thoroughly.
- Add about half of the flour, mix in thoroughly and add the remaining flour. Incorporate until just mixed.
- Cover and leave at room temperature for 10-14 hours.
In the morning
- Sprinkle baking soda and salt over the dough and work into the dough. Knead more flour into the dough until it is smooth and just beyond the sticky point. Form a ball.
- On a floured surface, roll the dough out to 1/2 inch thick and cut out with a large biscuit cutter. Combine scraps and roll out and cut more muffins out.
- Place on a baking sheet generously sprinkled with cornmeal to keep from sticking to the pan. Sprinkle a little more over the top. Not totally necessary but gives a nice texture and both sides will look more even when baked.
- Let rest 1 hour. Less time if your kitchen is above 80 degrees.
- Thoroughly heat up a cast iron skillet over med-low heat (or griddle set to 325 F), we are going for even heat so give about 5 minutes to get fully warm (you could also place skillet in a 325F oven).
- With a metal spatula, carefully transfer the muffins to the pan, allowing an inch of space between them. They will expand. Cook 10-15 minutes on each side.
- When flipping to the second side press down slightly with the metal spatula to get more of the muffin in contact with the heat keeping the muffin flat rather than dome-shaped.
- Test internal temperature. You want it around 200F. If not done in the center and muffins are getting too brown, pop in an oven at 350 for 10 minutes or until done in the middle.
- Split with a fork for all those amazing nooks and crannies. (Rather than cutting with a knife.)
Notes
Wheat flour tastes amazing in these. The more wheat you add the denser the muffin gets. Still delicious just a different texture.
When using wheat flour, add 1-2 cups in the initial mix, the night before. Finish off with the AP flour in the morning.
Storage: On the counter sealed in an airtight container at room temperature up to 5 days. Freeze well sealed for up to 3 months.
Nutrition
- Serving Size: 1 muffin
- Calories: 192
- Sugar: 4.4 g
- Sodium: 438.6 mg
- Fat: 0.5 g
- Saturated Fat: 0.1 g
- Carbohydrates: 40 g
- Fiber: 1.4 g
- Protein: 6 g
- Cholesterol: 0.7 mg



HI! I really wanted to love these. They didn’t seem too difficult and I followed all directions and measured ingedidents. Mine came out too dense and when I toast them, yikes! They seem very hard. I used organic all purpose flour with 1C ww and oat milk. Will bread flour make much of a difference if I try that?
Oh bummer! Some potential issues could be overworking the dough, under proofing, cooking at to low of temperature. Bread flour should create more nooks and crannies.
I didn’t have a cast iron or anything on hand but I had a griddle and a bbq. Came out great. With an avg temp of 325 I found it took a bit less time for me. I did about 8 minutes and 5 minutes. Internal was hovering at 200-210 on them and fluffy.
Glad you gave them a try Jordan!
These turned out great! What is suggested for storage for these? Freezer/reheat option?
Glad you enjoyed Lara! Thanks for the question- will add to the post.
Freezer- sealed container for up to 3 months
Store in a sealed container at room temperature up to 5 days.
when covering for the overnight rise should it be a dry or wet kitchen cloth?
I cover with a silicone, plastic lid or a dry towel- it is wet enough at this point to not dry out too much. Thanks for the question Léah.
Great recipe. My muffins came out a touch bready (a little dense). I’m considering adding a second tsp of soda to get more rise; I did see the note RE covering the skillet. Any other thoughts for getting a looser crumb?
Could be the temperature of your kitchen, around 65-70F is ideal, if cooler, may need a longer ferment. Same goes for the resting time before you cook them. A good quality flour makes a difference. You can play around with the soda but too much will give an acrid taste that is unpleasant.
Do you cover the cast iron skillet?
Not usually. If the muffins need to cook more in the middle you can bake them to finish off.
I use a cast iron skillet as well and have better results using a cover. Gives them a bit of steam and they rise a bit more. But with or without they come out great!
Awesome, thanks Tony!
We made these today and only have a 90g of starter left. How should we feed the starter from here?
Add the same amount of water as starter and twice the amount of flour. So 90g starter, 90g water, 180g flour.
Immediately or wait until the weekend when we normally feed it on a weekly basis?
Oh I see…I would just stick with the normal schedule.
A little late here, but I prefer the scraping method—so I always only keep a tablespoon or two in my starter jar and only feed when I need some starter. And then I feed it according to my needs. This eliminates discard. I know many people who love using discard, but I’m not one of them. So for me, this works great, and there’s no feeding schedule to keep. Just feed as needed, even if it’s only once a month or so.
What’s the best way to store these?
Airtight container at room temperature up to 3 days, or the fridge for about 1 week, in the freezer for a couple months.
Suggestions on adding in raisins or chocolate chip as at what step should I add that?
Hi Jenni! I would add in the morning with the baking soda.
I made these on my Blackstone and they turned out absolutely perfect. They taste amazing! 😍
Oh nice!
they were delicious and not to hard to make, But most of all your instructions were Marvelous simply Marvelous Thanks
Great to hear Kirk!
Love this recipe! The English muffins are excellent.
Great to hear Carolyn!
I tried them too! So good and not as hard as i thought.
Glad you tried these Jennifer!
After a week of babysitting my first sour dough starter, I decided to try the English Muffins. They turned out excellent due to your very easy directions. I didn’t time things right so stuck in the refrigerator overnight to pause the proofing. They were ready for lunch!
Perfect Jennifer!
Thanks for the amazing recipe and greetings from Austria, where your recipes are very appreciated 🙂
I forgot to add the wheat flour in the initial step this time. Could I still add in the morning instead of the AP flour or rather leave out entirely?
Yes! Just go ahead and add it gradually- you may not need it all.
Can the dough be refrigerated if I don’t have time to cook it the next day?
Yes, it will get a little more sour the longer it sits.
Have you tried other flavours? I’m thinking adding in raisins and cinnamon during the last mix, or maybe apple chunks
Yes that all sounds great!