All disease begins in the gut. – Hippocrates
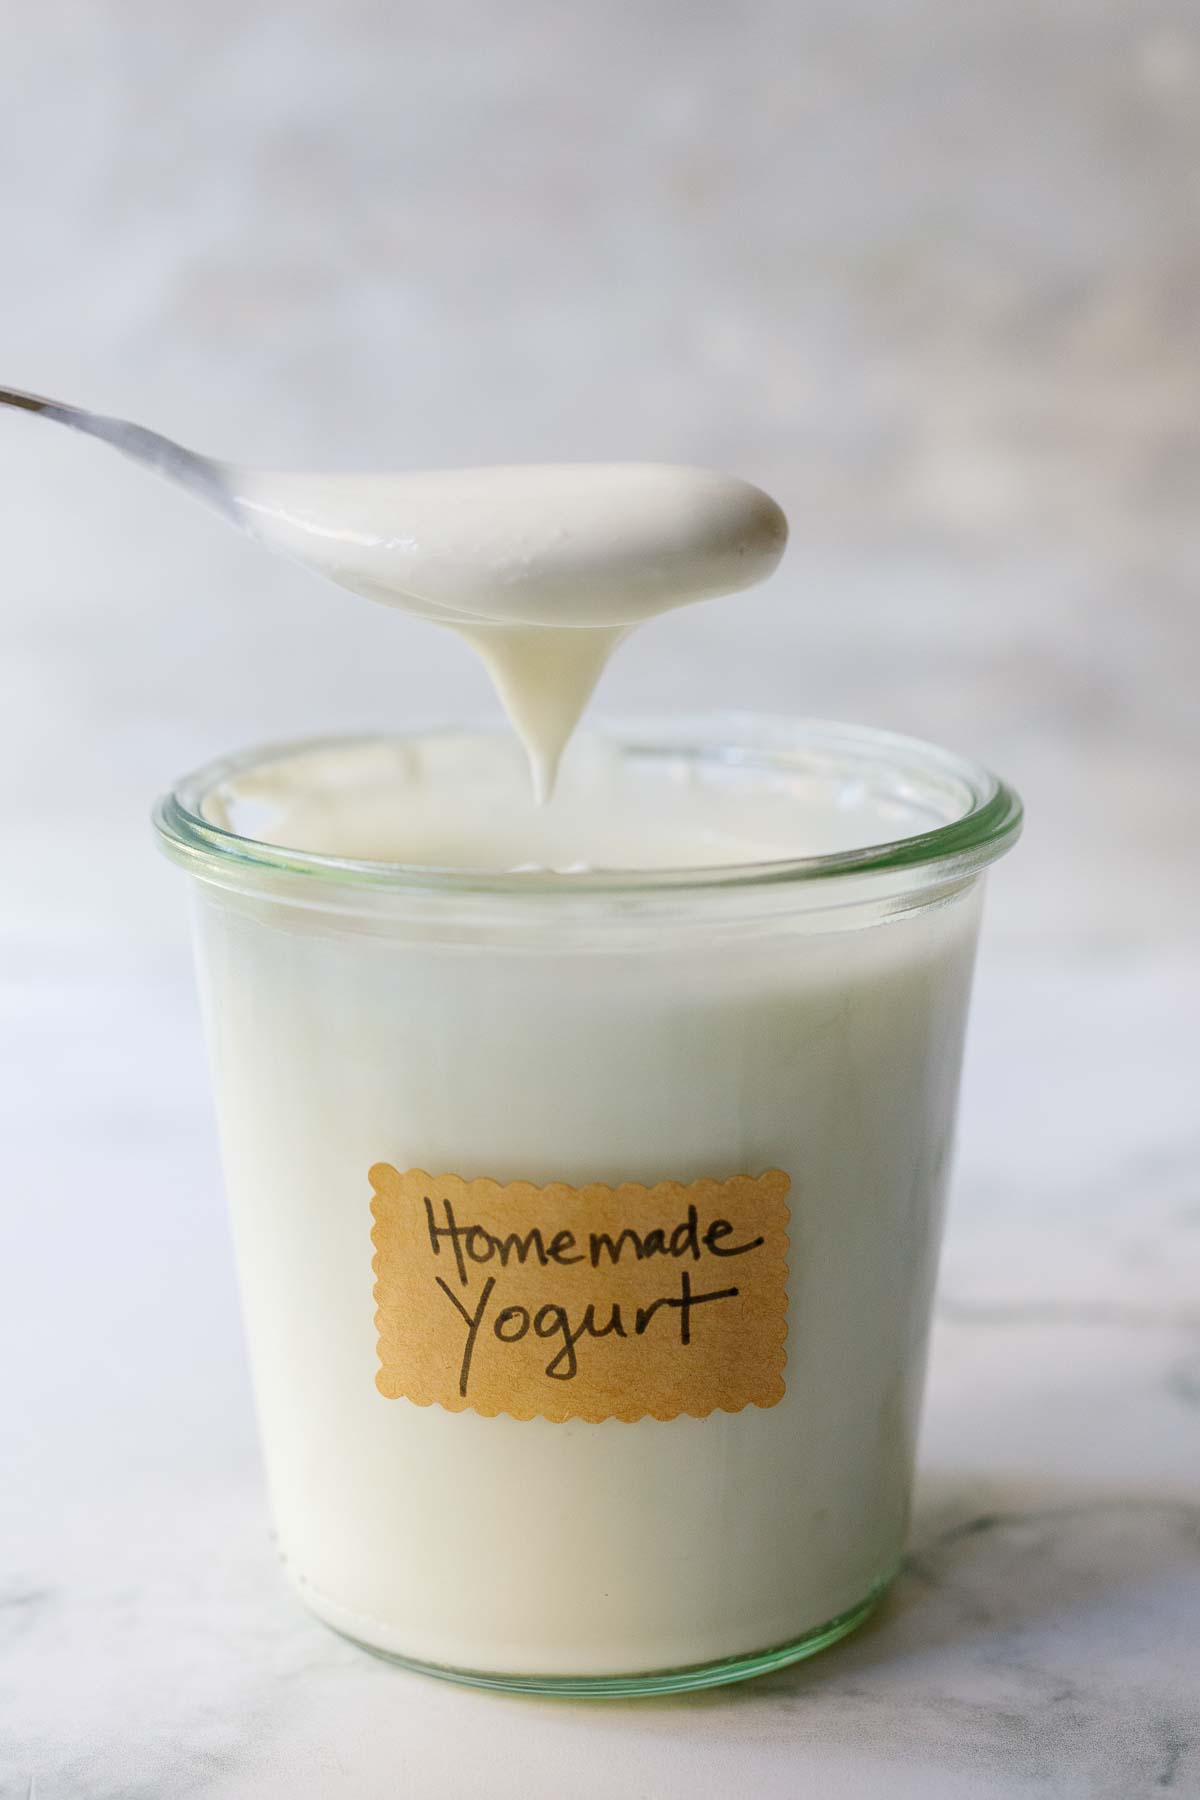
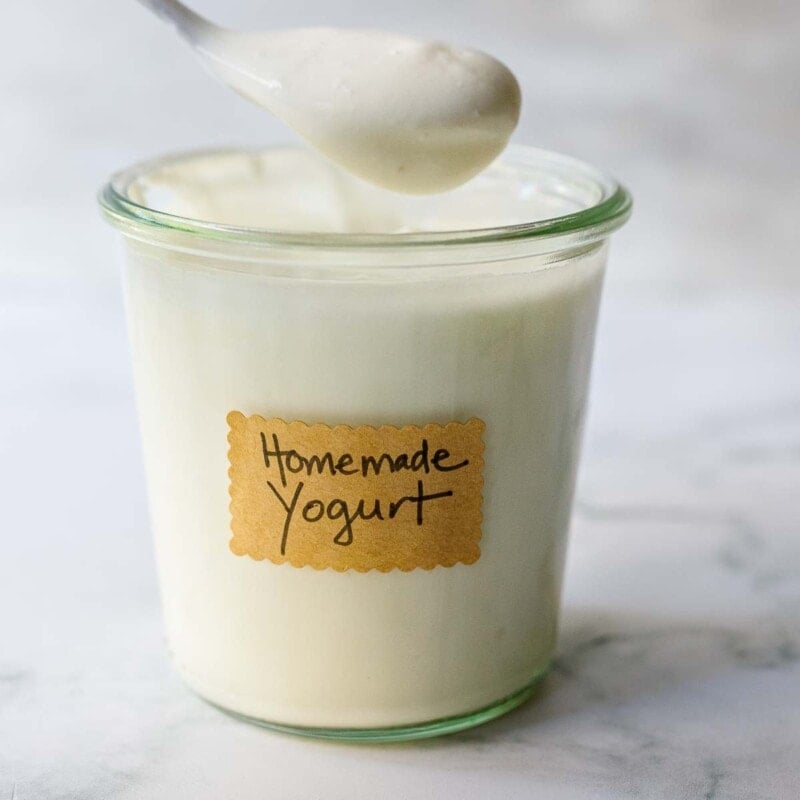
Believe it or not, making your own yogurt at home is so easy and requires no special equipment. There are lots of ways to make homemade yogurt, but the basic concept is the same. Heat whole milk, let it cool, then stir in a little plain yogurt with active cultures, either from the previous batch or store-bought yogurt and incubate at a steady warm temperature for a period of 8-12 hours and let it works it’s magic.
What is happening behind the scenes is the healthy bacteria in the yogurt cultures will feast on the the sugars found in the milk, called lactose. They will proliferate and the milk produce lactic acid. The lactic acid is what preserves the yogurt and gives it the tangy taste. Strain to thicken little more and and that’s it.
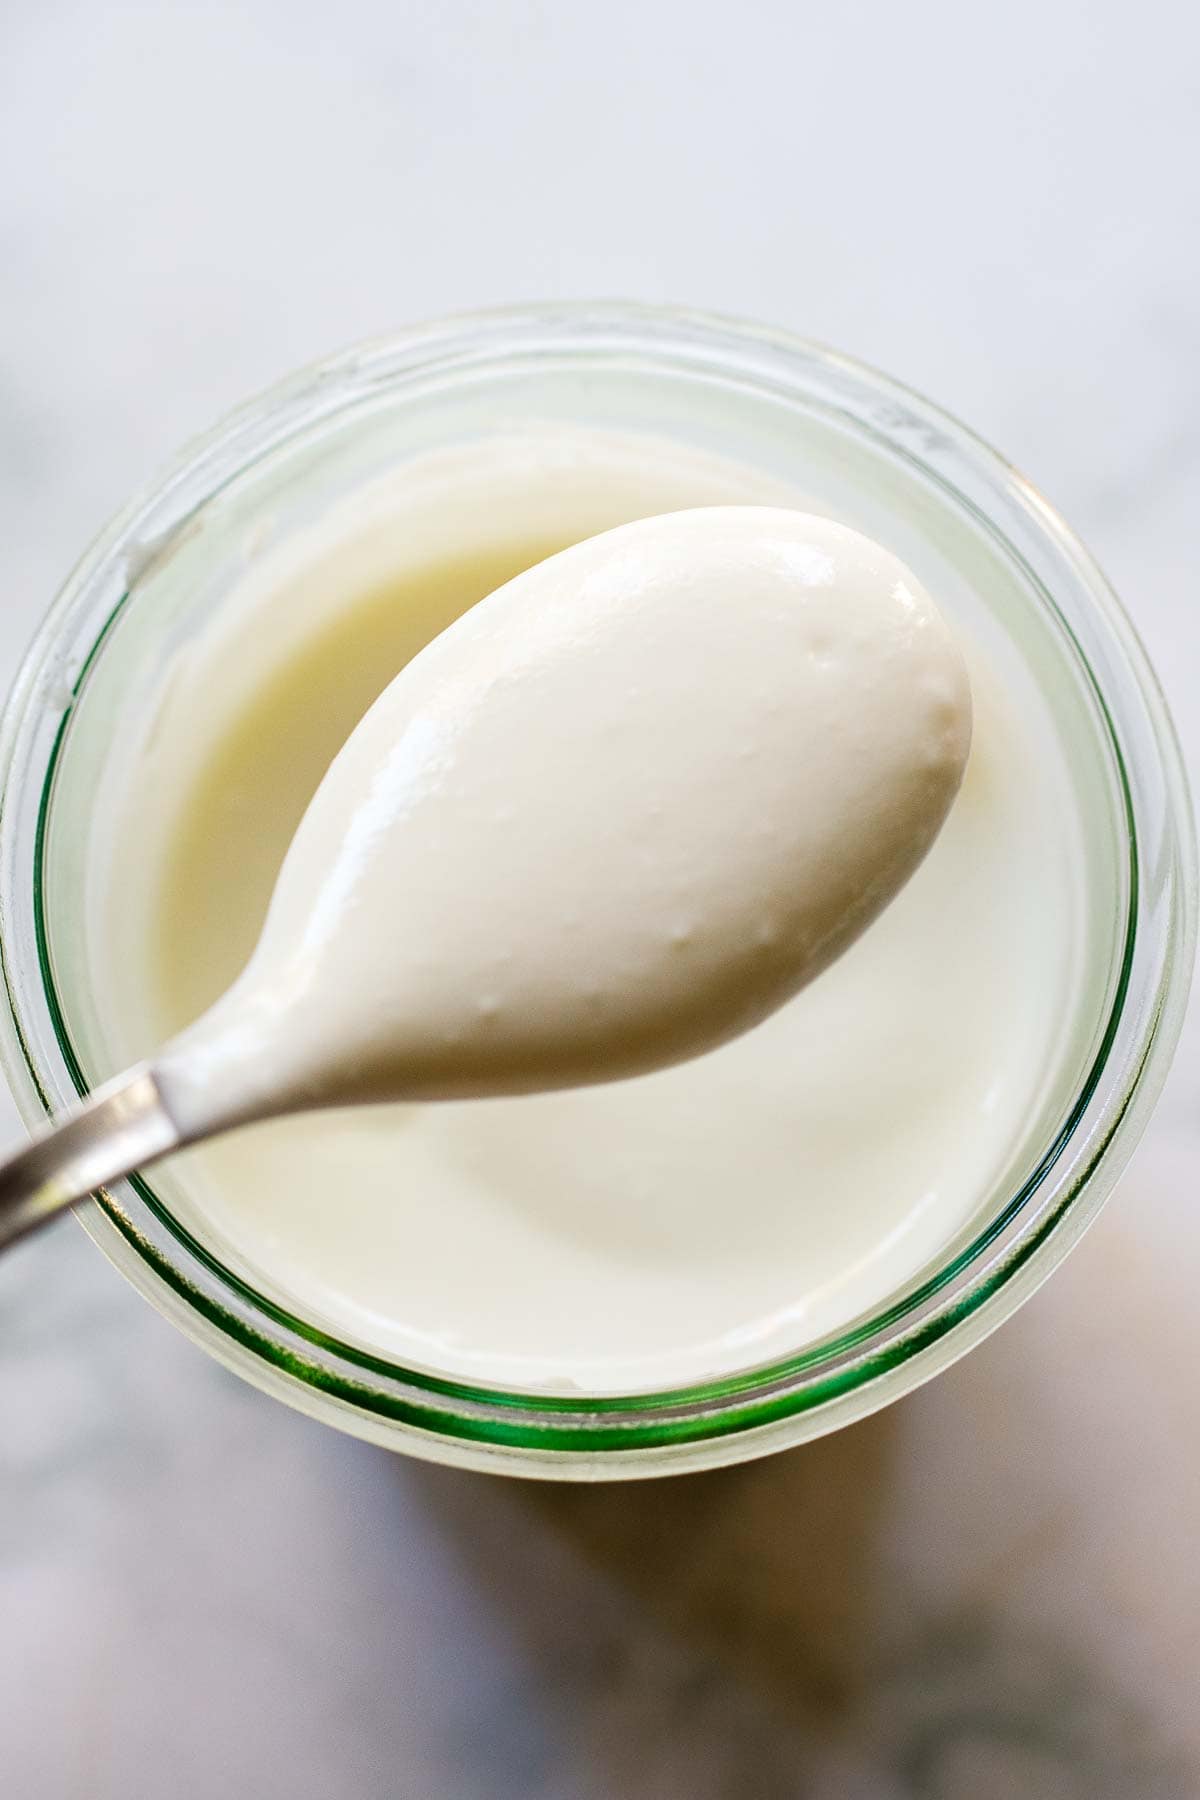
You now have happy alive yogurt! Creamy tangy yogurt packed with millions of happy, active good bacteria, or probiotics, that help support gut diversity, which in turn supports our immune system.
You can make yogurt out of regular store-bought pasteurized milk, organic milk, raw milk or even goat’s or sheep’s milk. Pasteurized milk, the kind you find at the grocery store, is basically milk that has been heated up to 180 F to slow the growth of bacteria in milk, which lengthens its shelf life. While this does make it safer by lowering the risk of harmful bacteria, there is growing research that shows that pasteurization changes the chemistry of milk and makes it less digestible.
I prefer making yogurt out of RAW, Unpasteurized milk– basically fresh milk, straight from the cow, that hasn't been treated or heated. If you are curious about the benefits and risks of raw milk, here are a couple of websites that will explain both. Please do a little research and make an educated decision for yourself and family.
Homemade Yogurt Ingredients
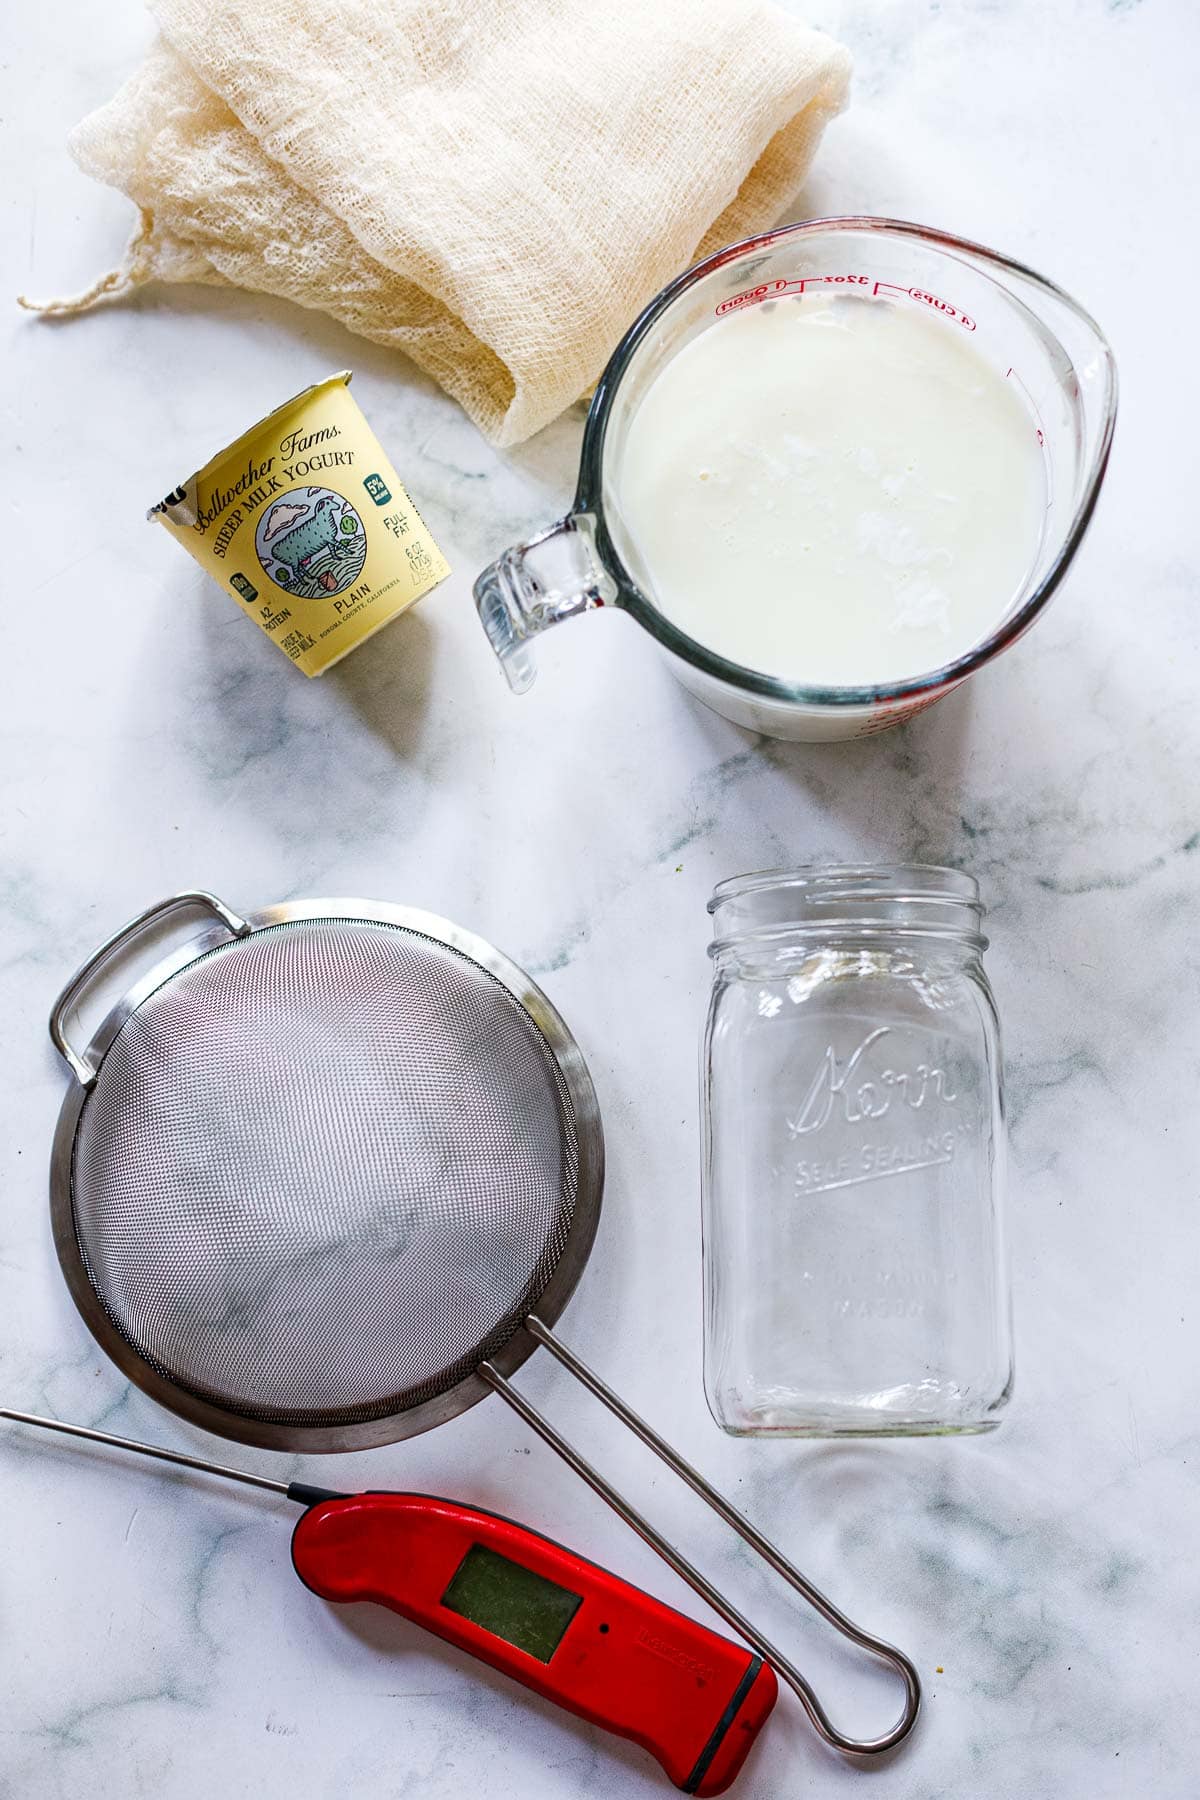
- Milk– use organic whole milk, goat’s milk, sheep’s milk or organic raw milk- opt for organic and grass-fed if possible. Using skim milk or low-fat milk will result in runny yogurt. Tip: yogurt yield is half of the volume of milk. For example, one-gallon milk will yield roughly ½ gallon of yogurt.
- Plain Yogurt (to use as the yogurt starter) or use yogurt culture or starter culture. You can use some of your last batch of yogurt, or a little store-bought yogurt, Greek yogurt, etc. You’ll need one tablespoon per quart of milk.
- Strainer, Cheesecloth (or thin kitchen towel), and an instant-read thermometer.
- optional addition: milk powder or dry milk (to thicken)
How to make Yogurt (step-by-step instructions)
Tip: To thicken yogurt (without straining it afterward) stir in 1/2 cup dry milk powder to the heating milk. This will produce more of a Greek-style yogurt.
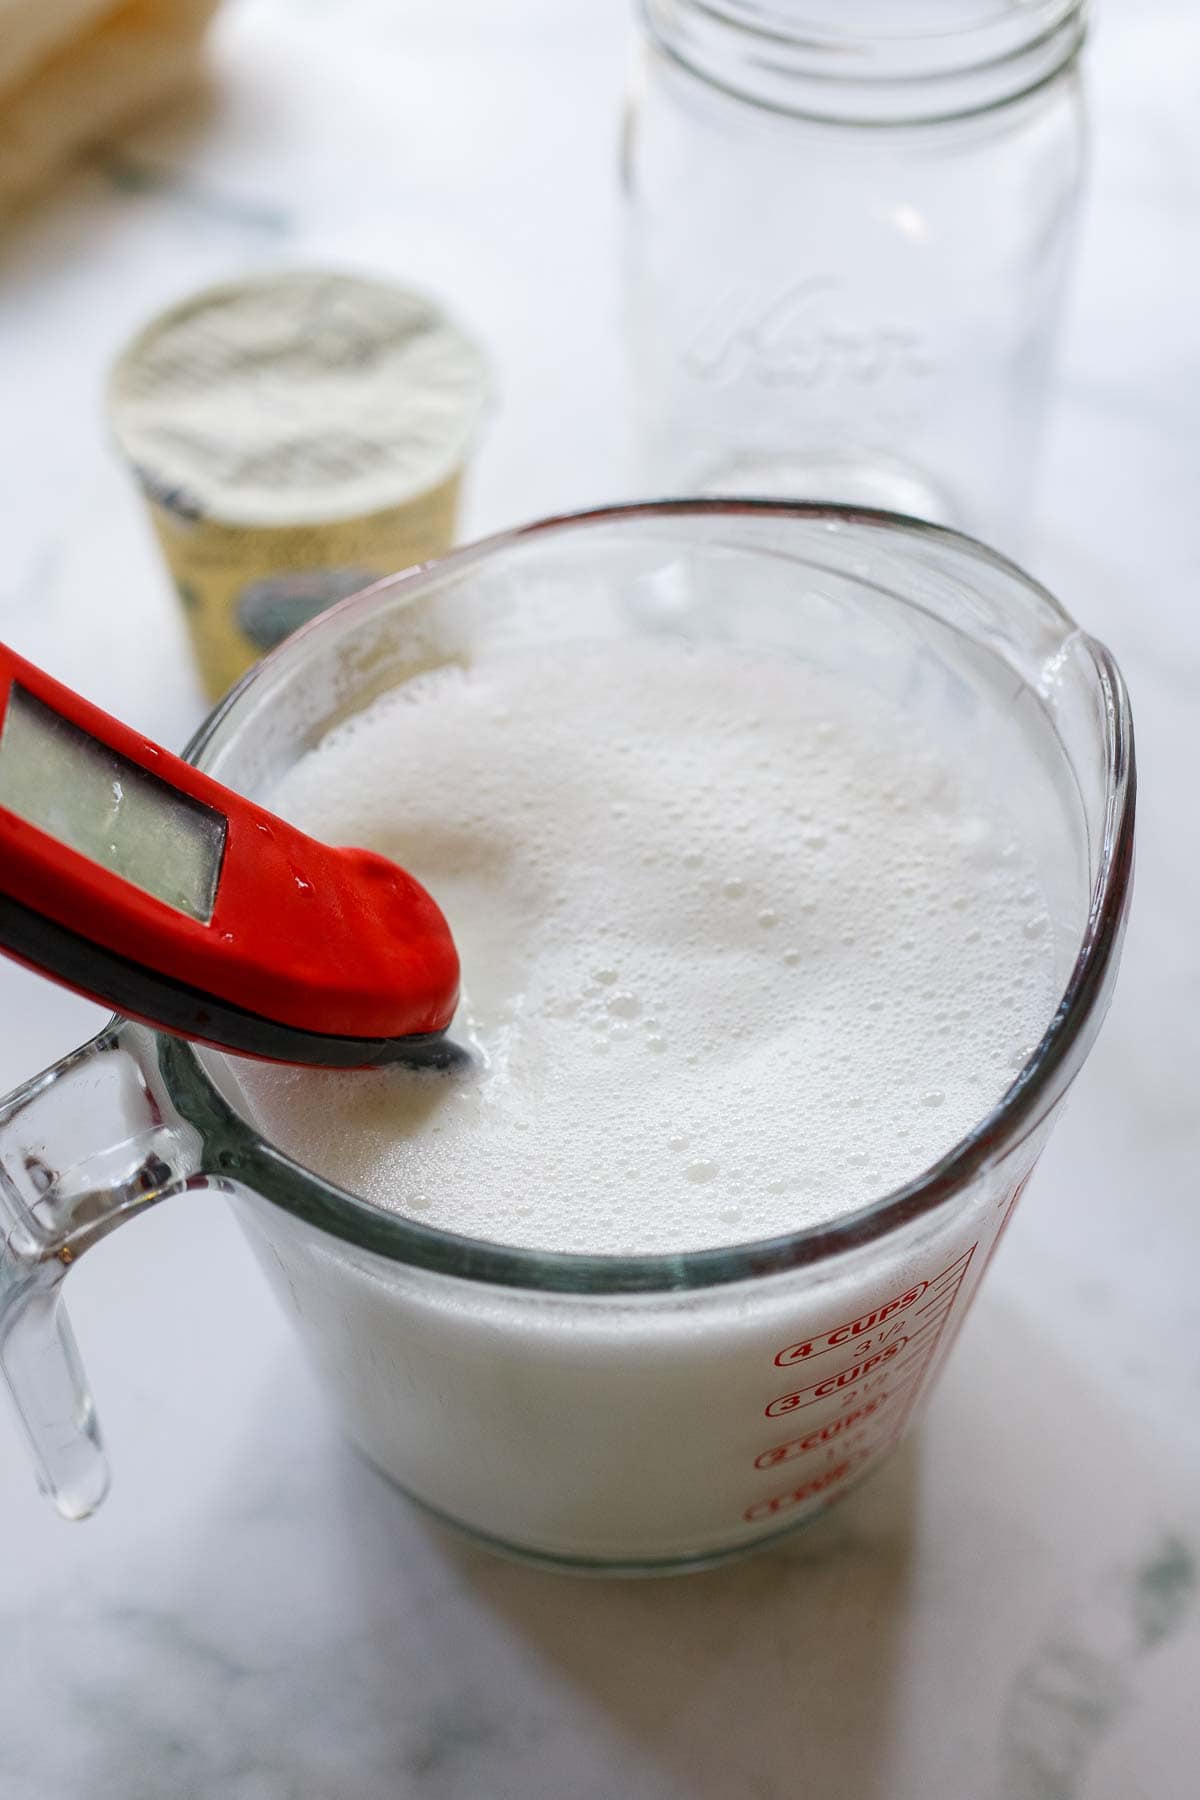
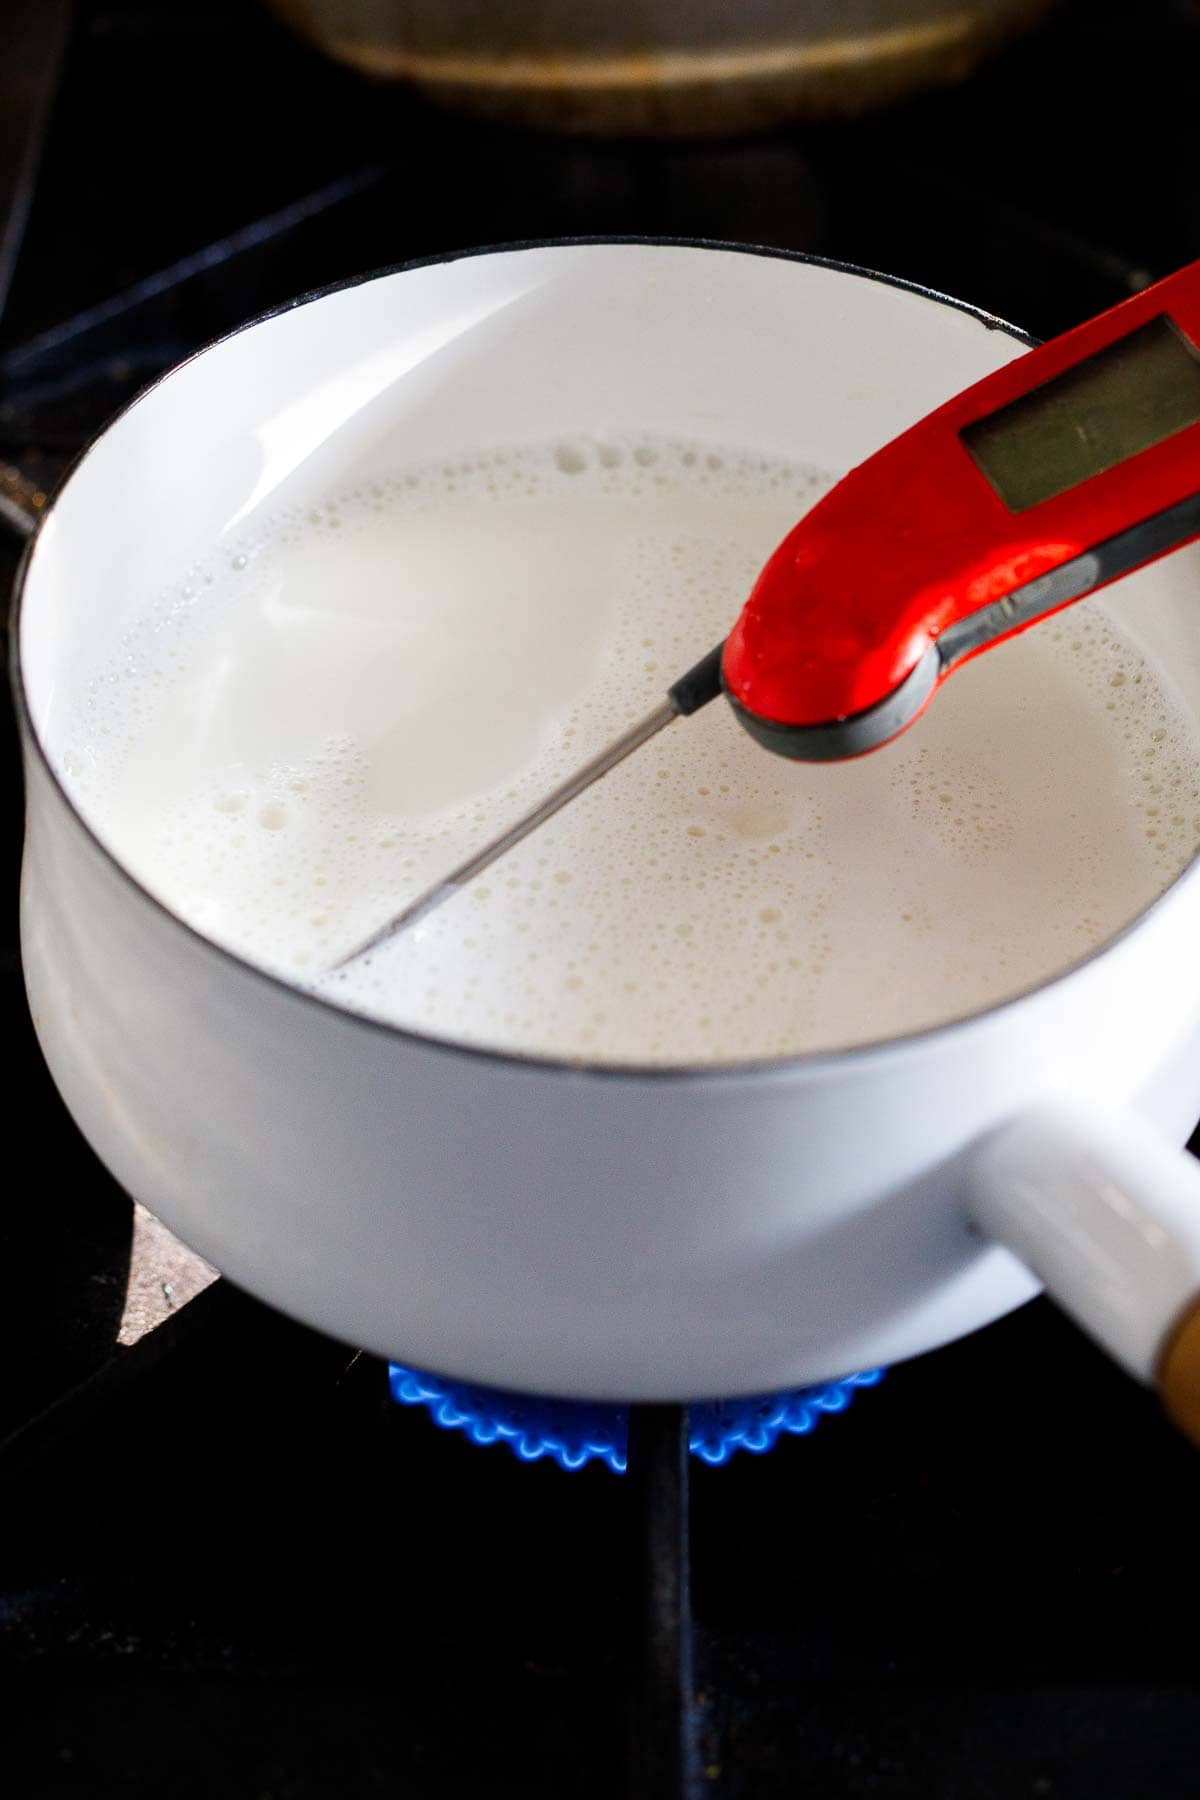
Let the milk cool to 110F. This is important- overly warm milk will kill the active cultures in the yogurt, so be patient here and let it cool down and use a thermometer.
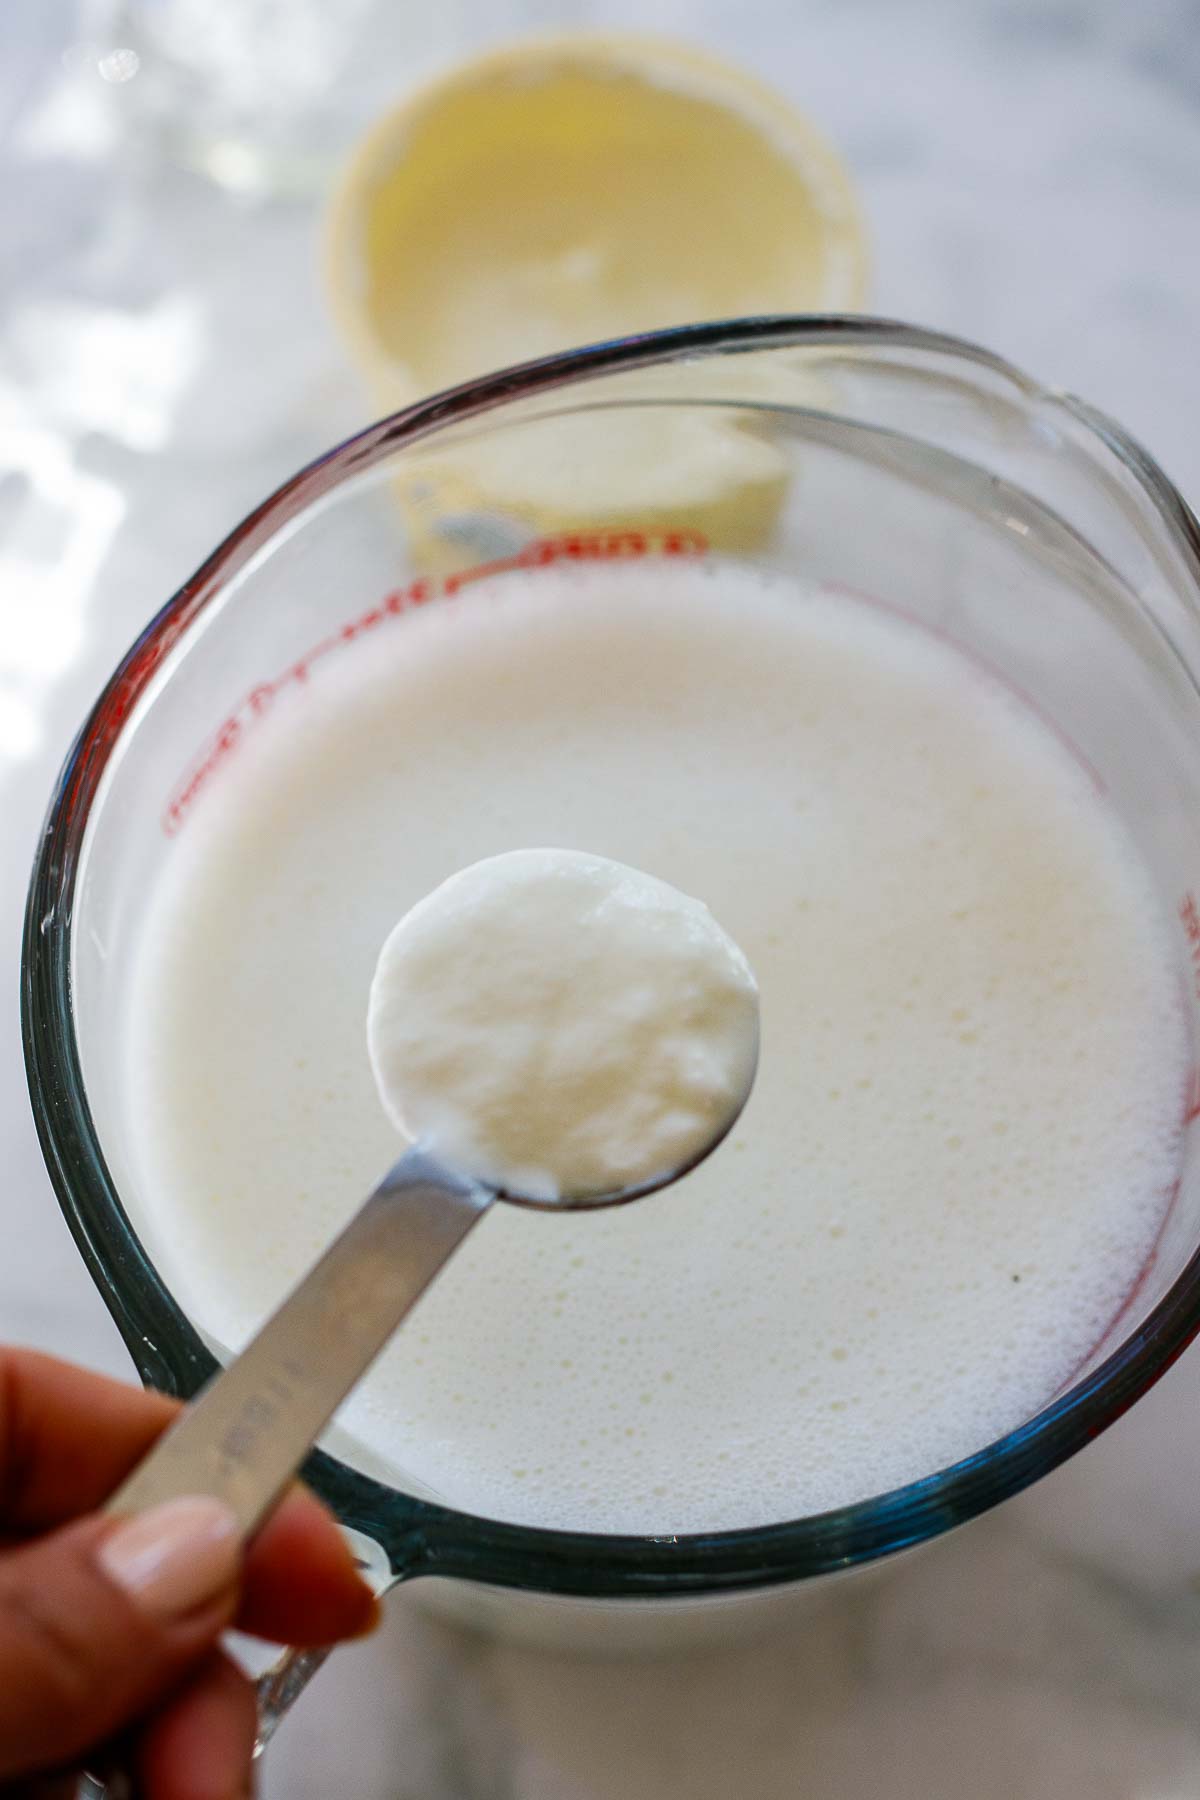
Step two: Add 1 tablespoon plain yogurt with live cultures and whisk, spreading around the cultures. You can use any store-bought yogurt, Greek yogurt, or your own homemade yogurt.
TIP: Don’t be tempted to add more yogurt; your yogurt may end up overly sour and runny. Give them the space to multiply, and this way, they are all fed and happy.
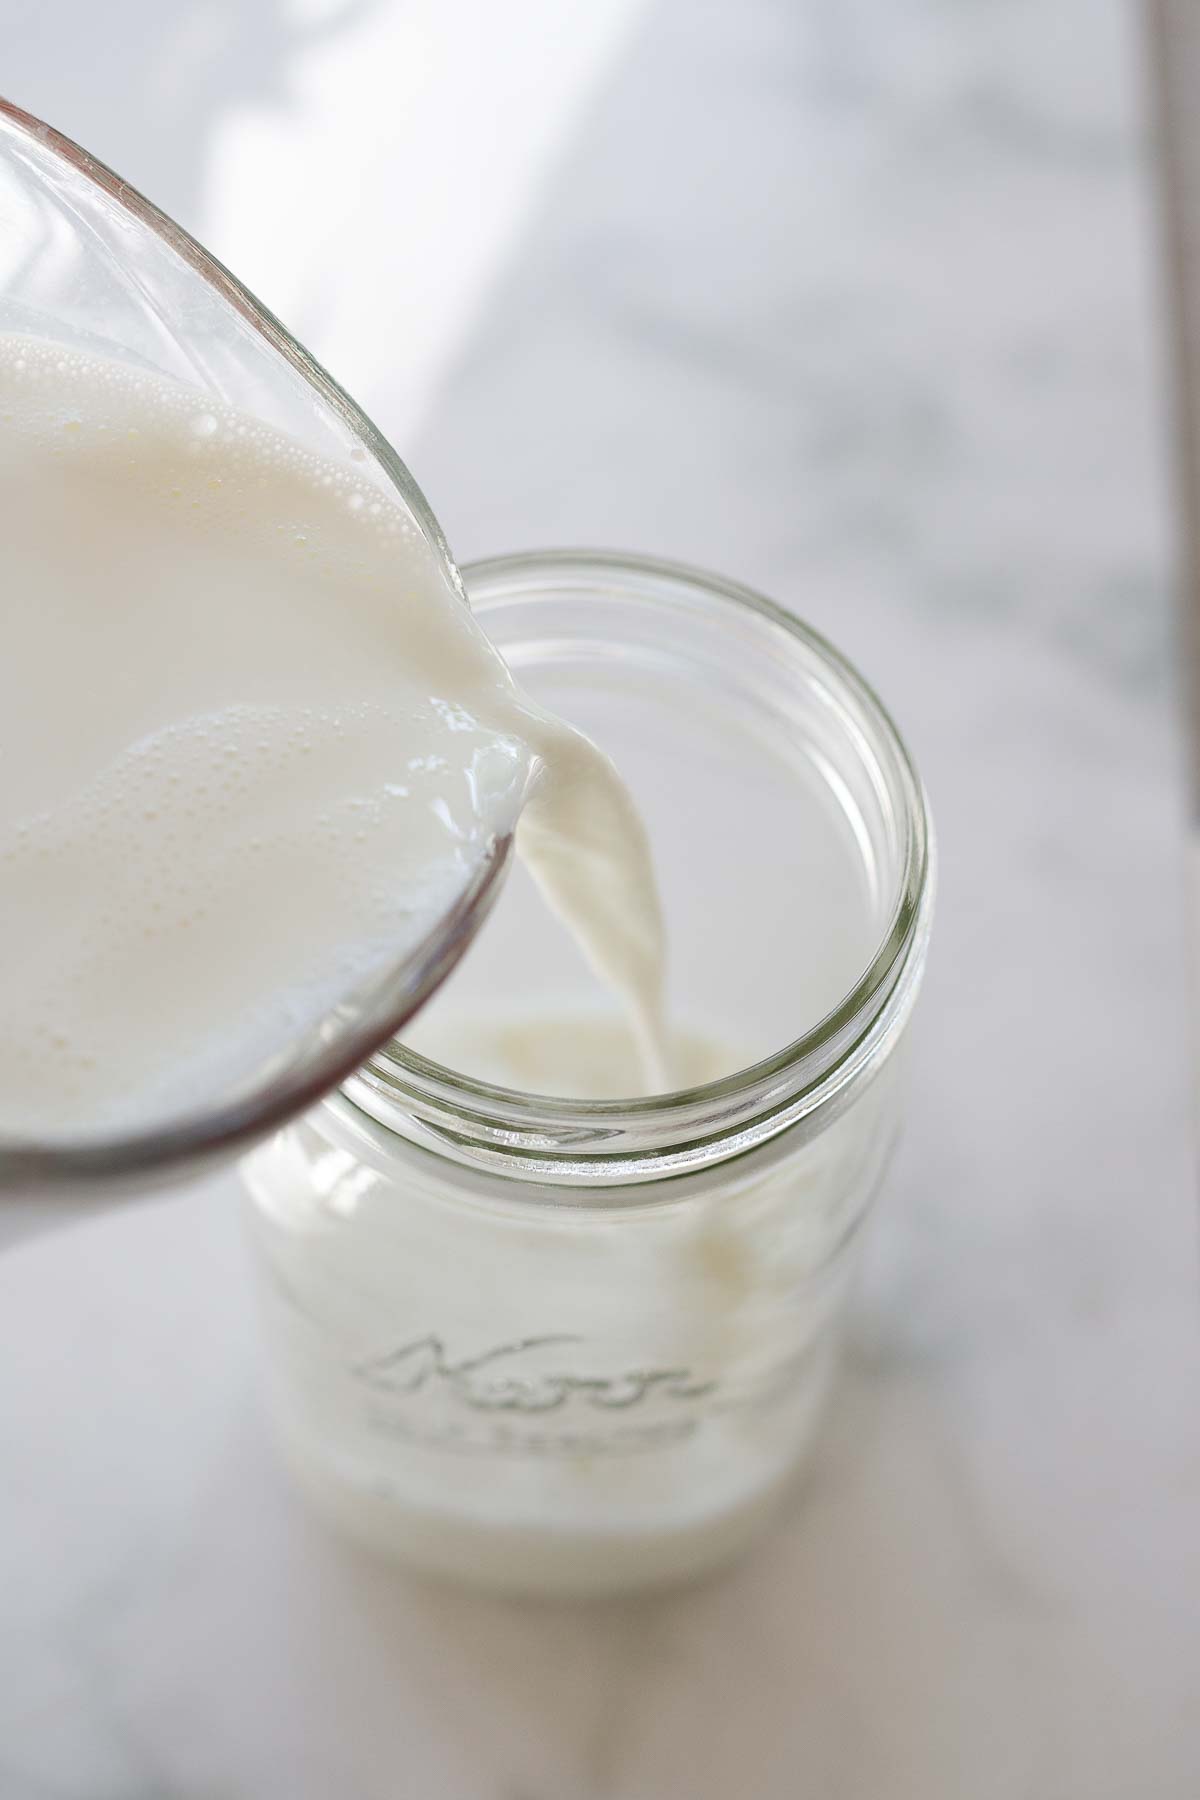
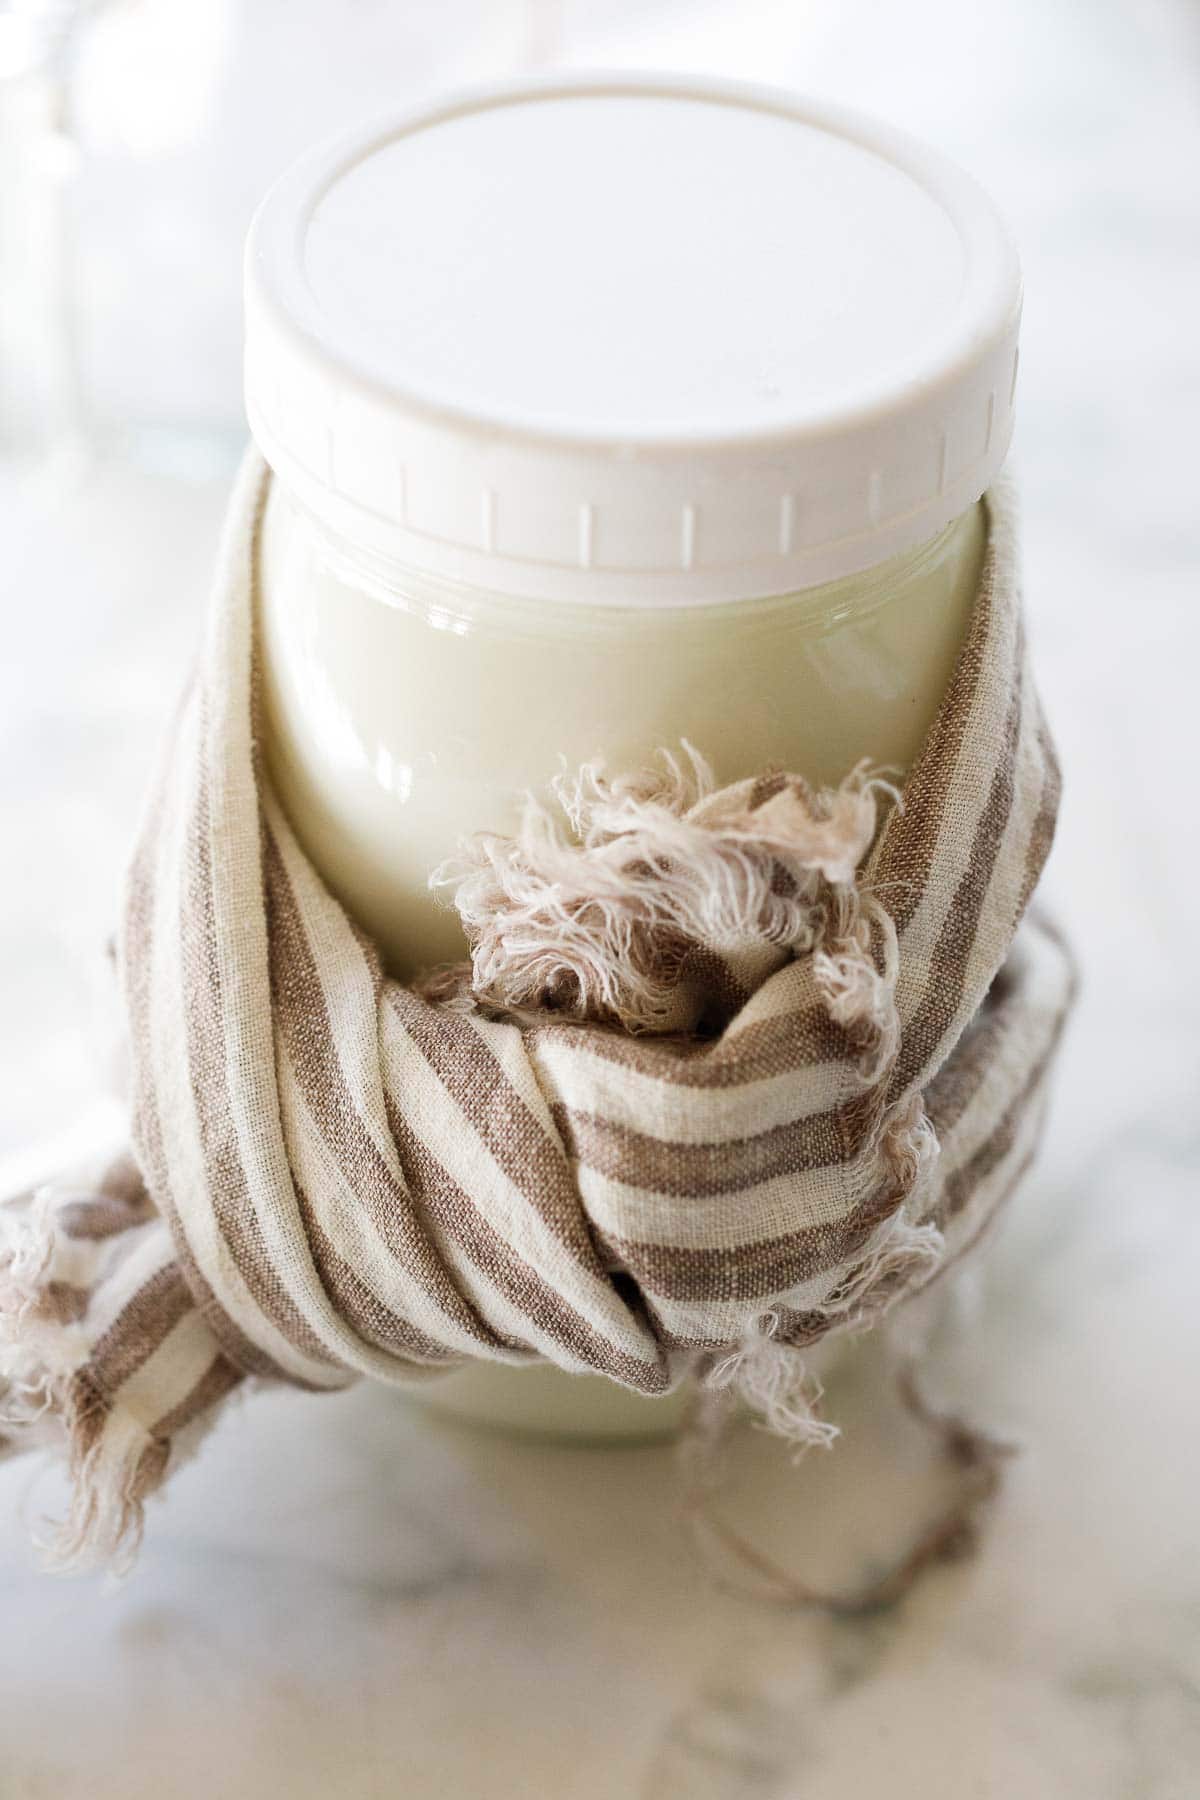
Step Three: Pour into a clean jar and wrap with a towel. Keep the yogurt at a warm steady temp between 100-110F for 6-8 hours. The easiest option is to turn on your oven for 5 minutes, then turn it off, but leave the light on. (Alternatively, you can use a yogurt maker, a slow cooker, a dehydrator, or an instant pot using the yogurt function. You can also place in a cooler, with a couple of bottles of hot water or use a heating pad!)
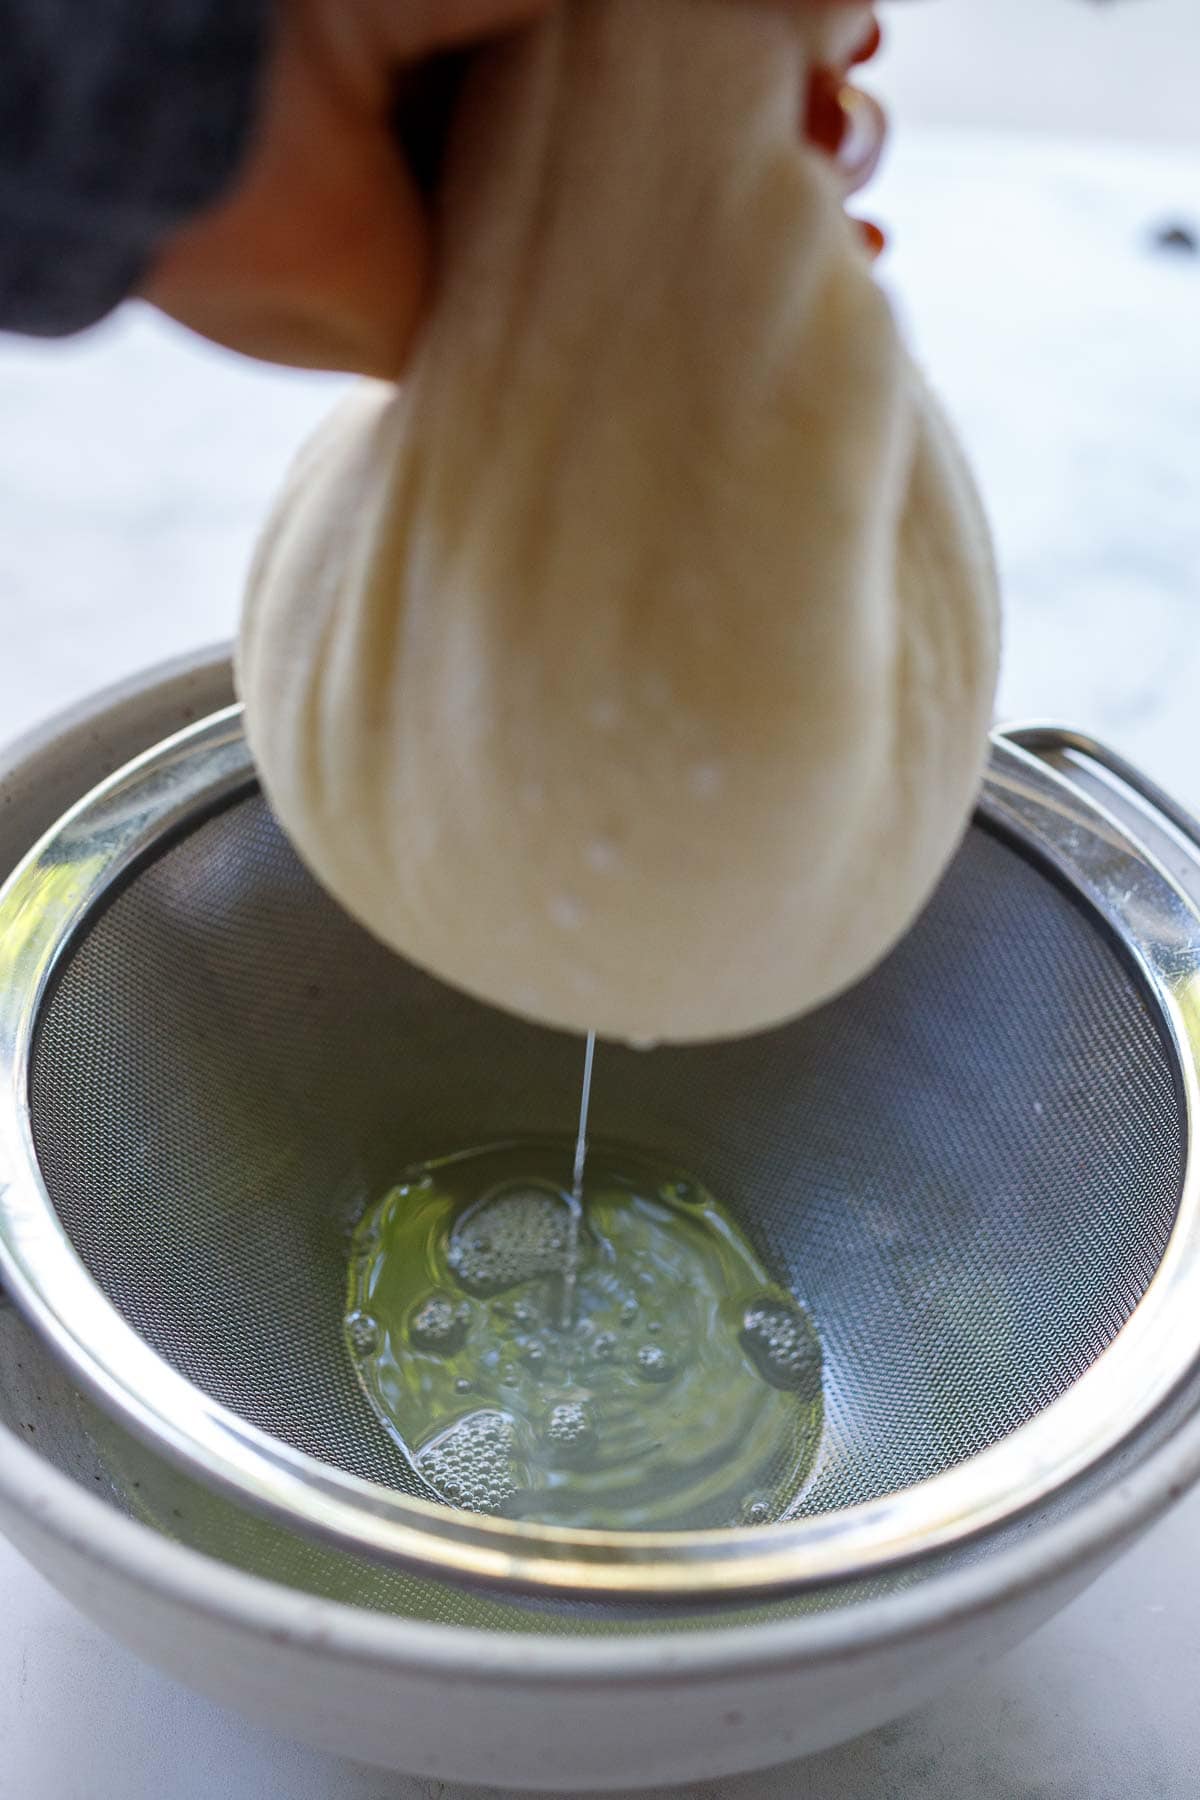
Step four: Strain. After 6-8 hours, strain using a strainer placed over a bowl with a few added layers of cheesecloth. A thin clean kitchen towel works here too.
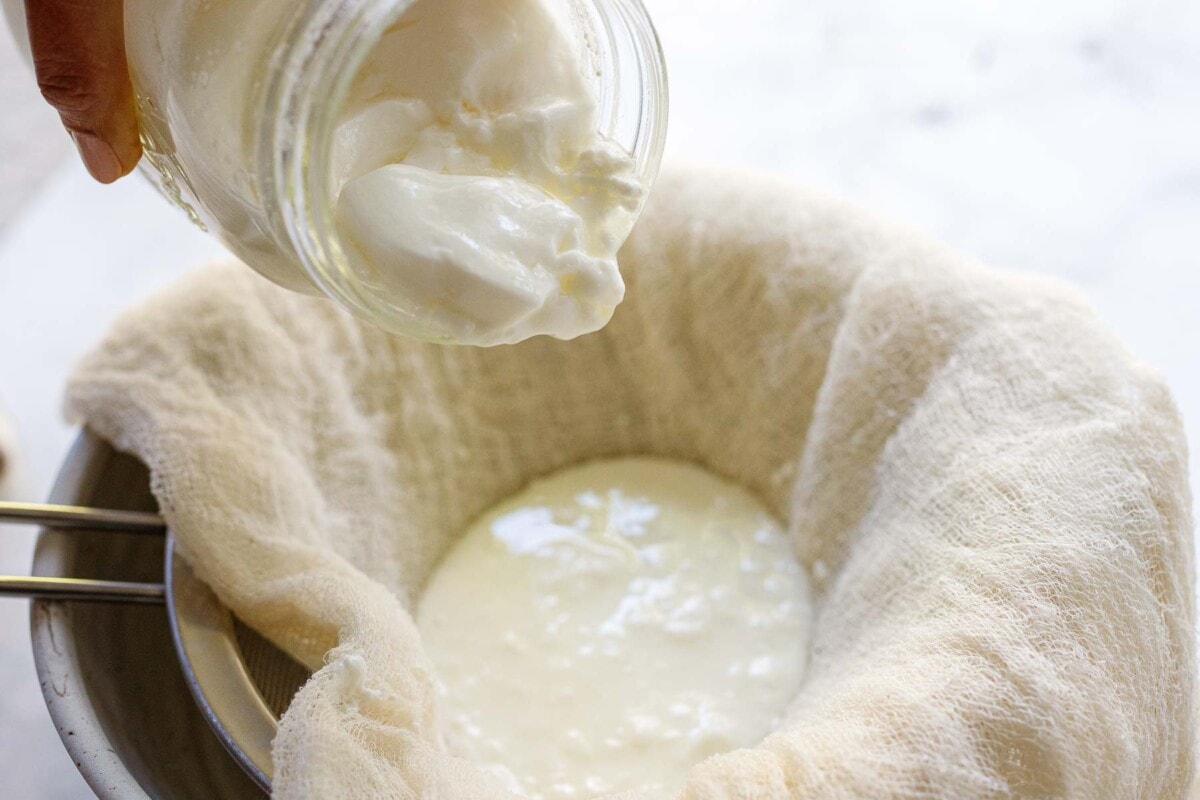
The liquid you are straining out is called whey; rich in probiotics it can be used to make \beet kvass, water your plants, or add to smoothies, used to make soup, etc.
TIP: I always try to make beet kvass with the extra whey, it speeds up the kvass fermentation!
If you like a runny yogurt, more like milk kefir consistency, then no need to strain. Or for a thicker yogurt, like labneh, strain for a few hours.
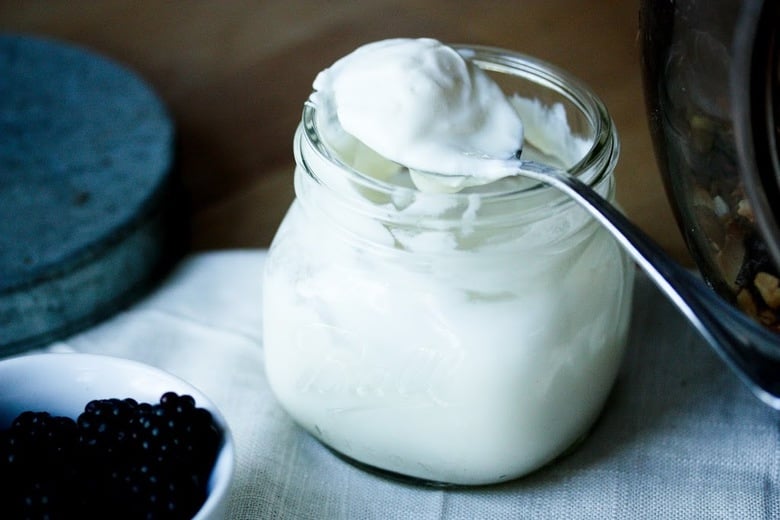
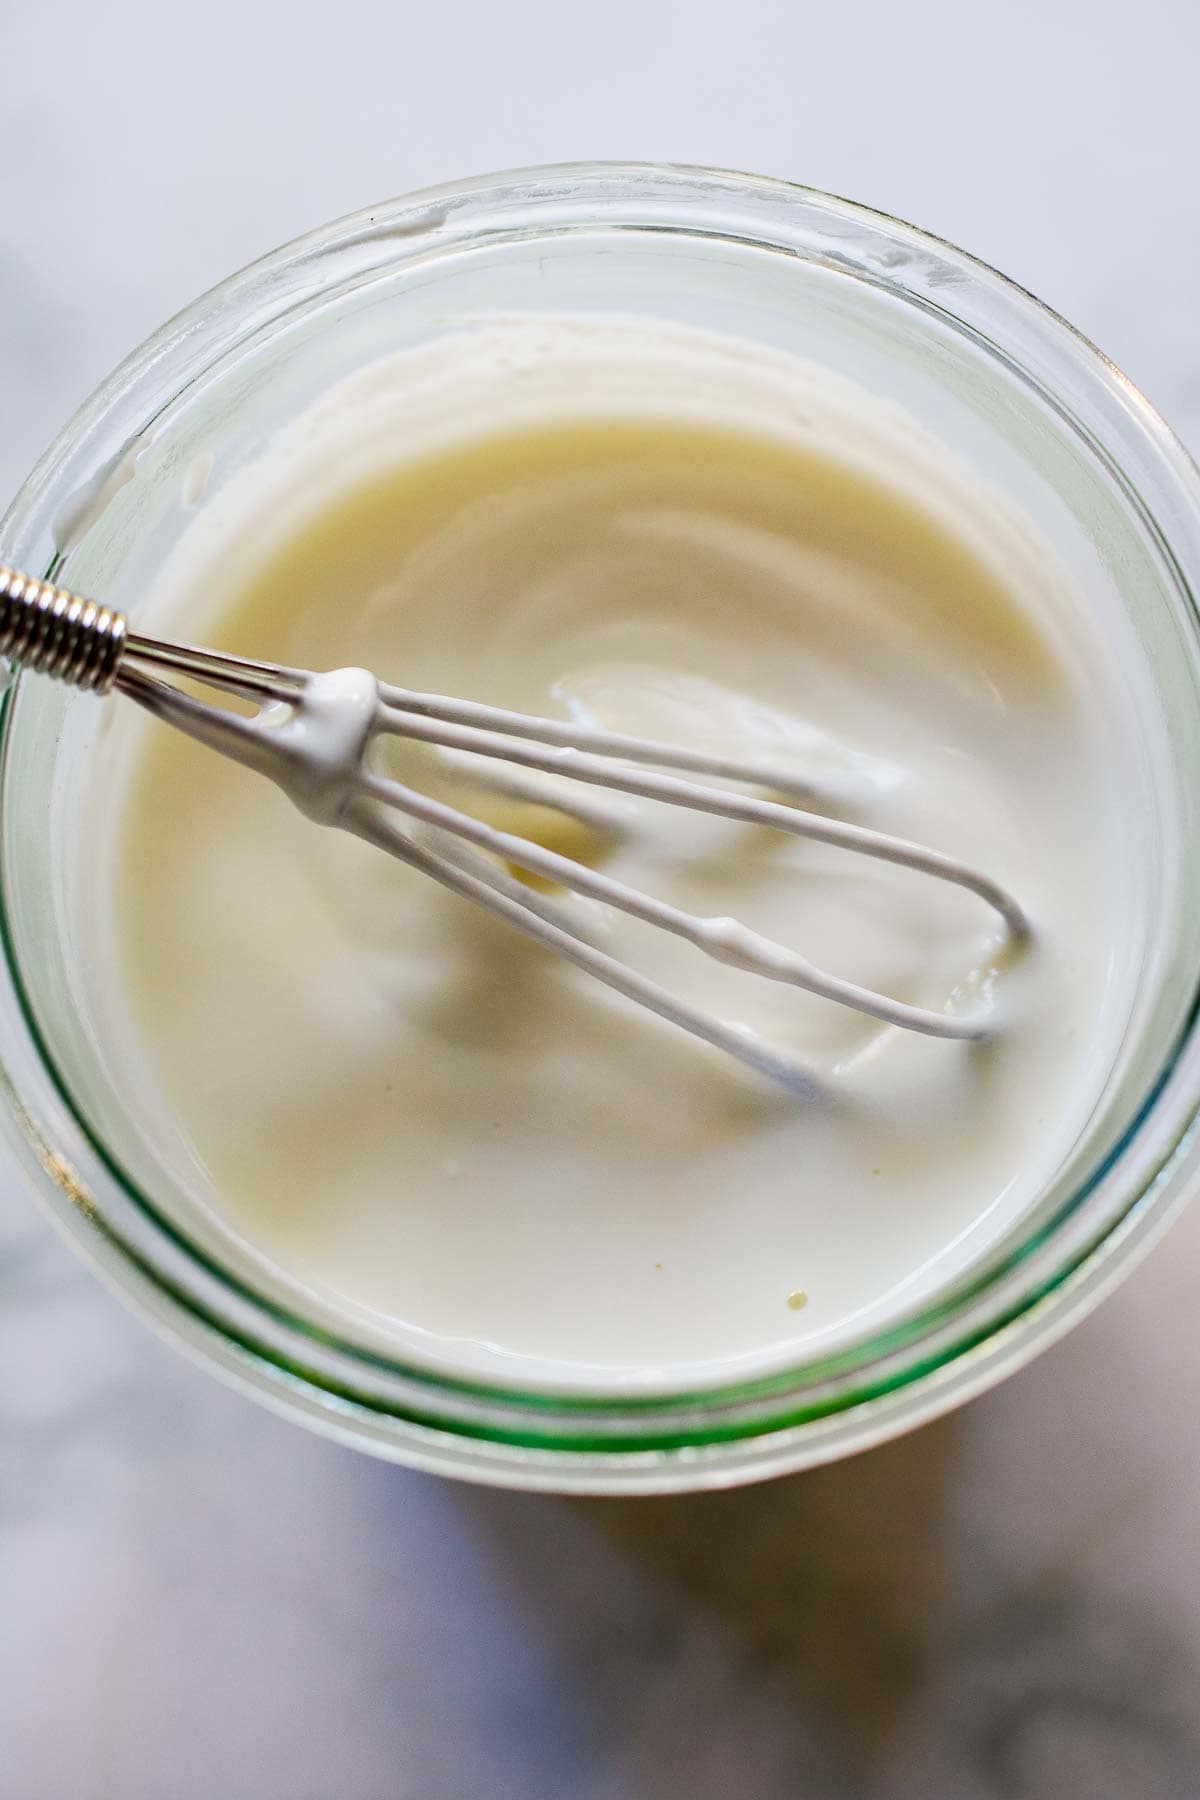
Step five: Spoon the yogurt into a clean jar, and whisk until smooth.
Step six: Seal with a lid and refrigerate! Yogurt will keep up to two weeks in the fridge! Save one tablespoon of yogurt for another batch using this yogurt as the starter!
Ways to Flavor Yogurt
Add honey, maple syrup or vanilla to taste!
Ways to use Yogurt
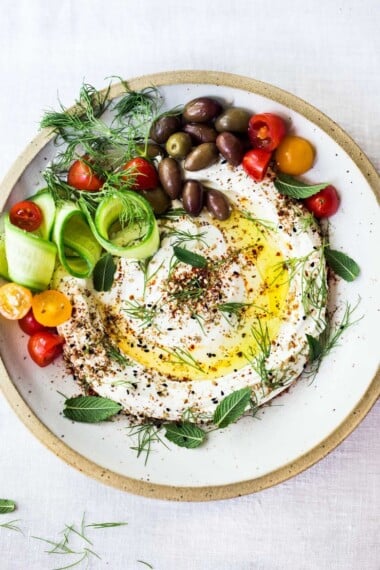
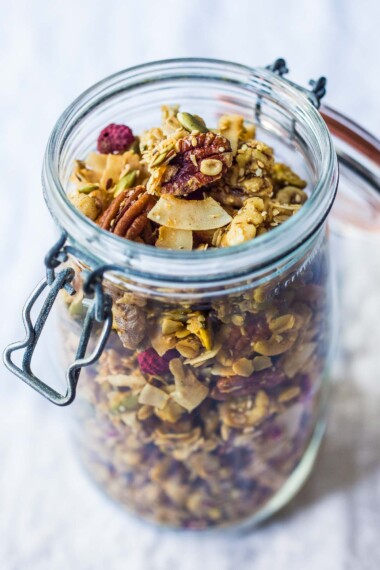
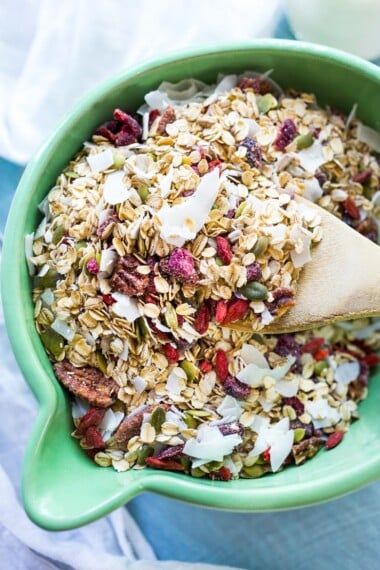
- Serve with granola and fresh berries for a healthy breakfast.
- Add to smoothies.
- Add to dressings.
- Make savory sauces like tzatziki or raita!
- Blend with fruit and make frozen yogurt.
Faqs
Yogurt can be kept in a refrigerator under 40F for up to two weeks.
Yes, yogurt can be frozen for up to 3 months.
Organic, whole cow’s milk, grass-fed if possible. You can also use raw cow’s milk, goat’s milk or sheep’s milk.
Look for mold or curdling, signs that yogurt is not healthy to eat.
More recipes you'll love!

Homemade Yogurt Recipe
- Prep Time: 10 mins
- Cook Time: 8 hours
- Total Time: 8 hours 10 mins
- Yield: 2 cups 1x
- Category: breakfast, brunch,
- Method: stovetop
- Cuisine: American
Description
How to make homemade Yogurt from scratch- an easy step by step guide with no special equipment needed! 1 quart milk yields 2 cups strained yogurt.
Ingredients
- 1 quart milk – whole milk, raw milk, goats milk, or sheeps milk
- 1 tablespoon plain yogurt with active live cultures (or yogurt from a previous batch)
- Cheesecloth
- Strainer
- Thermometer
- Optional: 1/2 cup milk powder, see notes!
Instructions
- Turn oven on lowest setting for 10 minutes. Turn off, but leave light on.
- Heat milk gently in a saucepan or dutchoven on the stove over medium heat to 180 F, stirring often. If you want all the benefits of raw milk yogurt, remember to heat the milk only to 110 degrees and no higher. This ensures that milk’s own bacteria will stay alive. Or if unsure, heat to 180F .(please see notes)
- Let the yogurt cool to 110-115 F.
- Add 1 tablespoon of yogurt. ( The general rule is 1 tablespoons yogurt per quart of milk -resist the temptation to add more, or you will end up with yogurt that is watery and overly sour. I find that 1 tablespoon is best! )
- Place in a clean jar, cover, wrap in a towel, and place in the oven with the light on, (100-110F). The light will act as an incubator. Alternatively, you could also pour this into an instant pot (yogurt function), slow cooker, in a cooler with hot water bottles. The idea is to keep yogurt at a steady but low warmth (100F-110F) for 6-8 hours. If it gets too warm, it can curdle.
- After 6-8 hours, strain with a cheesecloth over a strainer over a bowl. (Straining is optional, this thickens the yogurt). Save the whey for Beet Kvass, smoothies, soups, or water your plants with it!
- Scoop into a clean container, whisk until smooth, cover and store in the fridge for up to 2 weeks. Make another batch before you run out!
Notes
- If you like sweetened yogurt mix in honey, vanilla, maple, or agave. I prefer to sweeten yogurt in smaller batches, keeping my main batch, plain.
- Making yogurt from unpasteurized raw fresh milk is full of nutritious enzymes, fat-soluble vitamins and linoleic acid. If you want all the benefits of raw milk yogurt, heat the milk only to 110 degrees- which will keep these enzymes alive. If you are nervous about the process, or this is your first time making yogurt, just heat it to 180F. You will feel more confident about the whole process and when you get more comfortable, you can try this with the lower heat.
- Adding milk powder to the heating milk thickens yogurt without straining it. Add 1/2 cup to give it a thick Greek Yogurt-like consistency. FYI: You can also use goat’s milk powder.
Nutrition
- Serving Size: ¾ cup
- Calories: 149
- Sugar: 12.3 g
- Sodium: 104.9 mg
- Fat: 8 g
- Saturated Fat: 4.6 g
- Trans Fat:
- Carbohydrates: 11.7 g
- Fiber: 0 g
- Protein: 7.7 g
- Cholesterol: 24.4 mg


I have been making yogurt for years adding about 2/3 of a cup of powdered non-fat dry milk to 5 cups of 2% milk before heating it to 180 degrees. The end result for me is a thick Greek-like yogurt with more protein and no straining!
Oh interesting Joan! I’ll have to try that! Can you get organic, grass-fed powdered milk I wonder?
Joan – I can’t thank you enough for suggesting to put the powdered milk in with the milk while it’s heating. I finally achieved Greek yogurt, consistency, success!
I recently made this and can’t believe it has taken me this long to try making my own. It turned out perfectly rich and creamy, and not overly sour. I strained it a little longer to make it thicker and ended up with 1 3/4 cups. I will be making this again and again! Trader Joe’s had goat’s milk and it is much easier for my daughter to digest. Making it from scratch costs about half as much as buying goat’s milk yogurt -so it is affordable too. Win-win.
So happy you gave this a go Lindsay! It is easier than you would think!
I’ve always heated my raw milk up to 180. I am all for preserving more of the enzymes. My question is: If I heat my raw milk to 110 will the yogurt turn out runny? I prefer it a bit firmer. I do not strain my yogurt. Thank you.
Hey Valerie, yes, it will end up slightly more runny- so you would have to strain a little, to get it thicker.
Thank you for the recipe! Do I have to heat up my pasteurized milk to 180 degrees? Or can I just heat it up to 110 degrees like the raw milk method? Thank you!
You can certainly just do 110, the yogurt will be loose more like kefir. As the milk heats to 180, the protein coagulates and the yogurt thickens, creating a richer feel.
The lowest temperature in my gas oven turned out to be 225 F and didn’t stay warm for long enough after turning it off. Instead, I used my 40 oz Hydro Flask to make one quart of raw milk yoghurt. I wrapped the Flask in two towels and left it for twelve hours, at which time the temperature of the yoghurt was still about 90 F. It tastes great. I just now put the unstrained yoghurt in the fridge.
Oh perfect! Great idea! Lower and slower works great too!
Do I follow the recipe when using raw goat milk…Or do I need to do something different in the recipe for goat milk?
Yes, this will work with goat’s milk. 😉
How long do you strain yours fot?
It’s more about how thick you want the yogurt to be. Strain until it is thick enough – to your liking. 😉
Ahhh I like it, thank you!
I’m curious if it is okay to use a yogurt starter instead of 3-4tbs of yogurt?
Would I then need to follow the instructions on the starter box or can I still use your method? I use raw cow milk and would like to keep then bacteria too!
Hi Oliva, you can use a yogurt starter. I would probably follow the directions on the box? Or compare the two and see if it makes sense to alter for raw milk?
I can buy raw milk from a local farm, but because I am immunocompromised, I would have to heat the milk. Can I still make yogurt even if I heat the raw milk at a higher temperature?
Yes, absolutely.
Can I take this (finished) yogurt and make other products (e.g. cream cheese)?
Do you mean to strain it, like Labneh? Sure, I don’t see why not!
What to do with the strained liquid? Is it whey?
Yes Susan -it is whey! You can use it to make our Beet Kvass, water plants with it, use it for soup base, add to smoothies- it is highly nutritious!
My pigs love the whey and it fattens them up!
Interesting Beth!
I’m curious to know if you’ve ever made raw milk yogurt in the Instant Pot using the cold start method. I believe the milk & yogurt cultures heats to about 114 degrees and holds at that temperature for 8 hours. The yogurt is then refrigerated overnight and does not require straining as long as you use Fairlife milk. I would love to use raw milk with this method.
I was just thinking about trying it in the instant pot! Haven’t yet!
Hello! I have leftover milk to turn into yogurt. Should I leave it on the counter or put it in the fridge and reheat when I have enough room in my yogurt maker? Thanks!
Put it in the fridge and use when you have room.
Hi there, thanks for the recipe. I heated my milk to 102F and added 2T yogurt, then incubated in the pot inside the preheated oven overnight. I then strained for about 6 hours. It turned out runny (closer to honey consistency than milk) and not tart at all. Not sure where I went wrong?
Oh shoot. It should be heated to 110F if using raw milk. If pasteurized, heated to 180F. Maybe that was the issue?
Thanks for your speedy response! I used organic bio-dynamic full cream milk, pasteurized. I don’t have access to raw milk..
Pasteurized milk should be heated to 180F, this will help thicken the yogurt.
Maybe that was it? too hot?
Do you know what the difference might be between letting it culture for 8 hours versus 24 hours?
You can experiment with this. It will get sourer as it sits. If you do it longer like 24 hours, I almost would lower temp a bit?
I ended up with only 2 cups of yogurt and it seems a bit rubbery, almost like cheese, what would you say is the trouble shoot for that?
How much milk did you use and was it whole milk? If using whole milk, you’ll end up with half the amount or strained yogurt (if you choose to strain it.)
How long does raw milk yogurt last? (Refrigerated Shelf life)
Up to 2 weeks in a refrigerator that is under 40F.
Hi Bonnie, I’m not sure how to salvage, sorry.
i would like a recipe for goats milk yogurt but i want to use a yogurt machine.
I make this yogurt recipe with goat’s milk all the time, but I haven’t use a yogurt maker- so I would review manufacturers directions first.
I’ve made yogurt from pasteurised milk for many years and I have never strained it. Usually, I heat it in large amounts and then portion into smaller pint- or quart-sized jars into which I add the yogurt. Why do you need to strain the yogurt? And is there a benefit to adding the yogurt to the large batch and then moving into smaller containers after it’s “become yogurt”? I’m wondering if these differences are because it’s with raw milk or just preference? Thank you! Planning to try with raw milk tomorrow.
Just personal preference. I like thicker yogurt so I strain. 🙂 Not imperative.
I would love a nut yogurt recipe. going to make this one today in the dehydrator
What do you think about coconut yogurt?
I would like to know about nut yogurt. ??? never heard of it
Is it still okay to consume the yogurt even if it turns out a bit sour and runny due to over adding the cultures? I’m assuming I’ll be fine🤣
Try a little and see how your tummy feels. In smaller quantities, probably ok? Unless you are very used to those bacteria?
I am lactose intolerantI . How can I make yogurt with an Instant Pot?
I am working on this, over the weekend. Do you want to make a nut yogurt?
Sorry to chime in. A coconut milk yogurt would be amazing!
Yes please! A nondairy yogurt recipe would be amazing! Thank you 😊
I started making yogurt at the beginning of the pandemic in my instant pot. Instant pot makes it easy with the yogurt setting. The first yogurt setting is “boil.” I always make sure I got to 180 with an instant read thermometer. Next pull out the pot liner and cool below 115 or 110, add starter yogurt. Put liner back into the instant pot and set the incubation time. I let mine incubate for a full 24 hour (an automatic setting on the insta pot. I strain my yogurt for several hours because my fam likes it thicker. I have no medical authority behind this, but a blog post suggested that the long incubation period reduces lactose for those who are lactose sensitive.
Thank you for all the great recipes. I am a huge fan!!
Thanks Jaye- this is really helpful!
How do you adapt this recipe to an insta pot?
Emily! Sorry for the delay. I know it can be done! I just haven’t personally tried this. Here is a recipe for an instant pot version over at simply recipes…it has great reviews: https://www.simplyrecipes.com/recipes/instant_pot_yogurt/
Turned out perfectly. So happy to finally have a good raw milk yoghurt recipe. Thank you for posting. Added some cream that was about to go off as well and it came out deliciously.
Great to hear!
I want to thank Margaret hat posted the reply . I also glad someone asks whey the Draining.. I Forgot Recipe and have been looking all morning to find my old recipe. This one answered my question. Thank you for this.
This turned out so good. Thanks for the detailed instructions!