How to make homemade Paneer Cheese – a fresh, Indian Cheese that can be made at home to use in Indian curry, masala, wraps and stews! An easy, step-by-step guide! Can be made in 2 hours with ½ hour of hands-on time. Video. ( Use goat or cow’s milk!)
 We can only be what we give ourselves power to be. ~Native American Saying
For those of you, like me who enjoy tinkering in the kitchen, because it is fun and relaxing- this recipe for homemade paneer cheese is for you.
Paneer is one the main staples of India’s mostly vegetarian diet. Soft pillowy cubes of fresh, mild cheese are the perfect accompaniment to the stronger flavors of curries and stews, absorbing these easily.
Paneer is readily available at grocery stores, but if you’d like to have a bit of fun, it’s incredibly easy to make at home! From start to finish, it takes about 2 hours, with just a half-hour of actual hands-on time. So easy and fast!
How to make Paneer | 60-sec video
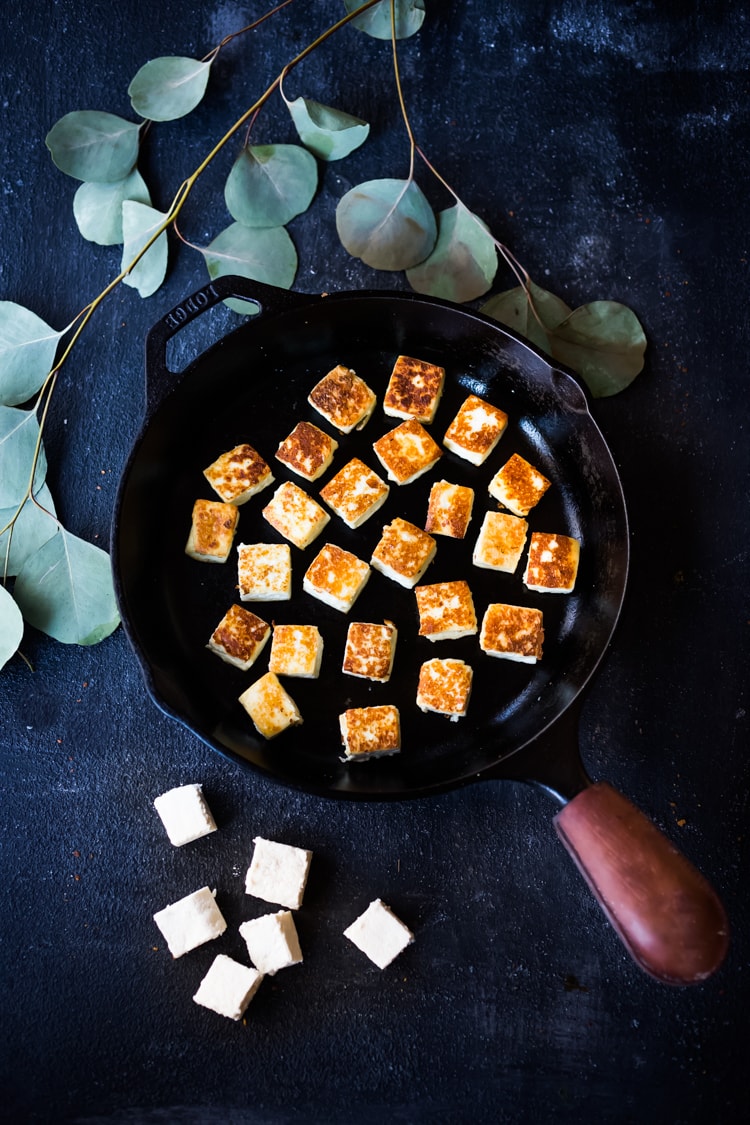
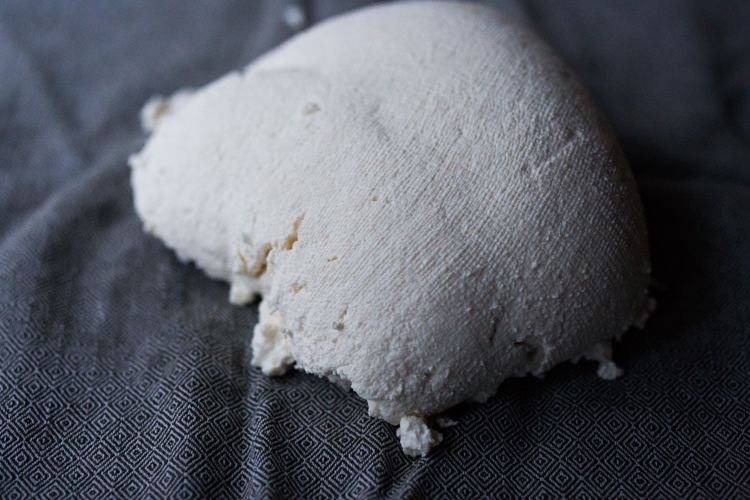
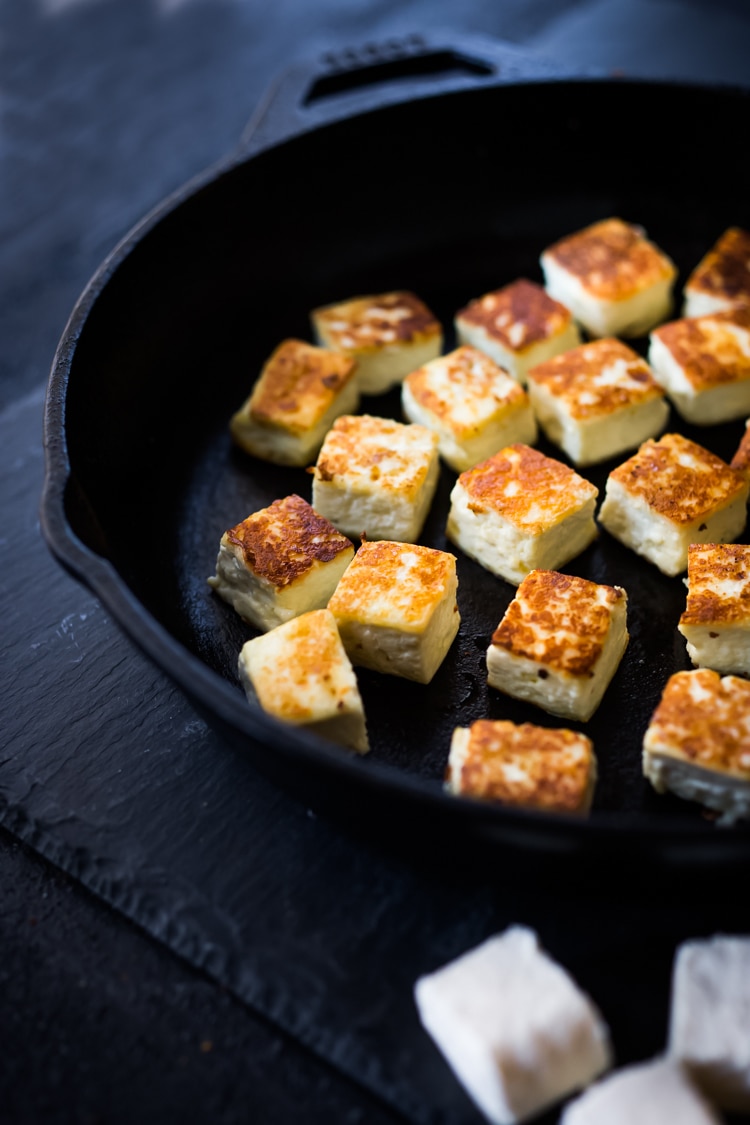
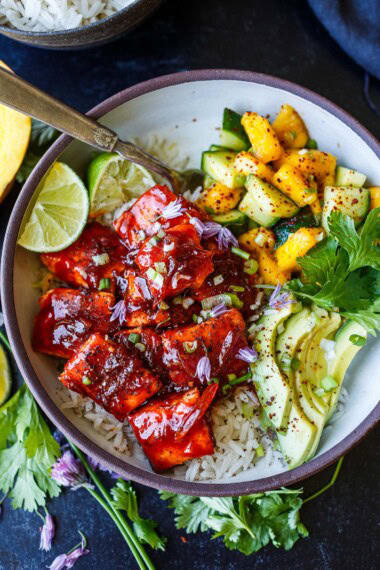
Paneer can be eaten fresh or pan-seared – like you see above!
Ingredients in Paneer Cheese
- whole milk (cow’s milk or goat’s milk, or raw milk)- do not use low fat.
- vinegar- white vinegar is best here!
- cheesecloth- use to strain the cheese (or in a pinch, use a very thin cotton dish towel)
How to make Paneer Cheese
- Heat a gallon of whole milk until it simmers. Turn heat off.
- Add vinegar -water, which will separate the curds from the whey. Cool.
- Strain the curds in a cheesecloth, drain for 1 hour, then press into a square with a weighted plate.
- Let it rest in the fridge for 15 minutes.
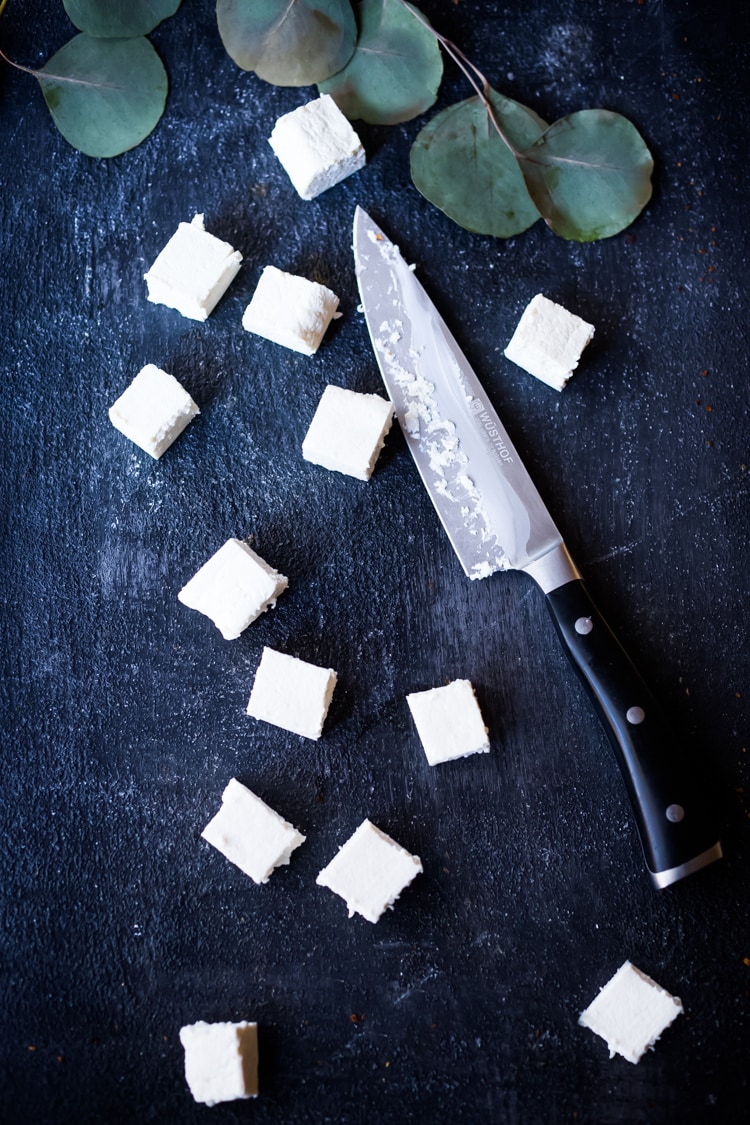
- Cut into cubes!
STEP ONE:
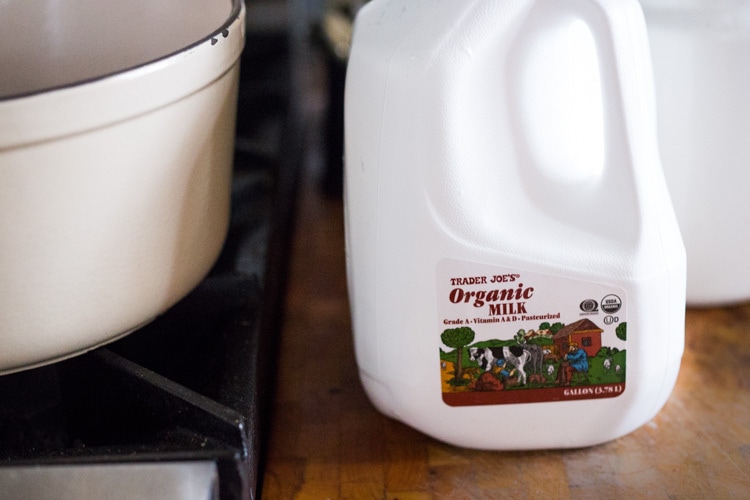
Start with the best quality whole milk you can get.
Organic, whole milk. Raw milk would work great too. I’ve heard half and half works too, but have not personally tried this. Goat’s milk will work as well, as long as it is whole. (Do not use UHT Milk, or milk that has undergone ultra-high temperature processing, sometimes called “ultra-pasteurization”. )
Skim milk or low-fat milk will not give you enough curds, so be sure to use whole milk.
One gallon of milk yields 24 ounces of Paneer which is about 4 cups cubed, which is about an 8 x 8-inch square, about an inch thick.
This is a bigger batch; if you want to start off smaller, feel free to half the recipe.
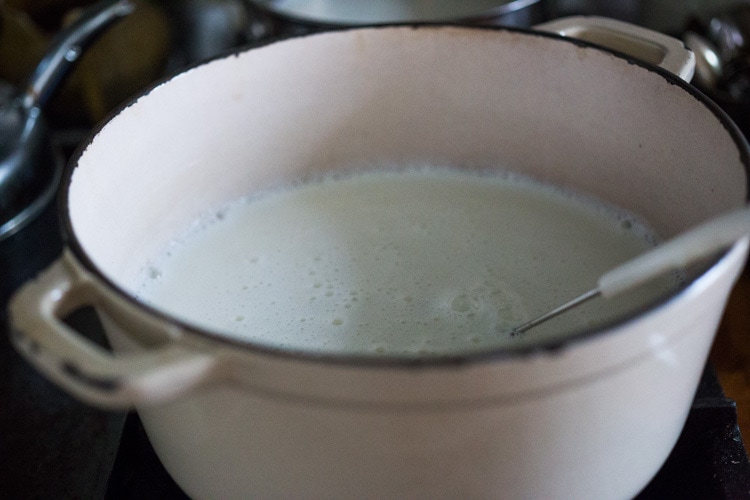
Heat the milk in a large non-stick pot, or dutch oven, over medium heat until it comes to a simmer (roughly 200F). This will take 20 minutes. Turn heat off and let cool for 5-10 minutes. Skim the foam off the top.
STEP TWO
Add vinegar water, a little at a time, stirring very very gently, until the cheese curds start separating from the whey. Stirring slowly helps keep the curds intact.
The paneer will begin to curdle into big lumps (which is good!). The bigger the lumps, the creamier the paneer. Be patient here.
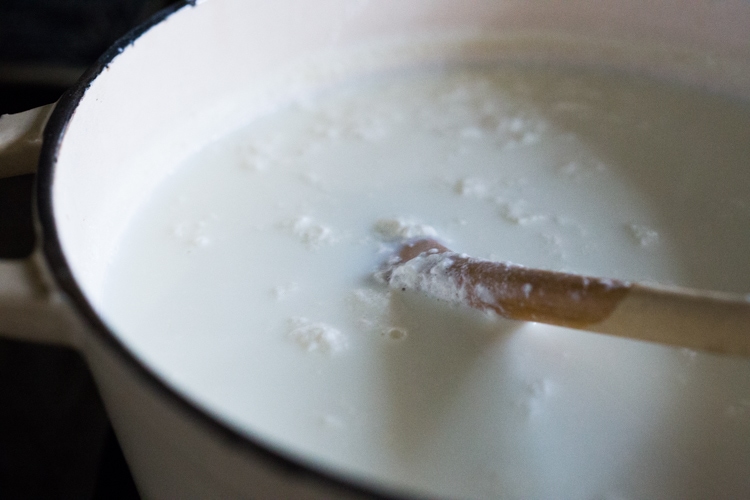
As it cools, the curds will continue separating. You can do other things while it’s cooling.
Let the mixture cool completely before straining.
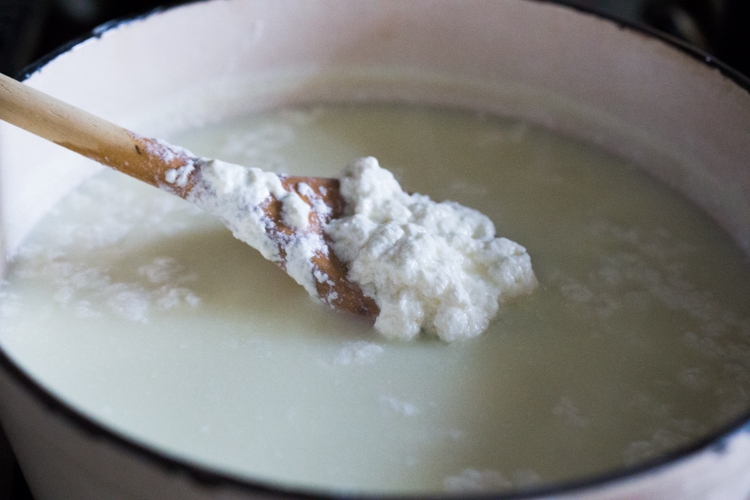
The milk will gradually go from cloudy, to clear-ish, as it cools, and the whey will have a slightly greenish hue.
STEP THREE
Place two layers of cheesecloth over a colander and place over a bowl if you want to save the whey.
(TIP: Use the whey to make Beet Kvass!)
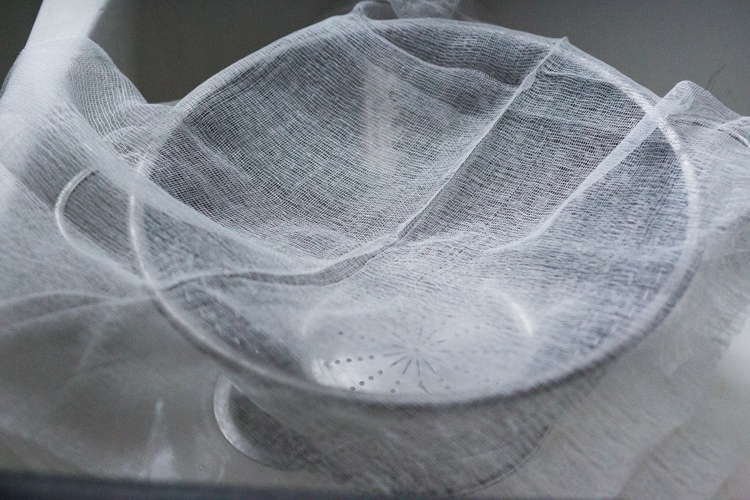
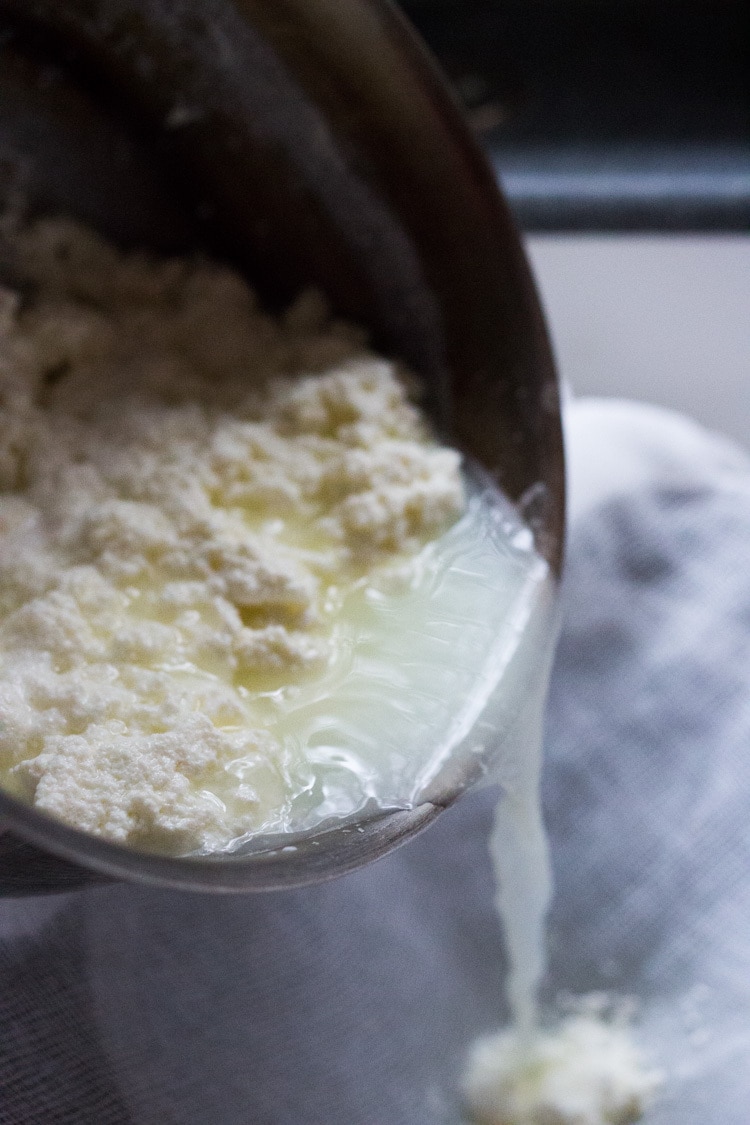
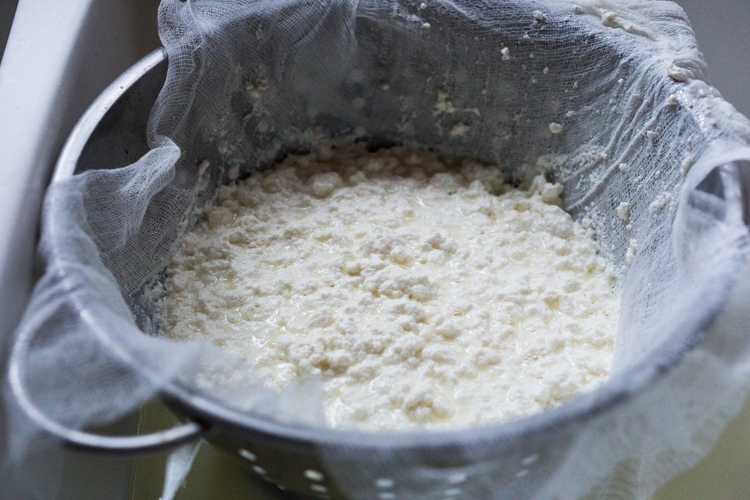
When completely cooled, gently pour and strain.
STEP FOUR
Let the curds drain, and gently rinse with lukewarm water (to remove vinegar)
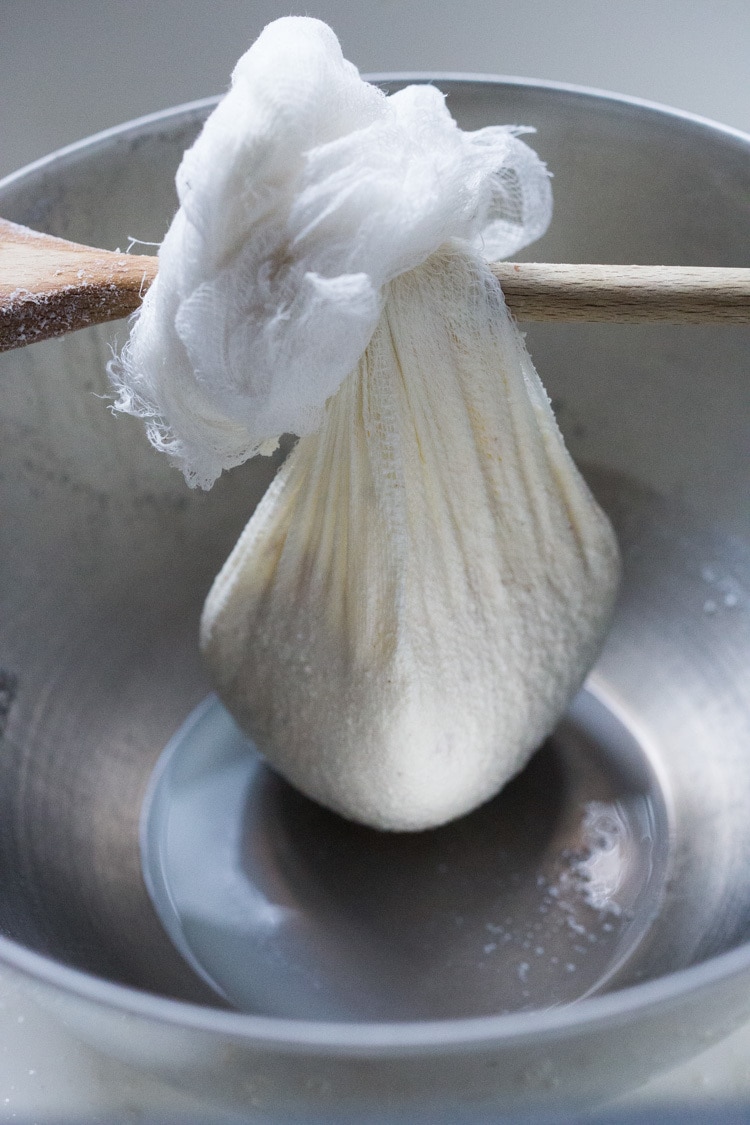
Gather the ends of the cheesecloth together, resisting the temptation to squeeze the water out – and let it drain naturally for one hour, hanging.
Tie the ends of the cheesecloth to a large wood spoon over a bowl.
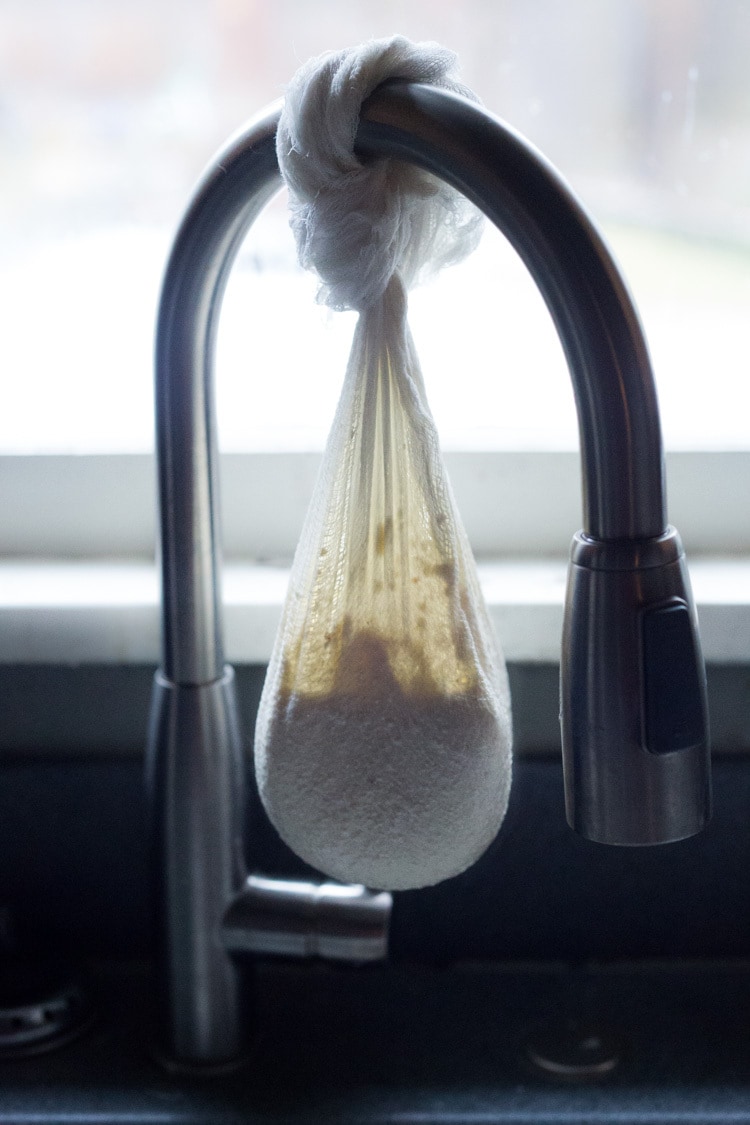
Or tie to your kitchen faucet like they do in India. 😉
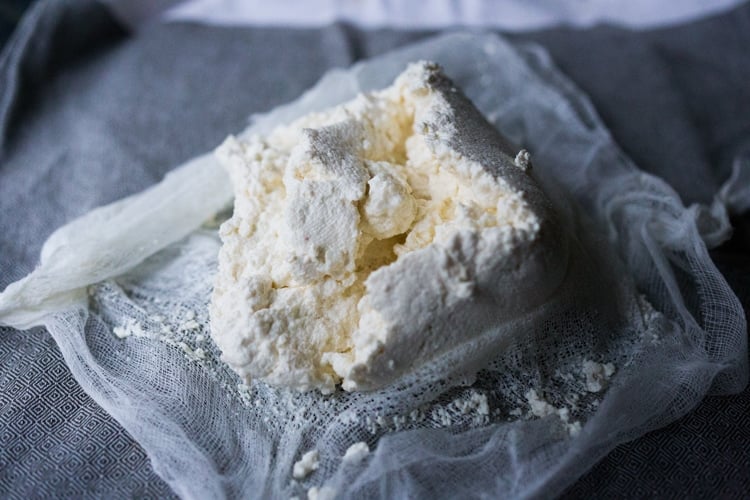
Once it has drained, place the paneer on a thin kitchen towel.
STEP FIVE
Begin lightly massaging the paneer onto the towel with the base of your palm, pressing gently and smearing it upwards and away from you. This removes more water while creating a creamy texture.
TIP: Many recipes skip this step, but I’ve found that doing this really makes the paneer creamy vs. grainy.
So press and smear. Gently.
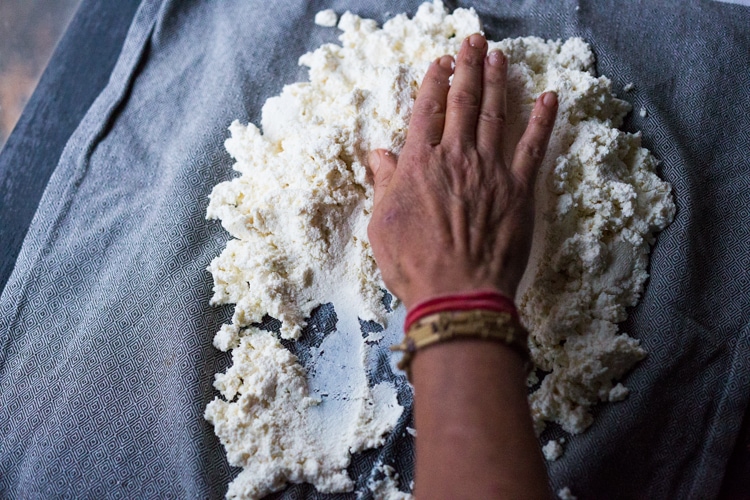
Gently break up the curds by pressing up and into the cloth with the heel of your palm.
Add salt – a generous pinch of sea salt is perfect.
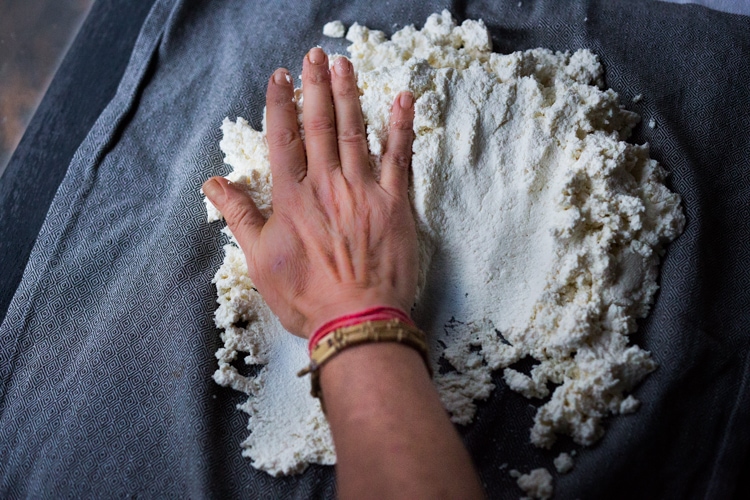
Form a ball with the paneer in the center of the cloth and fold the cloth into a 8 x 8 inch square.
If your cloth is very wet, grab a fresh one.
STEP SIX
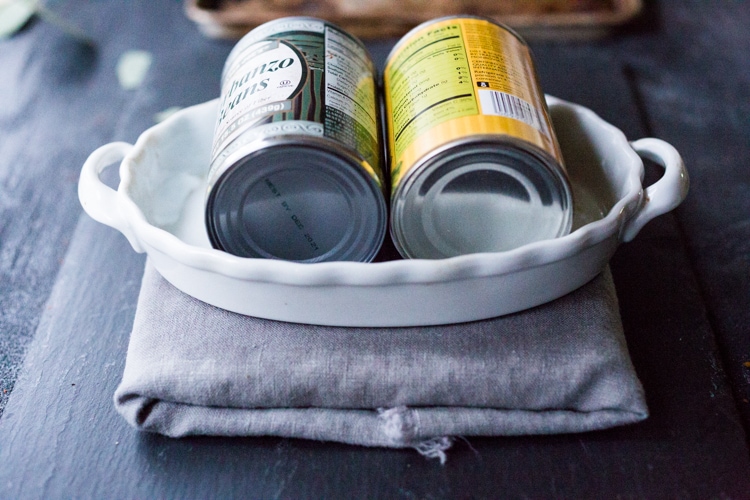
Place a plate or platter over top of the ball and press down all around until the paneer fills out to all the edges of the cloth and you have a nice square shape. Weight the plate down and place in the fridge for at least 15 minutes.
STEP SEVEN
Unwrap it and cut it into squares.
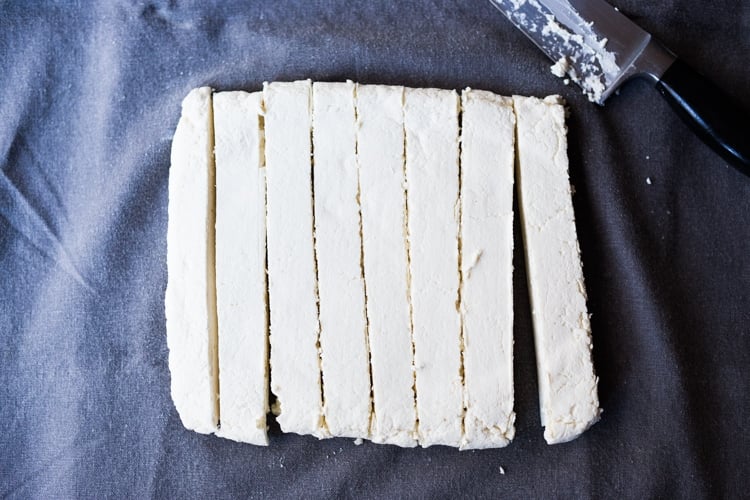
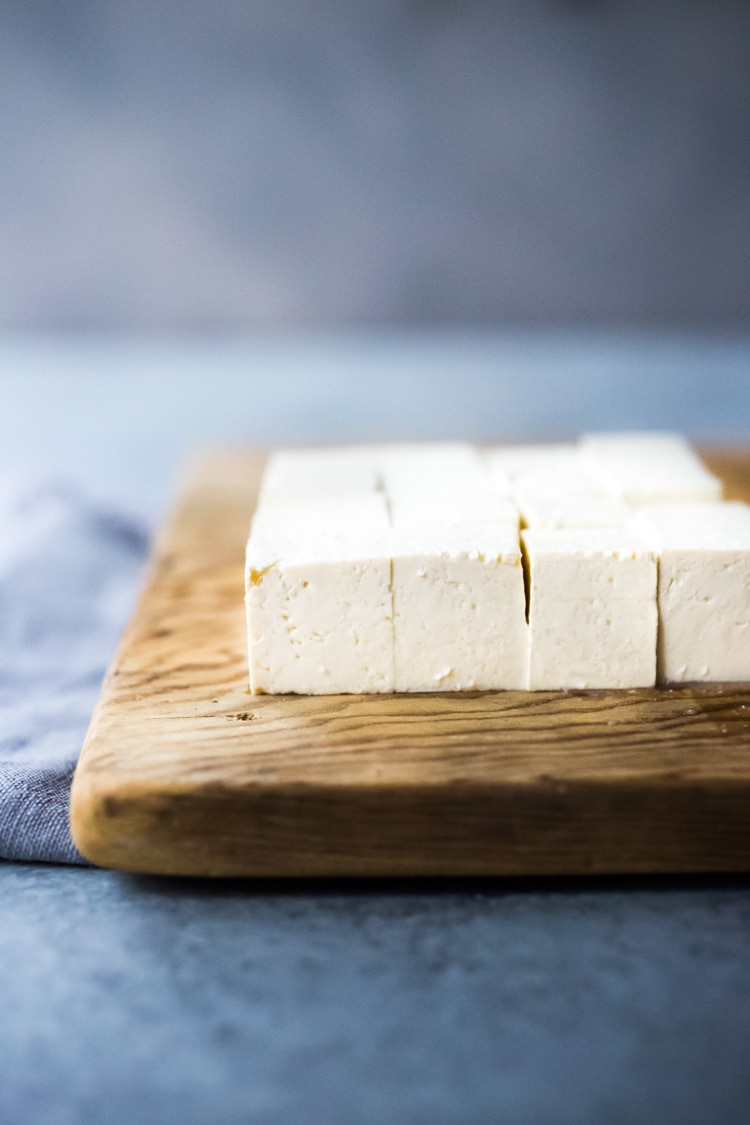
WAYS TO USE PANEER
- Add fresh paneer to Indian curries, dal or stews.
- Make Homemade Palak Paneer (Cheese Cubes in Creamy Spinach Sauce)
- Pan-sear the paneer and add to Buddha Bowls, salads, or soups.
Making homemade paneer is a fun little project to make with your kids or family that is surprisingly fun, easy and uncomplicated!
Enjoy the process!
xoxo
How to Make Paneer
- Prep Time: 100 mins
- Cook Time: 20 minutes
- Total Time: 2 hours
- Yield: 24 ounces
- Category: vegetarian, how to,
- Method: stove top
- Cuisine: Indian
Description
How to make Paneer Cheese – a fresh Indian Cheese that can be made at home to use in Indian curry, masala, wraps and stews! Easy, step by step recipe.
Ingredients
- 1 gallon organic whole milk- (do not use skim milk, 2%, or ultra-pasteurized milk)
- 6 tablespoons white vinegar
- 2 cups water
- generous pinch sea salt
Instructions
- Heat milk in a large nonstick pot (or dutch oven) over medium heat, until it just begins to simmer, about 20 minutes,( roughly 200F) stirring occasionally. If you feel a layer forming at the bottom don’t disrupt it, or try to mix it in. Turn the heat down, and stir without scraping it up.
- Mix 6 tablespoons vinegar with 2 cups water and set aside.
- Once the milk comes to a simmer, where you see active bubbles, and just about to boil, turn heat off and let stand 10 minutes.
- Skim the froth, or skin, and discard.
- Add the vinegar water, a little at a time, stirring very very slowly and gently, until curds start separating. You want nice big curds, so excess stirring, or vigorous stirring will break them apart and make them smaller.
- Let this cool to room temperature before straining, giving only an occasional stir. As it cools the whey will change from cloudy to clear with a slightly greenish hue. This is perfect. (If for some reason, the curds and whey are not separating, stir in more vinegar, a teaspoon at a time till you see a separation.)
- Place a large double layer of cheesecloth (roughly 2 feet by 2 feet) over a large colander. You could place the colander over a large bowl to save the whey for other uses, if you like. Or just drain into the sink.
- Once the curds and whey have cooled, and whey is clear-ish, pour carefully, slowly into the colander. Let it sit and drain until most of the whey has drained. Rinse gently with a little luke warm tap water to remove the vinegar. Do not squeeze any water out, this will result in hard paneer. Just let it drain naturally. Gather up the four corners of the cheesecloth and tie them together, either hanging from a wood spoon positioned over a deep bowl – or hang on the kitchen faucet to drain in the sink. See photos above. Drain for one hour.
- Gently unwrap paneer and place it on a thin tea towel or kitchen towel. With the heal of your palm massage it away from you, gently pressing down into the towel, breaking up the curds while allowing the towel to absorb more water. Sprinkle with salt and massage it in. Gather up the paneer into a ball, in the center of the towel. Fold the towel over the paneer into a neat and tidy square, roughly 8 x 8 inches, or an inch thick.
- Place a plate (with a smooth bottom) over the paneer and press it down firmly and evenly until paneer fills out the square. Add a little weight to the top of the plate and place this in the fridge, on top of another towel to catch any remaining liquid. After 15 minutes, paneer is ready. Or continue to refrigerate, but remove the plate.
- Carefully unwrap and cut with a sharp knife.
- To pan-sear paneer, heat oil in a non-stick or cast iron skillet over medium heat, seasoning the oil with salt and pepper. Place the paneer carefully in the oil and let it form a golden crust. If it is sticking ( in cast iron), it means it is not quite ready to flip over. As the golden crust forms, it will release itself from the pan. Key is moderate heat.
- Enjoy! Use as you would crispy tofu!
Notes
Feel free to half the recipe, especially if it is your first time making this.
Nutrition
- Serving Size: 3 onces
- Calories: 298
- Sugar: 24.6 g
- Sodium: 209.8 mg
- Fat: 16 g
- Saturated Fat: 9.1 g
- Trans Fat:
- Carbohydrates: 23.3 g
- Fiber: 0 g
- Protein: 15.4 g
- Cholesterol: 48.8 mg

Hi Sylvia. This looks so good but do you think it would work with plant milk please and if so, which might be best. I am not keen on Tofu but would love to make your Tikka Masala recipe.
Many thanks, Sandy
Hi Sandy, I don’t think this technique would work with a plant-based milk- but try googling vegan paneer and see if you can find a different way of making it? There has got to be a way!
I will add my voice to others raving about this recipe. I was really intimidated initially, but I found the video, instructions and other comments really encouraging helpful. I was grateful for the 200 degree temp instruction along with visual clues as to when to take the milk off the heat. I ended up having to switch out the tea towel I was using because the cheese was still very wet and loose after sitting in the fridge for an hour or more. After changing out the tea towel and letting the cheese sit overnight, the cheese came out perfectly. It was a massive hit and so much cheaper, better tasting, and creamier than the paneer I have been buying at the grocery store.
Awesome Lynn! Glad you were able to make this work.
This was so much less work than I imagined, and it turned out amazing! Made 2 batches and with `garden tomatoes, I tried out a new mattar paneer recipe that was gifted to me by my favorite, now sadly gone, local Indian restaurant. The cheese was so creamy and delicious and was totally worth the effort! The only thing I might suggest to others: I found that using a wire skimmer to take the curds out of the pan and place them in the cheese cloth-lined colander for rinsing worked better for me than just dumping the pot over the colander. I also was on the fence about whether to sauté or not before tossing the paneer in my tomato gravy. In the end, I opted to lightly sauté it and I think that was the right move: it remained perfectly soft and creamy but stayed together beautifully without becoming mushy!
Great to hear Amie. Love your feedback, and I love my lightly sauteed too!
Any suggestions as to how to use the protein rich whey–will this work to make ricotta for instance?
I’ve been using in in my Beet Kvass! You can use it to aid in any lacto fermentation projects you have going on- it can also be frozen, andthen just pull it out when you need it. Also great to add to soaking grains, makes them more digestable. A friend of mine waters her plants with it too. I have not tried this yet. 😉
We use metrics measures . What is a gallon in litres or ml? Thank you
1 gallon = 3.78 Liters.
I had never thought that paneer would be so easy to make. This paneer has a wonderful texture- perfect in palak paneer. I wasn’t confident about knowing just when It had gotten to the point of simmering but not quite boiling. I ended up looking up the simmering temp of milk at my altitude and used a candy thermometer. This took the guess work out of it. I poured the whey onto our compost pile, where it helps to provide nutrients.
So glad this worked for you Karen!
Hi! I LOVE your palak paneer recipe so this time I’m going to try to make the paneer myself. The only problem is I’m having a hard time getting white vinegar lately. Would another kind work? White wine vinegar? Thanks!!
try it!
I used lemon juice when I did this years back. Throw in some black pepper when you start heating the milk. The question about how long this stuff will last…..30 minutes if you’re like me.
What kind do you use? I’ve got white distilled white malt vinegar will that be ok?
Yes, should be fine!
I can’t wait to try the recipe with whole milk next time. I used 2% and it was delicious. What do you do with the whey?
Great question, I know people use it as a starter culture for fermentation.
I tried my hand at making this, and I really really enjoyed it. Once I cut it into squares, it kept its shape fairly well, but not quite as well as I’d hoped. I didn’t sear the paneer, and I’m sure that would’ve helped. But I’ve eaten paneer in restaurants that wasn’t seared and it stayed together just fine. I’d love to do this again and I’m always looking to improve, so I was just wondering if you had any advice for me. Thanks for posting this and for making it so easy to follow!!
The more I make this, the better it gets. I think it is just a matter of practice and repetition, getting a feel for it.
Okay great, thank you.!! 🙂
Easy to do and worked well! Thanks.
Awesome-glad it worked!
how long can you store uncooked paneer or do you need to use it all right away?
Alan, Paneer keeps like milk. If it’s fresh, and made with fresh milk it can keep for a week. If made with not so fresh milk, 2-3 days. If it starts to taste sour, you’ll know it’s going off. So just smell and taste. ( It won’t make you sick) You can also make it and freeze it!
Came out perfect. Used it in your Spinach Curry recipe. Very good.
We had no idea Paneer would be so simple to make. Thanks for sharing how to do this. We made your Palak paneer and it was exquisite!
This was easy and turned out perfect! Thanks for the clear directions. Will make this again.
Hi, since you are removing the whey from the curds the nutritional value on this is different. The whey contains most of the sugar in the milk. The portion you have listed would only have about 1 gram of carbs which would make this more Keto friendly.
Maria! This is BRILLANT! Thanks so much for sharing this. I honestly had no idea… and the nutrition calculator I use wont account for this. So helpful!!! Thank you. xoxo