How to make your own homemade Kombucha! It’s much easier than you think – just follow our simplified method and you’ll have your own batch of kombucha in no time flat! Video.
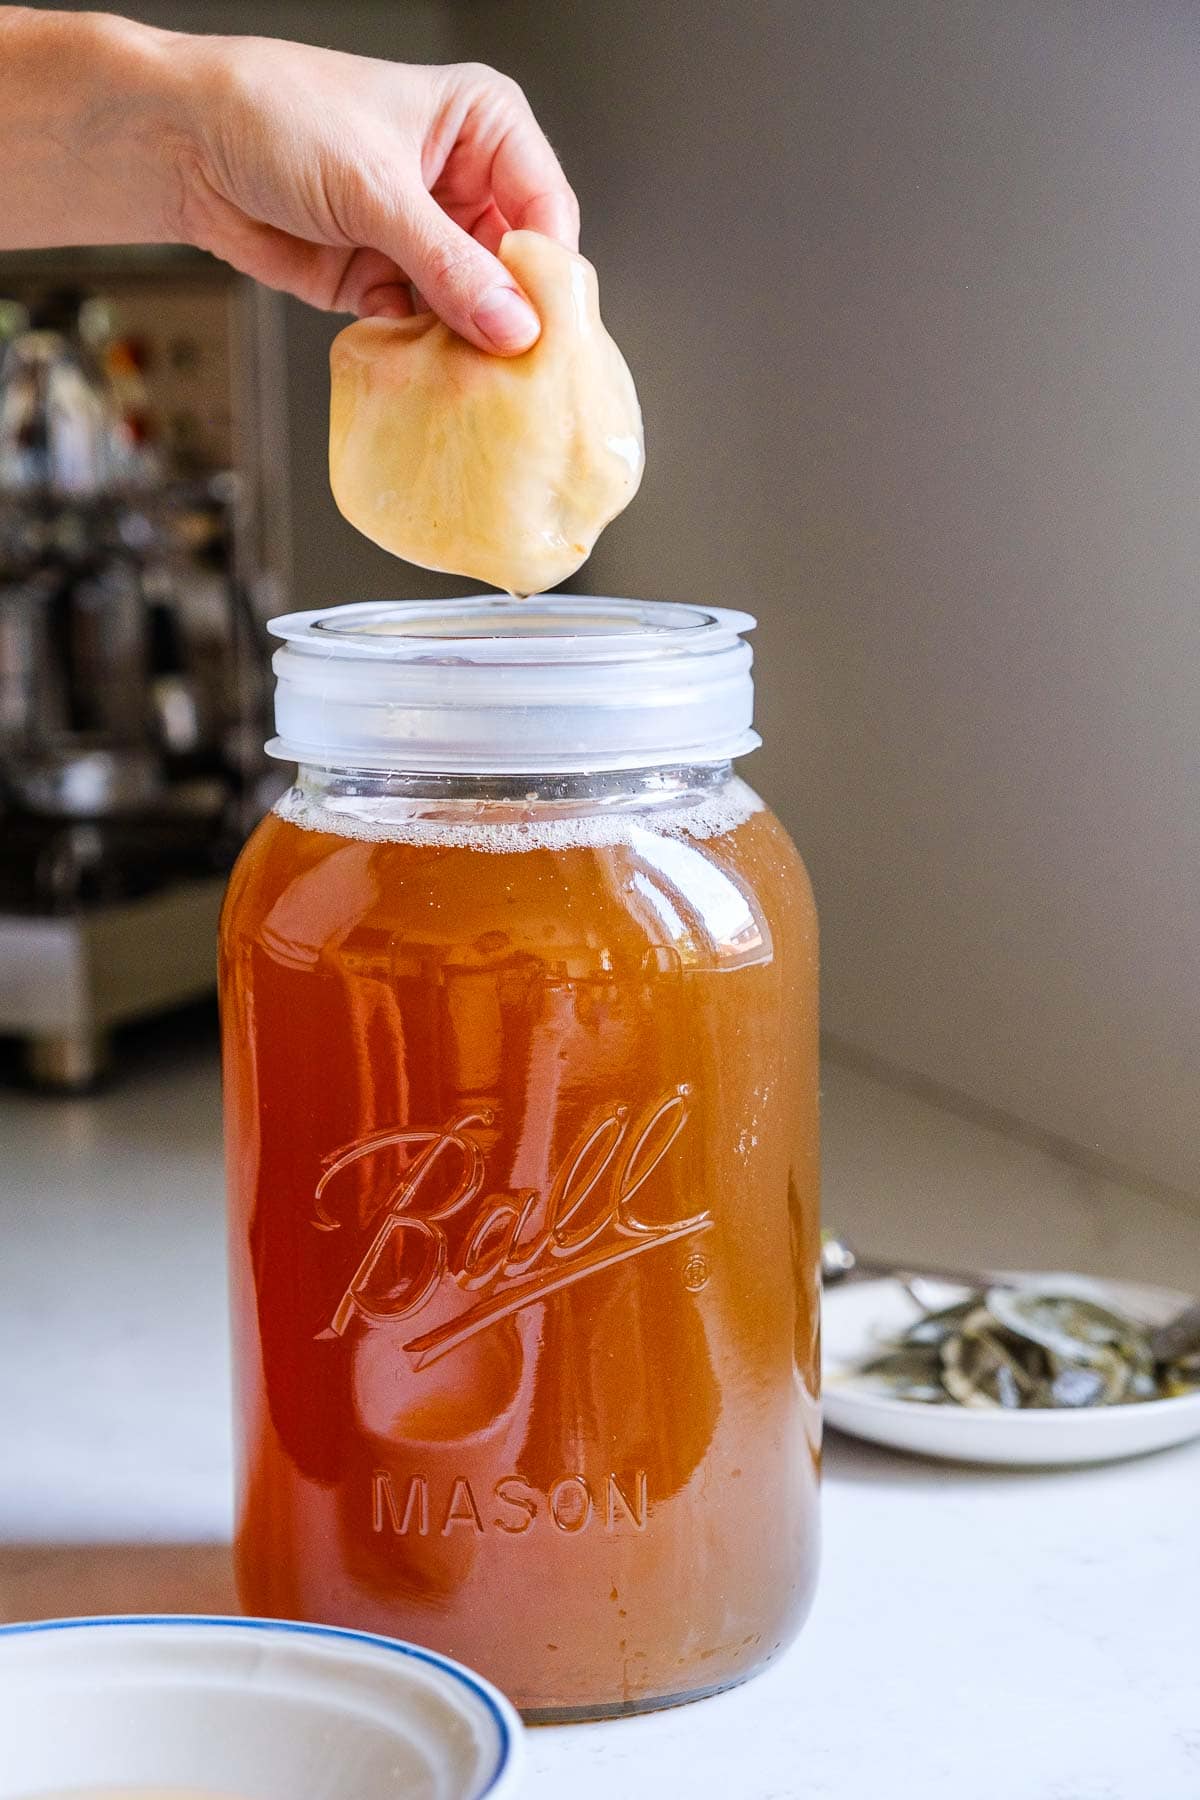
I’ve completely embraced Kombucha as of late. Cutting back on alcohol has been effortless with this fizzy drink in hand! It’s like champagne on a health retreat—effervescent, celebratory, and vibrant, yet packed with probiotics.
I understand how fermenting can feel intimidating to newbies, but if you’ve been here a while, you’ll know how simple we like to make things to ensure success on your very first try!
After teaching thousands of people how to ferment Water Kefir (just read all the reviews) and our Probiotic Gut Shot– I wanted to show you our fool-proof method for kombucha and why you’ll love it:
- The process is simple! We break it down into 3 easy steps, so you can’t go wrong!
- No fancy equipment is needed!
- Kombucha only takes 15 minutes of hands-on time and 10-18 days to ferment, depending on the temperature—warmer places ferment faster, while colder ones ferment slower.
Table of Contents
- What you’ll need!
- Supplies Needed to Make Kombucha
- How to make Kombucha
- Kombucha Variations and Flavorings
- Tips for SCOBY Hotel Success
- Homemade Kombucha Faqs
- More Favorite Fermented Drinks!
- How to make WATER KEFIR | an easy guide!
- Probiotic Gut Shot
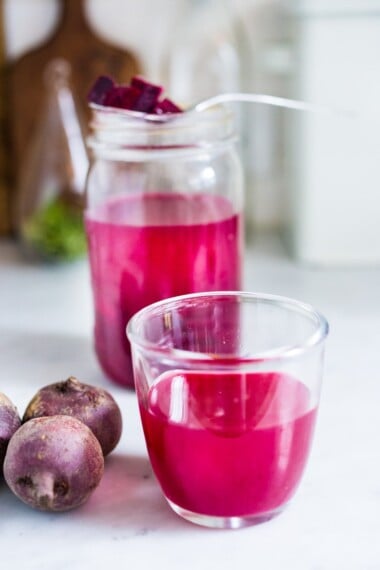
- How to Make Beet Kvass!
- Watch How to make Kombucha!
- Kombucha Recipe (How to make Kombucha)
What you’ll need!
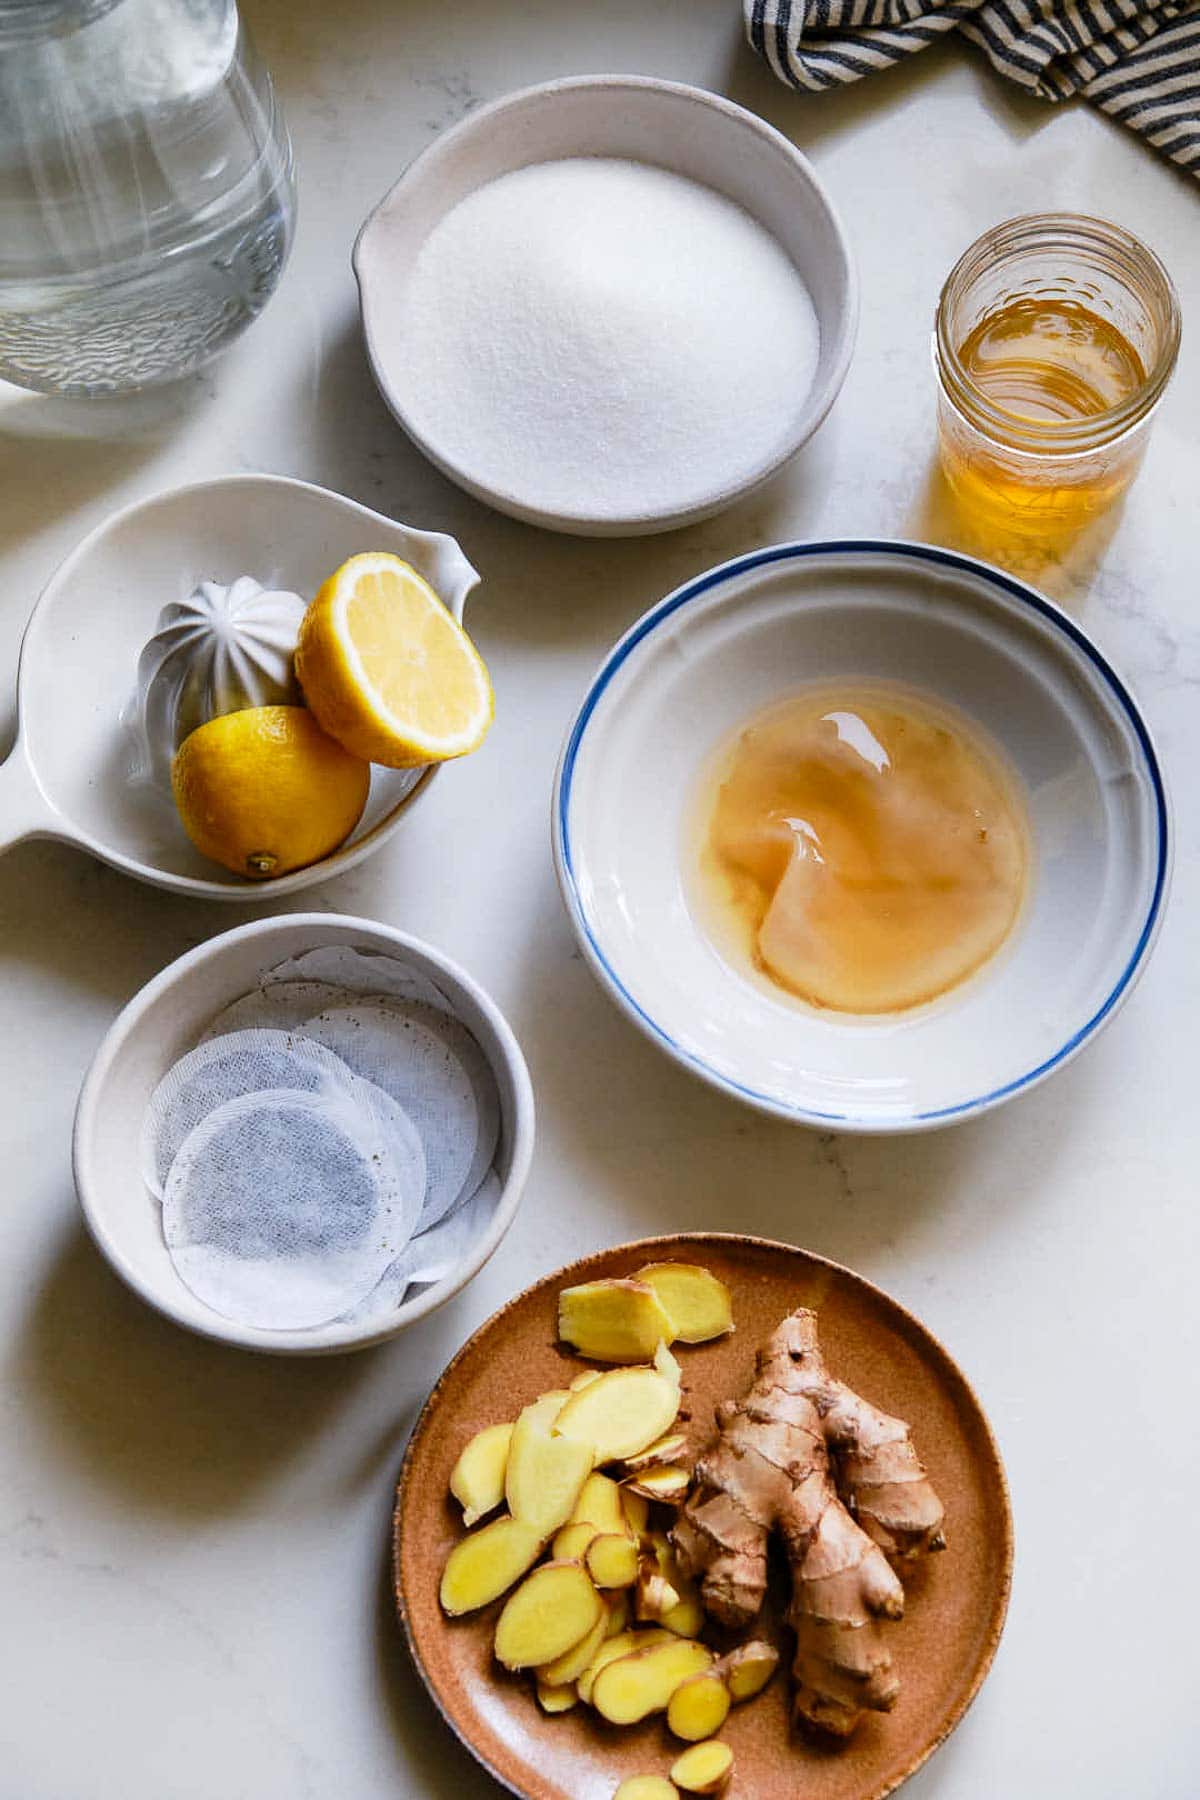
- Filtered Water– filtered tap water works best. Regular tap water can contain chlorine, which can inhibit fermentation. If you must use it, set it out overnight so the chlorine can evaporate.
- Sugar – use organic cane sugar.
- Black tea or green tea– avoid flavored teas or decaffeinated tea, which can alter the fermentation. Tea bags are easy, but loose-leaf tea works well too. Use one tablespoon loose leaf in place of a tea bag.
- Starter kombucha from a previous batch, or neutral-flavored, store-bought kombucha
- SCOBY (store-bought) A SCOBY stands for “symbiotic culture of bacteria and yeast.” It’s the mother starter or culture that is used to brew kombucha. The SCOBY contains the necessary bacteria and yeast to ferment the sweetened tea into kombucha. We recommend buying a hydrated SCOBY (vs. hydrated).
- Optional add-ins (2nd fermentation only): ginger, lemon juice, honey fruit, spices, berries, and fruit juice.
Supplies Needed to Make Kombucha
TIP: Ensure all your supplies (and hands!) are clean with hot, soapy water (no need to sterilize) to prevent any unwanted contaminants from interfering with fermentation.
- Gallon jar (or halve the recipe and use a 2-quart jar). Note: You’ll need one SCOBY per jar.
- Kitchen towel or paper towel or coffee filter, for covering, preventing fruit flies, but allowing it to breath.
- Swing-top bottles (or smaller mason jars) – you’ll need 6 x 16-ounce bottles or 3 x 25 ounces bottles.
- Strainer
- Small funnel
Quick Kombucha Overview
There are 3 steps to kombucha, with two stages of fermentation.
- Make the sweet tea: 15 minutes hands-on time.
- First Fermentation: Ferment the sweet tea with a kombucha starter and SCOBY. 7-10 days fermentation time.
- Second Fermentation: Pour into swing-top bottles and flavor; ferment for 3-8 days until fizzy!
How to make Kombucha
Step 1: Make the Sweet Tea.
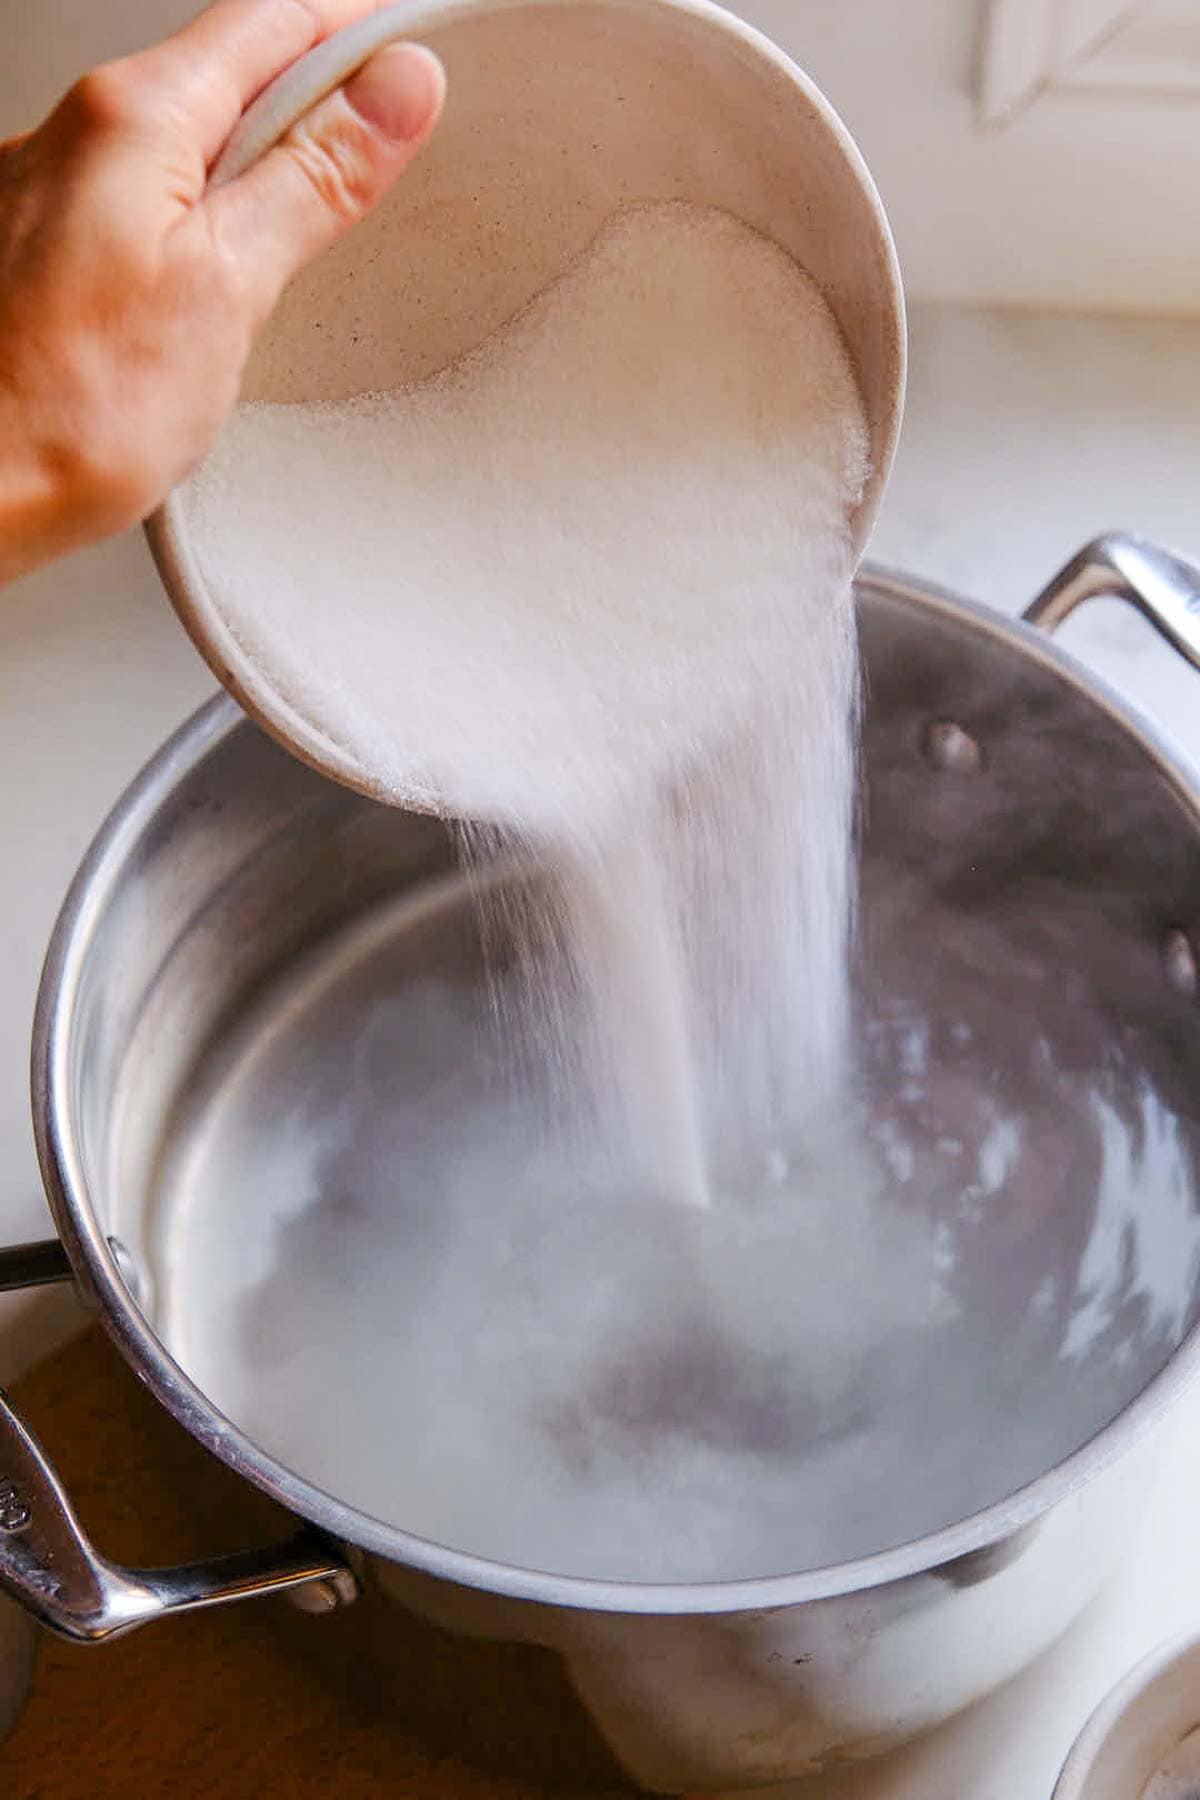
In a large pot, bring water to a boil. Remove from heat and stir in the sugar until it dissolves.
Add tea bags and steep until tea has come to room temperature.
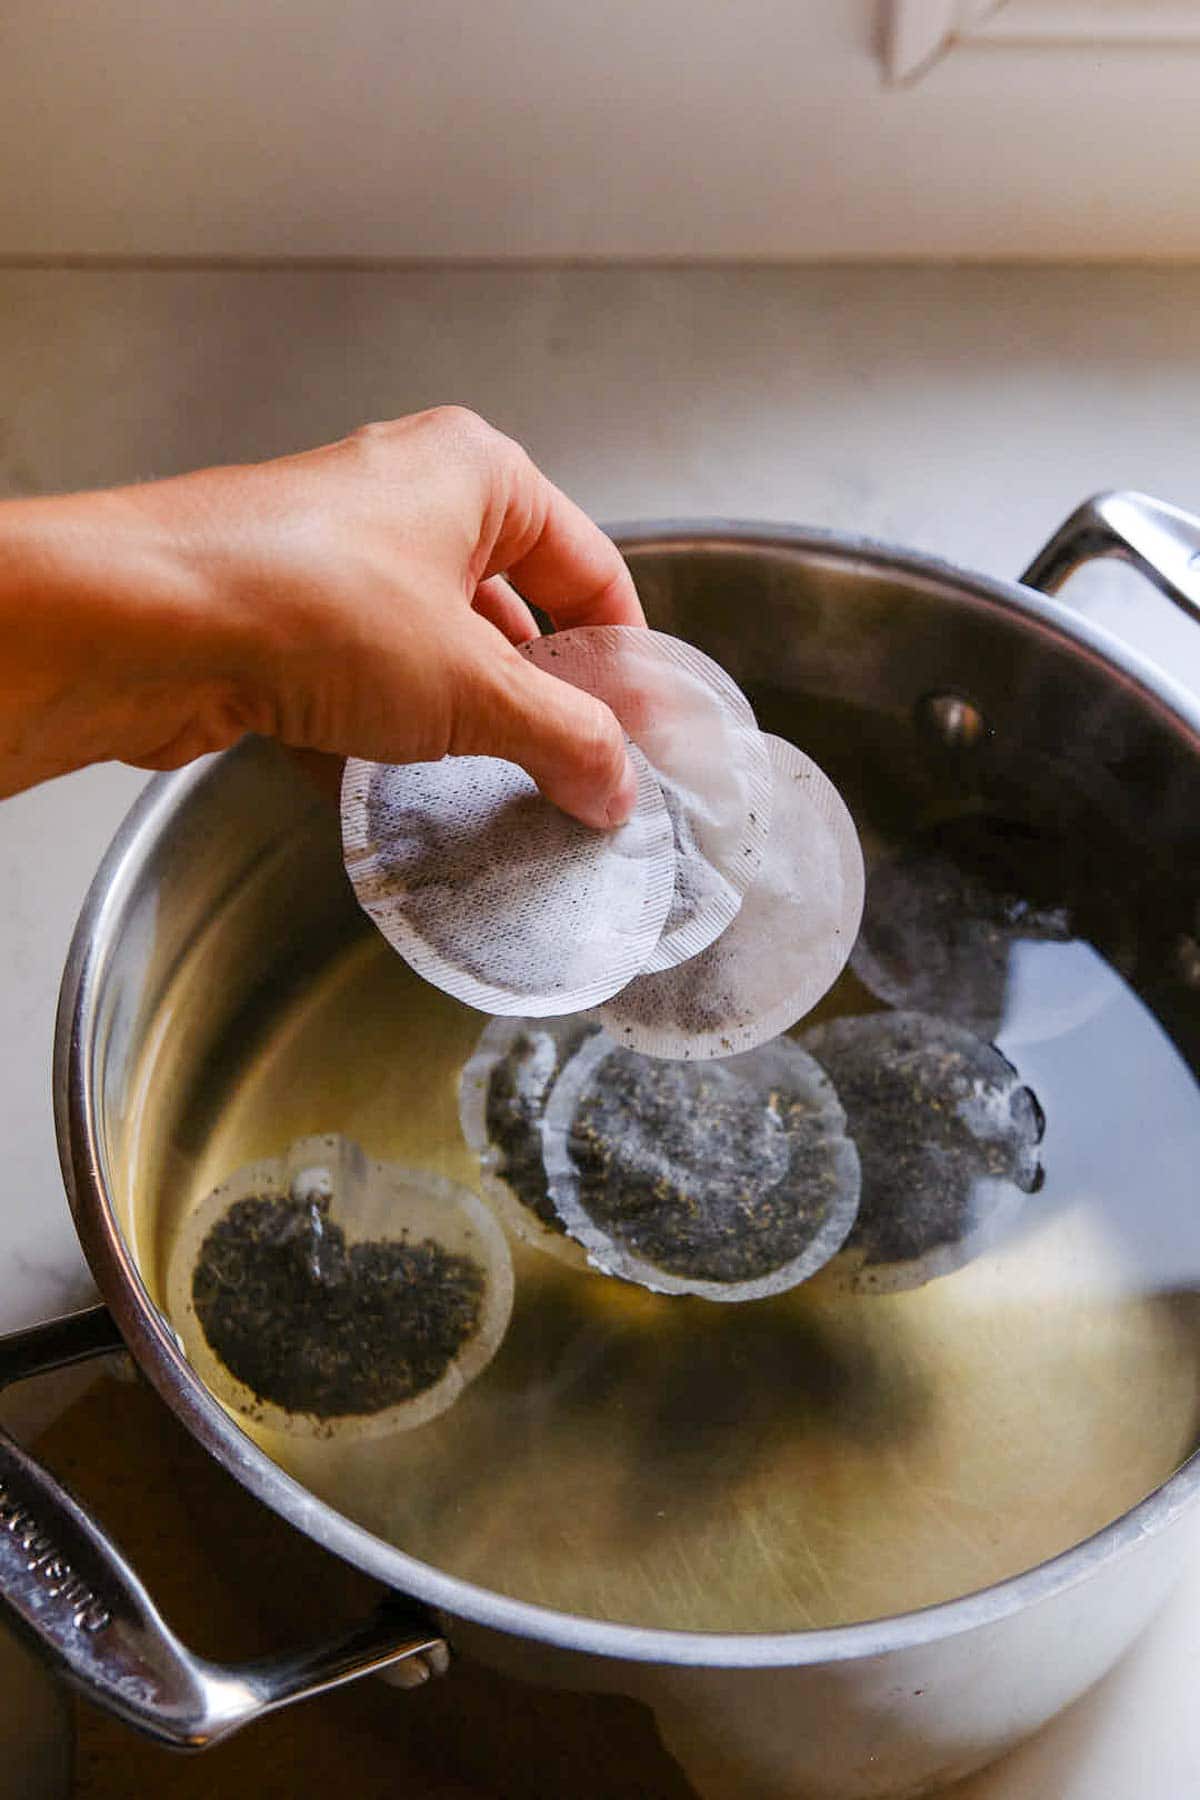
Once cooled, remove the tea bags using a slotted spoon.
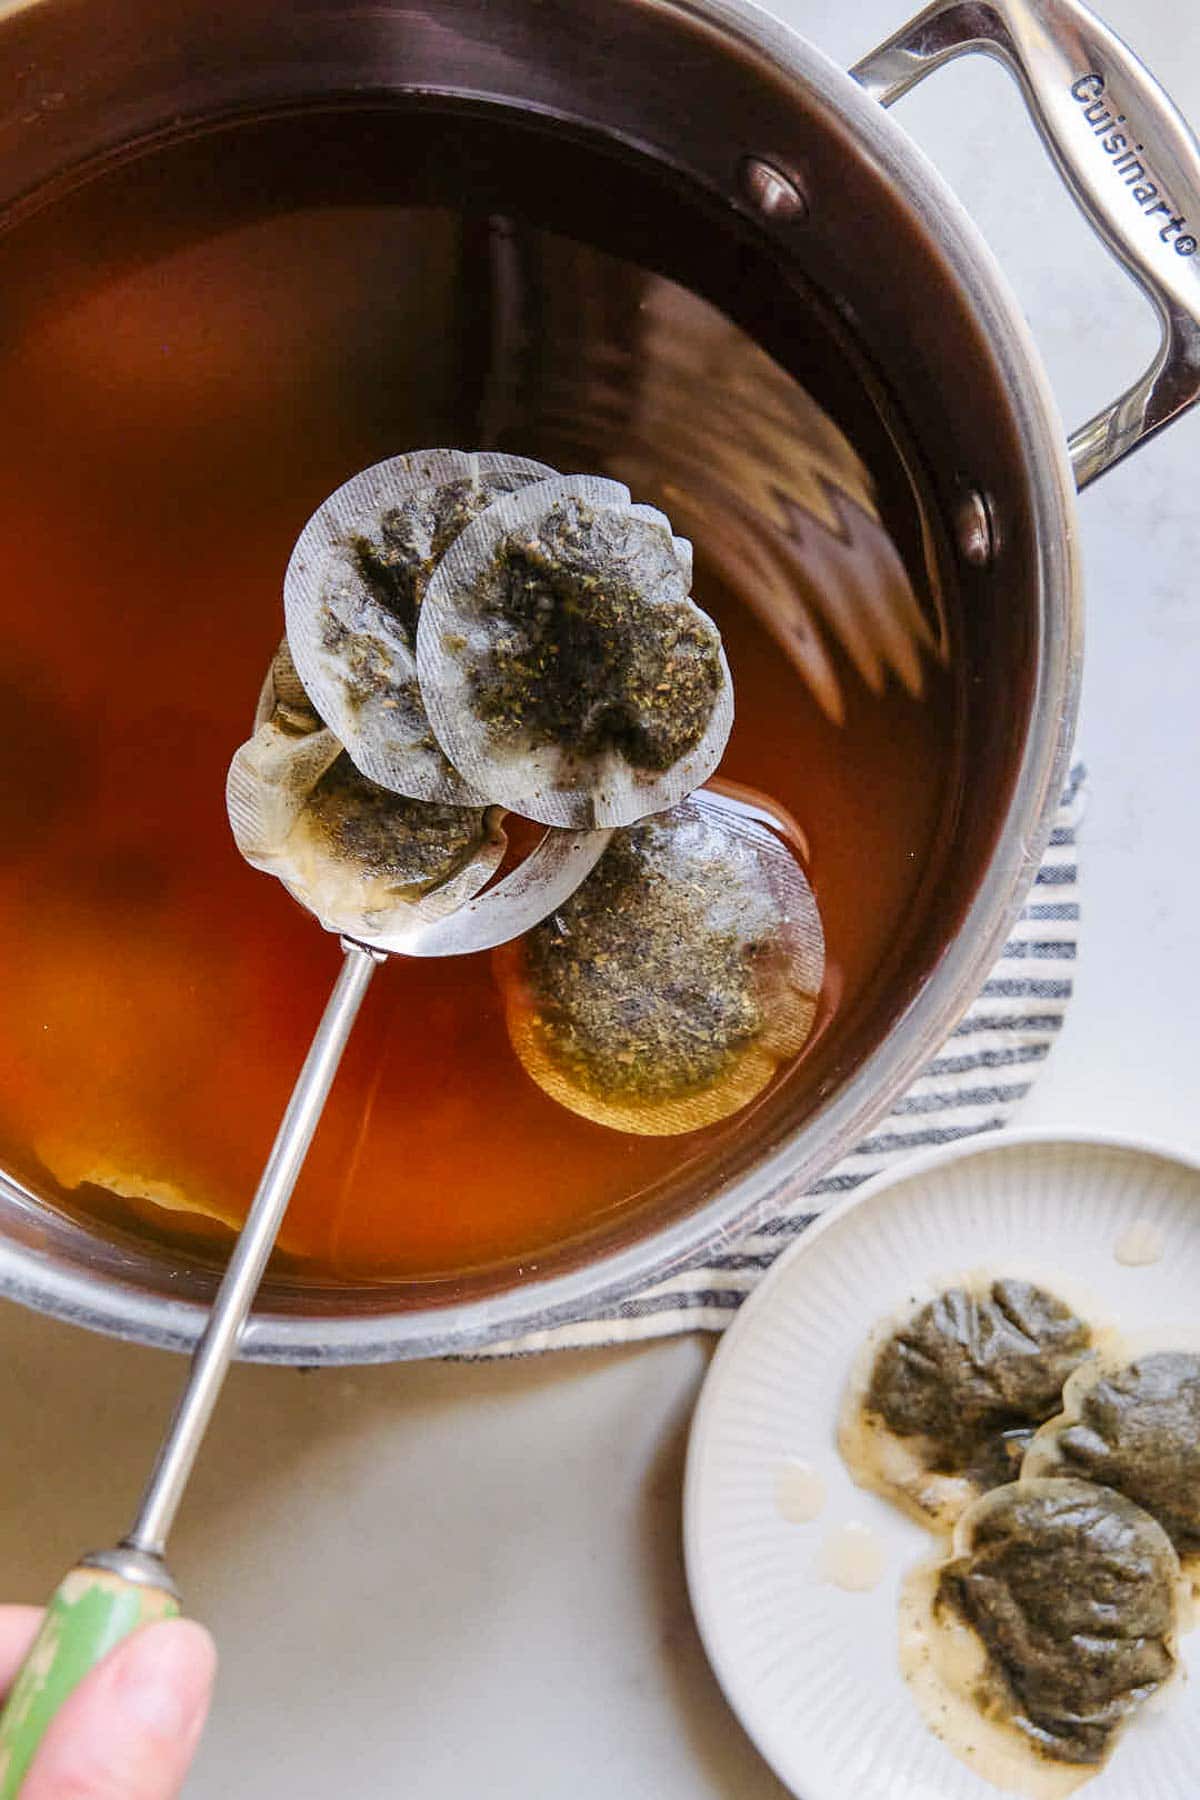
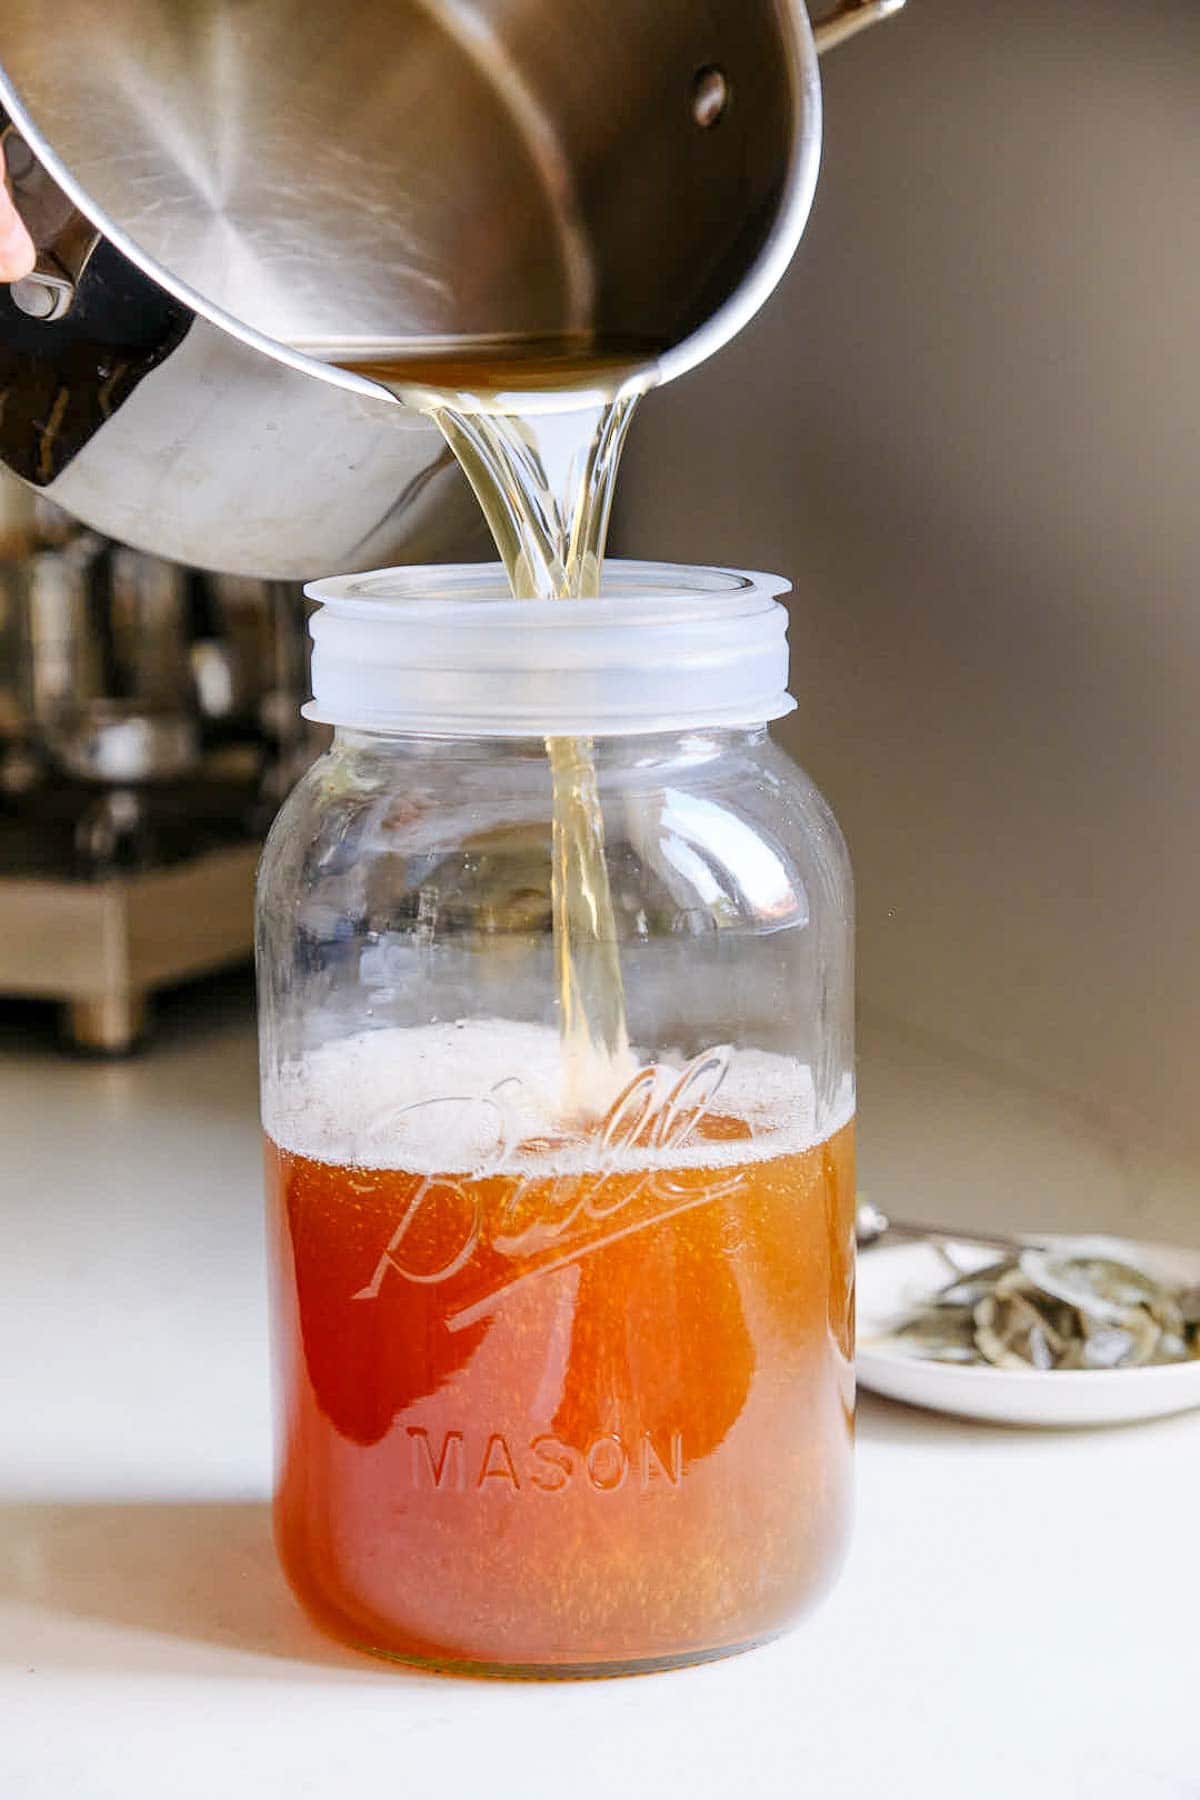
Stir in starter kombucha– make sure the water has cooled first!
Step 2: First Fermentation Instructions
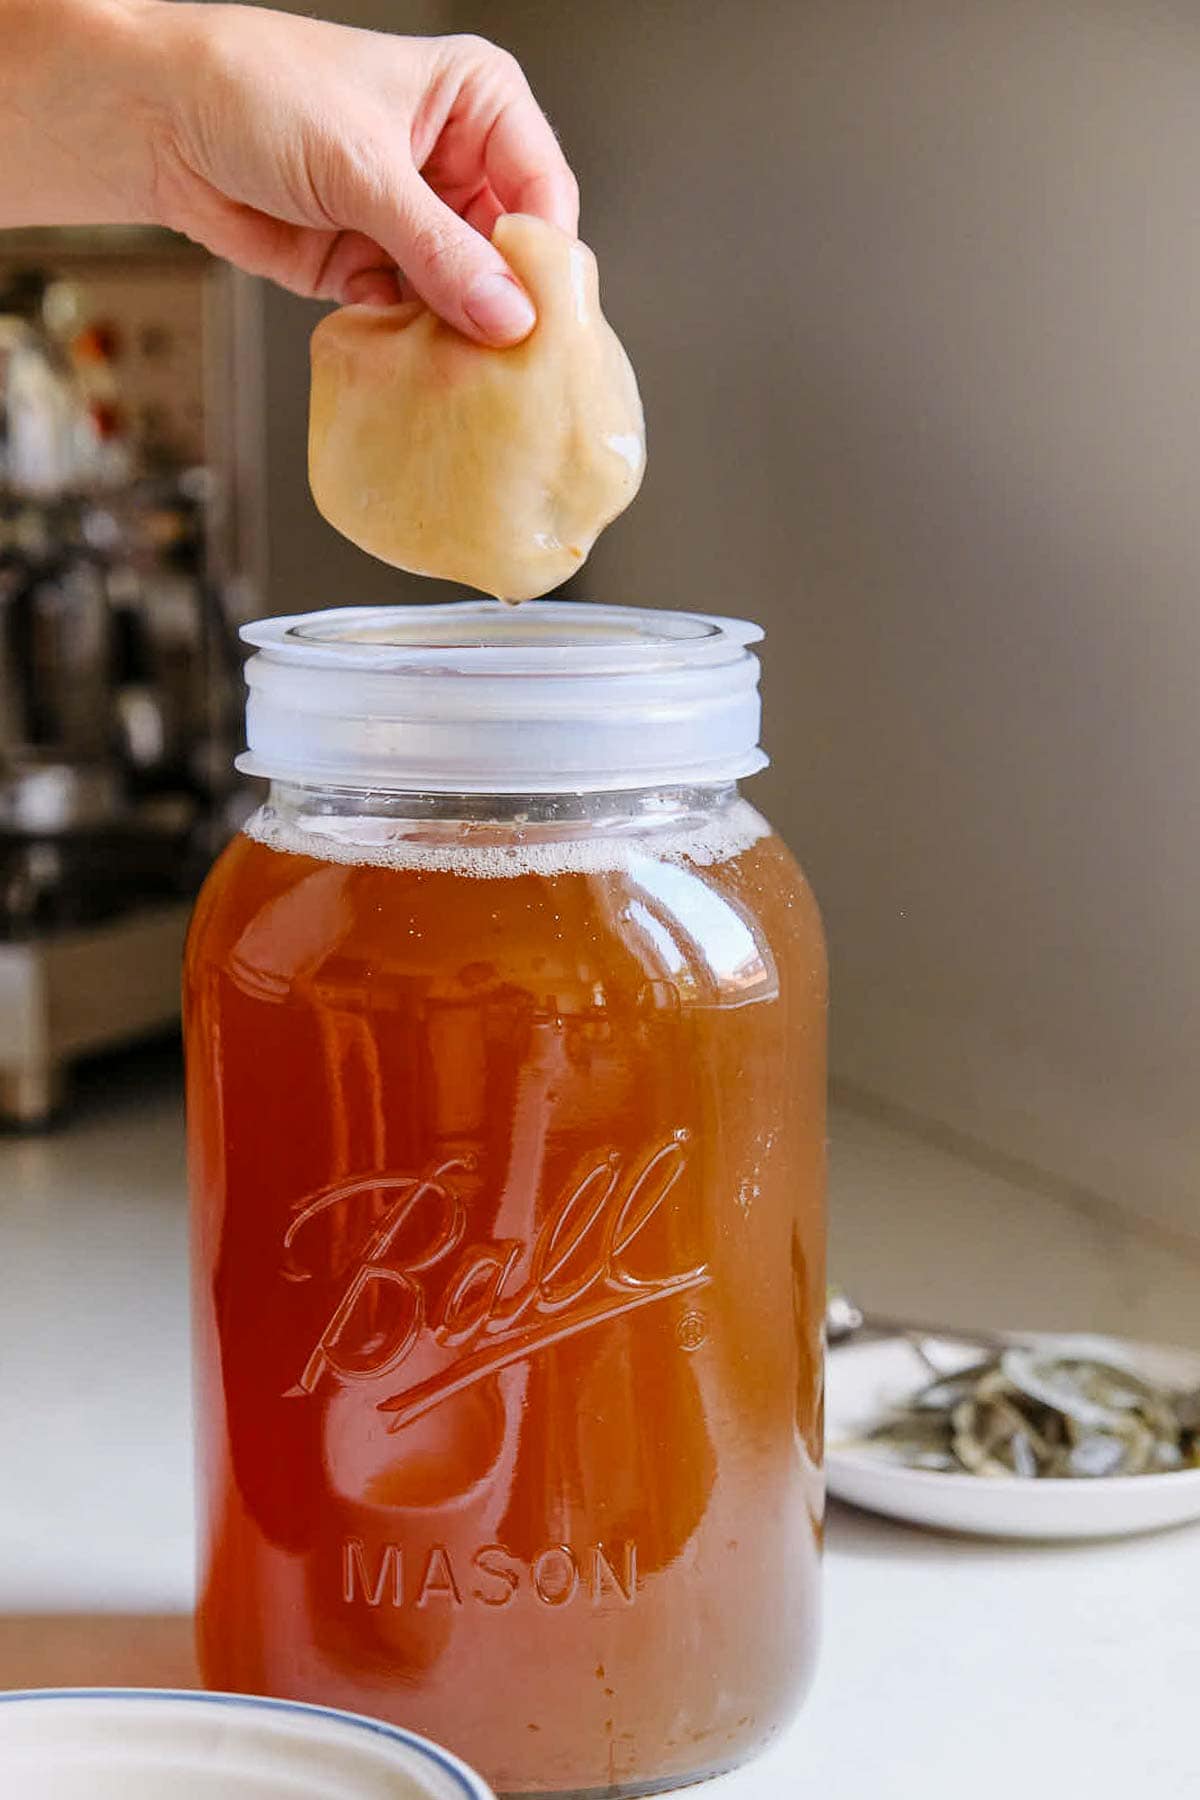
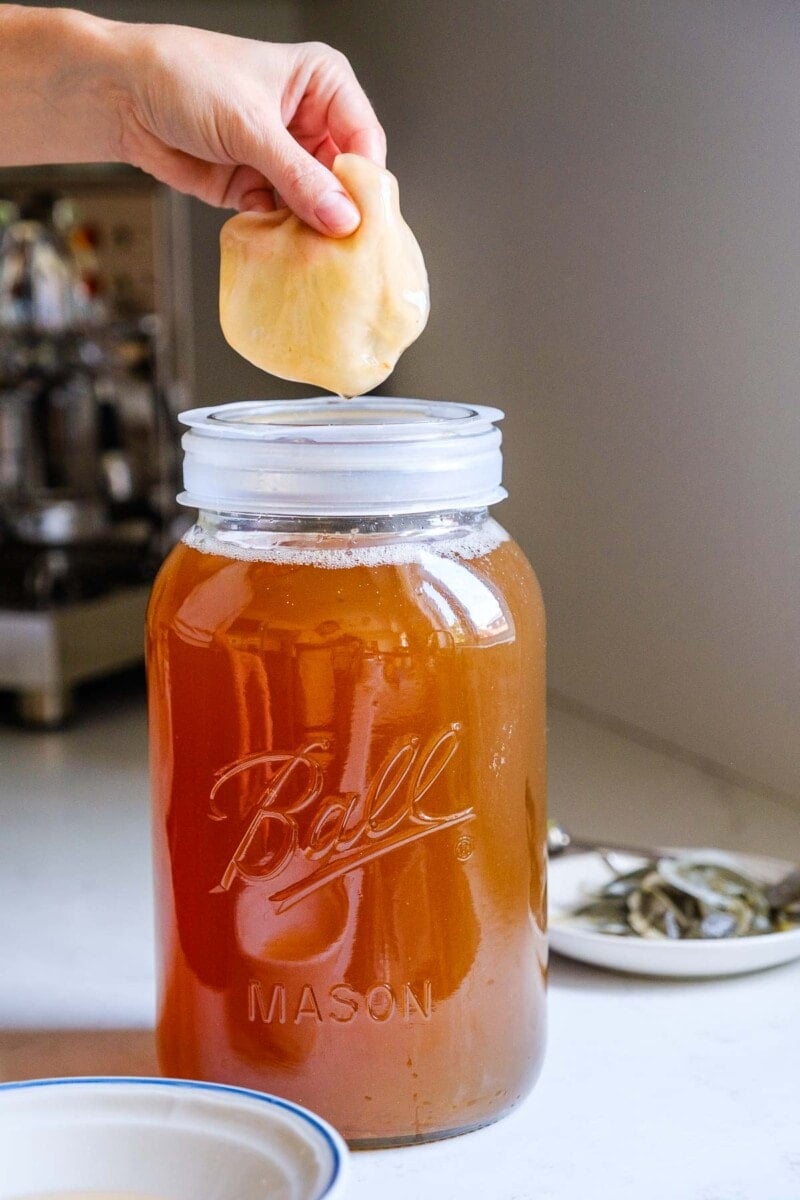
Transfer the mixture to a gallon jar and gently place the SCOBY on top, using clean hands. If you’re using two glass jars, you will need two SCOBYs, one for each.
Cover the jar with a kitchen towel, paper towels, or coffee filter and secure with a rubber band. You want it to breathe while preventing fruit flies from going in.
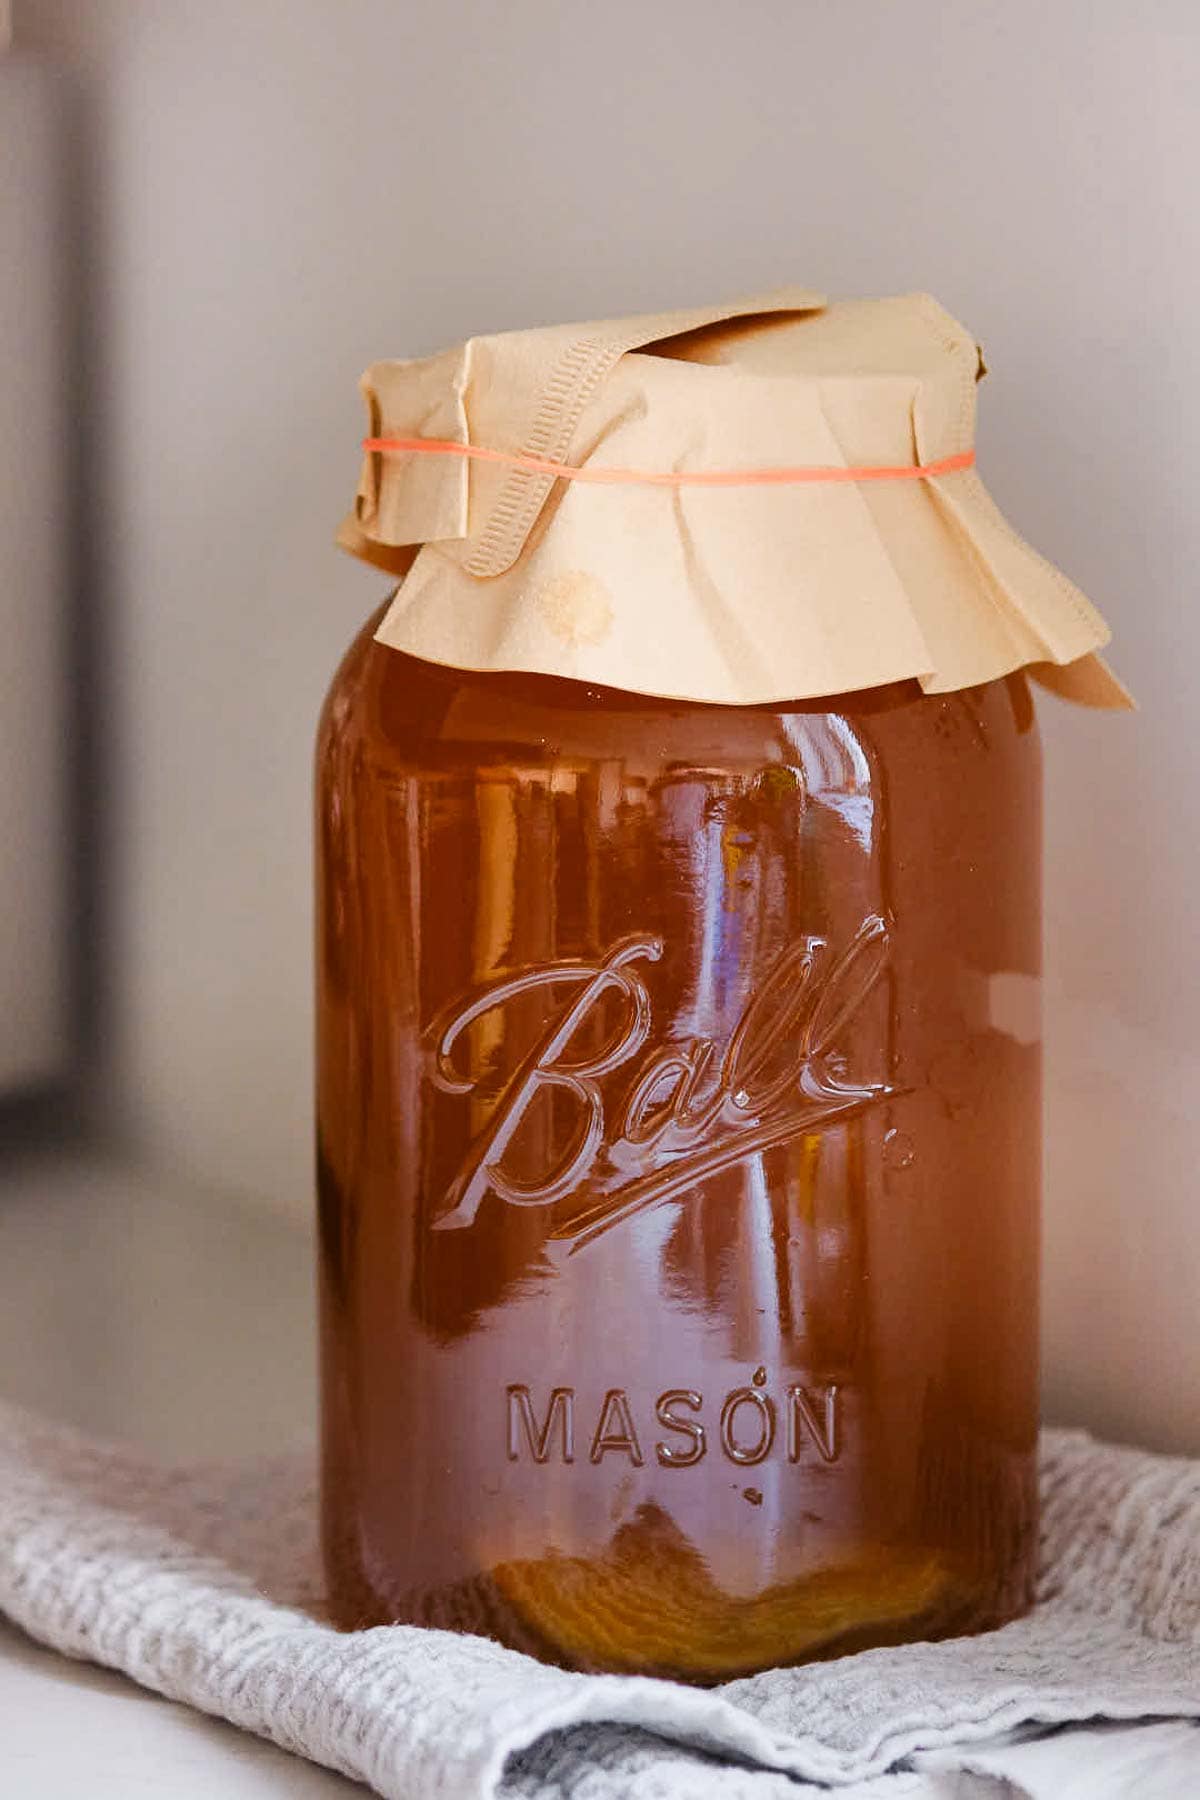
Place the jar of kombucha in a cool, dry place at room temperature and out of direct sunlight. This is known as the primary fermentation. Ferment for 7 to 10 days. After a week, begin tasting daily by pouring a sample into a glass to test.
It’s ready when there is a pleasant balance of sweetness and acidity. The longer it ferments, the sourer or tangier it will become. Find your perfect balance.
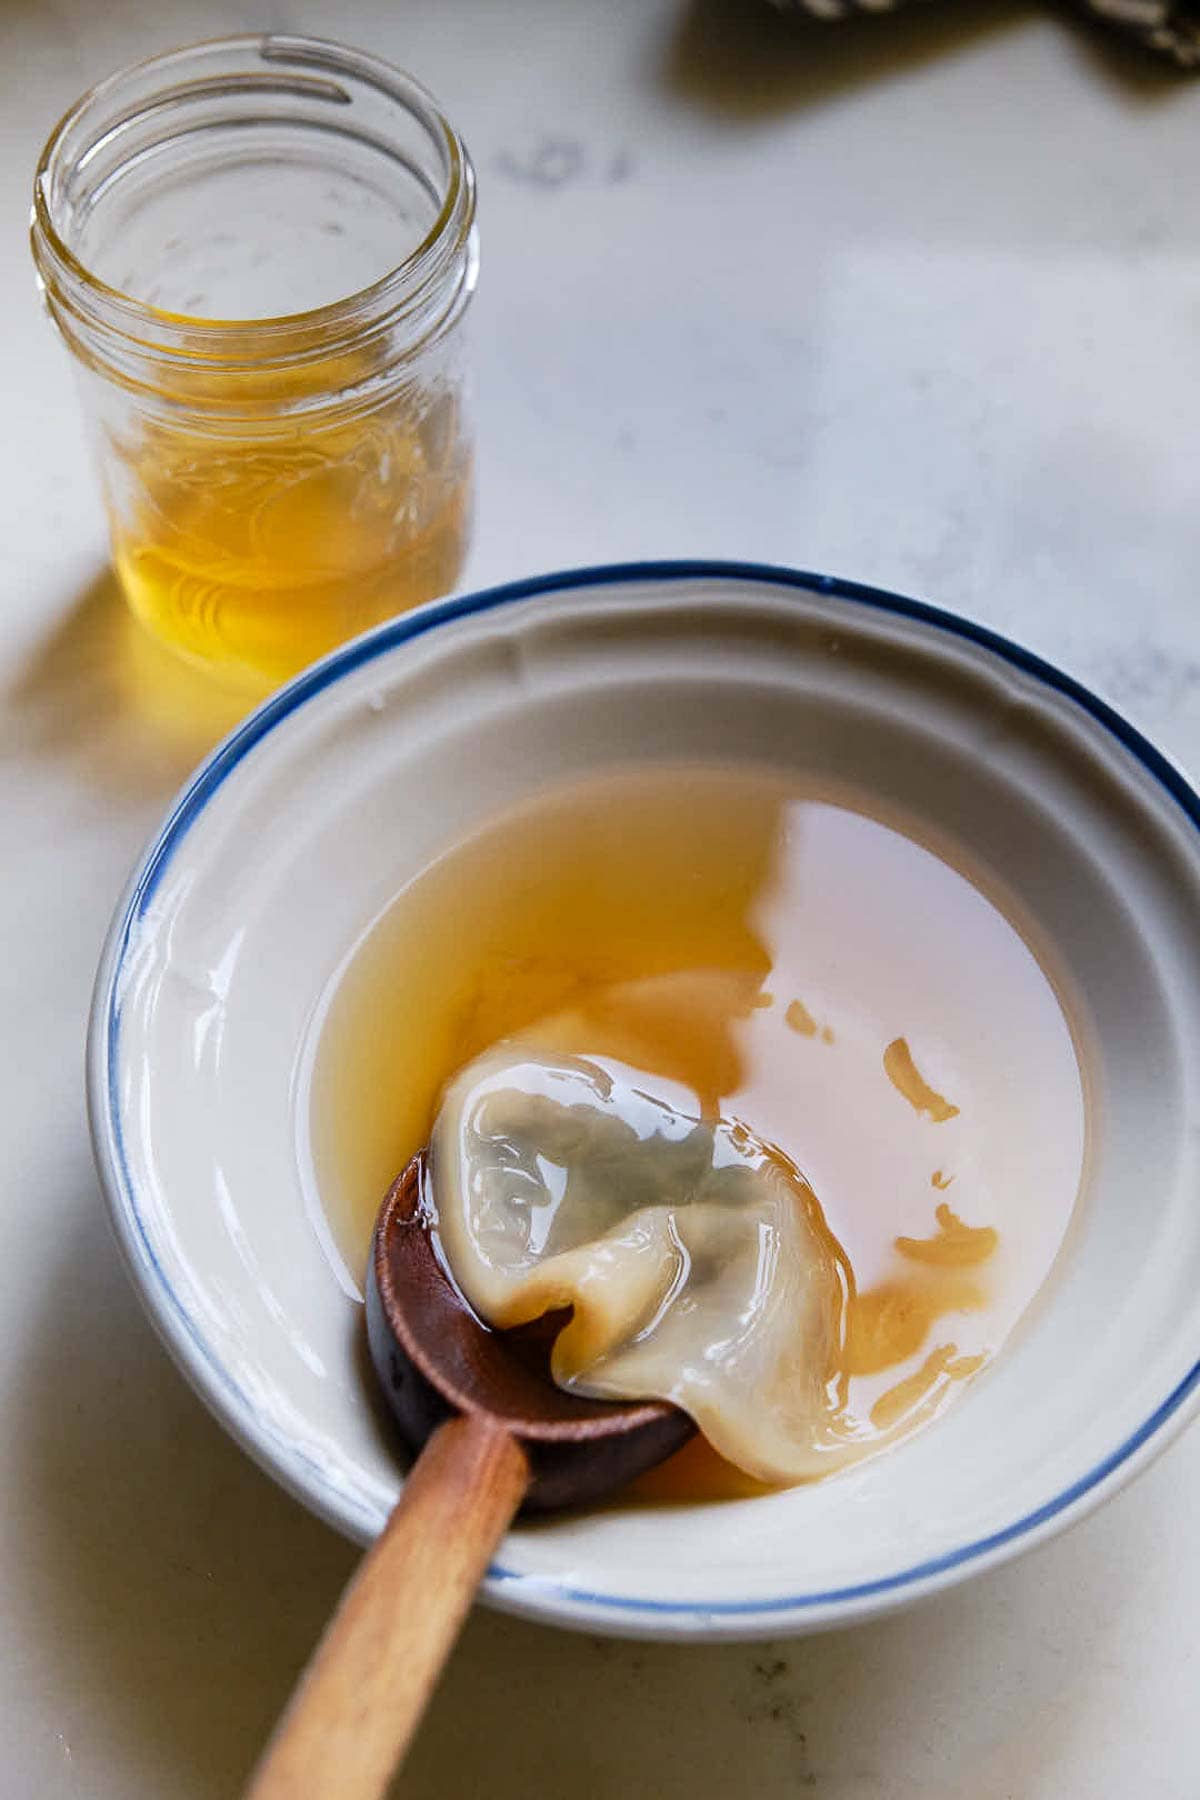
Note: During this time, your SCOBY may develop a “baby” that forms and attaches to the underside of the SCOBY.
Using clean hands, gently remove the primary SCOBY and place it into a bowl, removing the “baby” as you do- and take the baby to the SCOBY HOTEL. (Scroll down to “SCOBY Hotel” below.)
Pour 1 cup of kombucha over the primary SCOBY. This is your new starter. You can brew another batch of sweet tea now, and add the primary SCOBY to the cooled tea to begin brewing another batch. Alternatively, you can place the primary SCOBY and baby SCOBY in the SCOBY HOTEL if you want to pause or wait.
Step 3: Second Fermentation Instructions
Now, we will make the kombucha fizzy in swing-top bottles! Add 10 slices of ginger and ½ tablespoon of lemon juice to each flip-top bottle. Note: Adding ginger, mashed fruit or fruit juice helps promote fizziness!
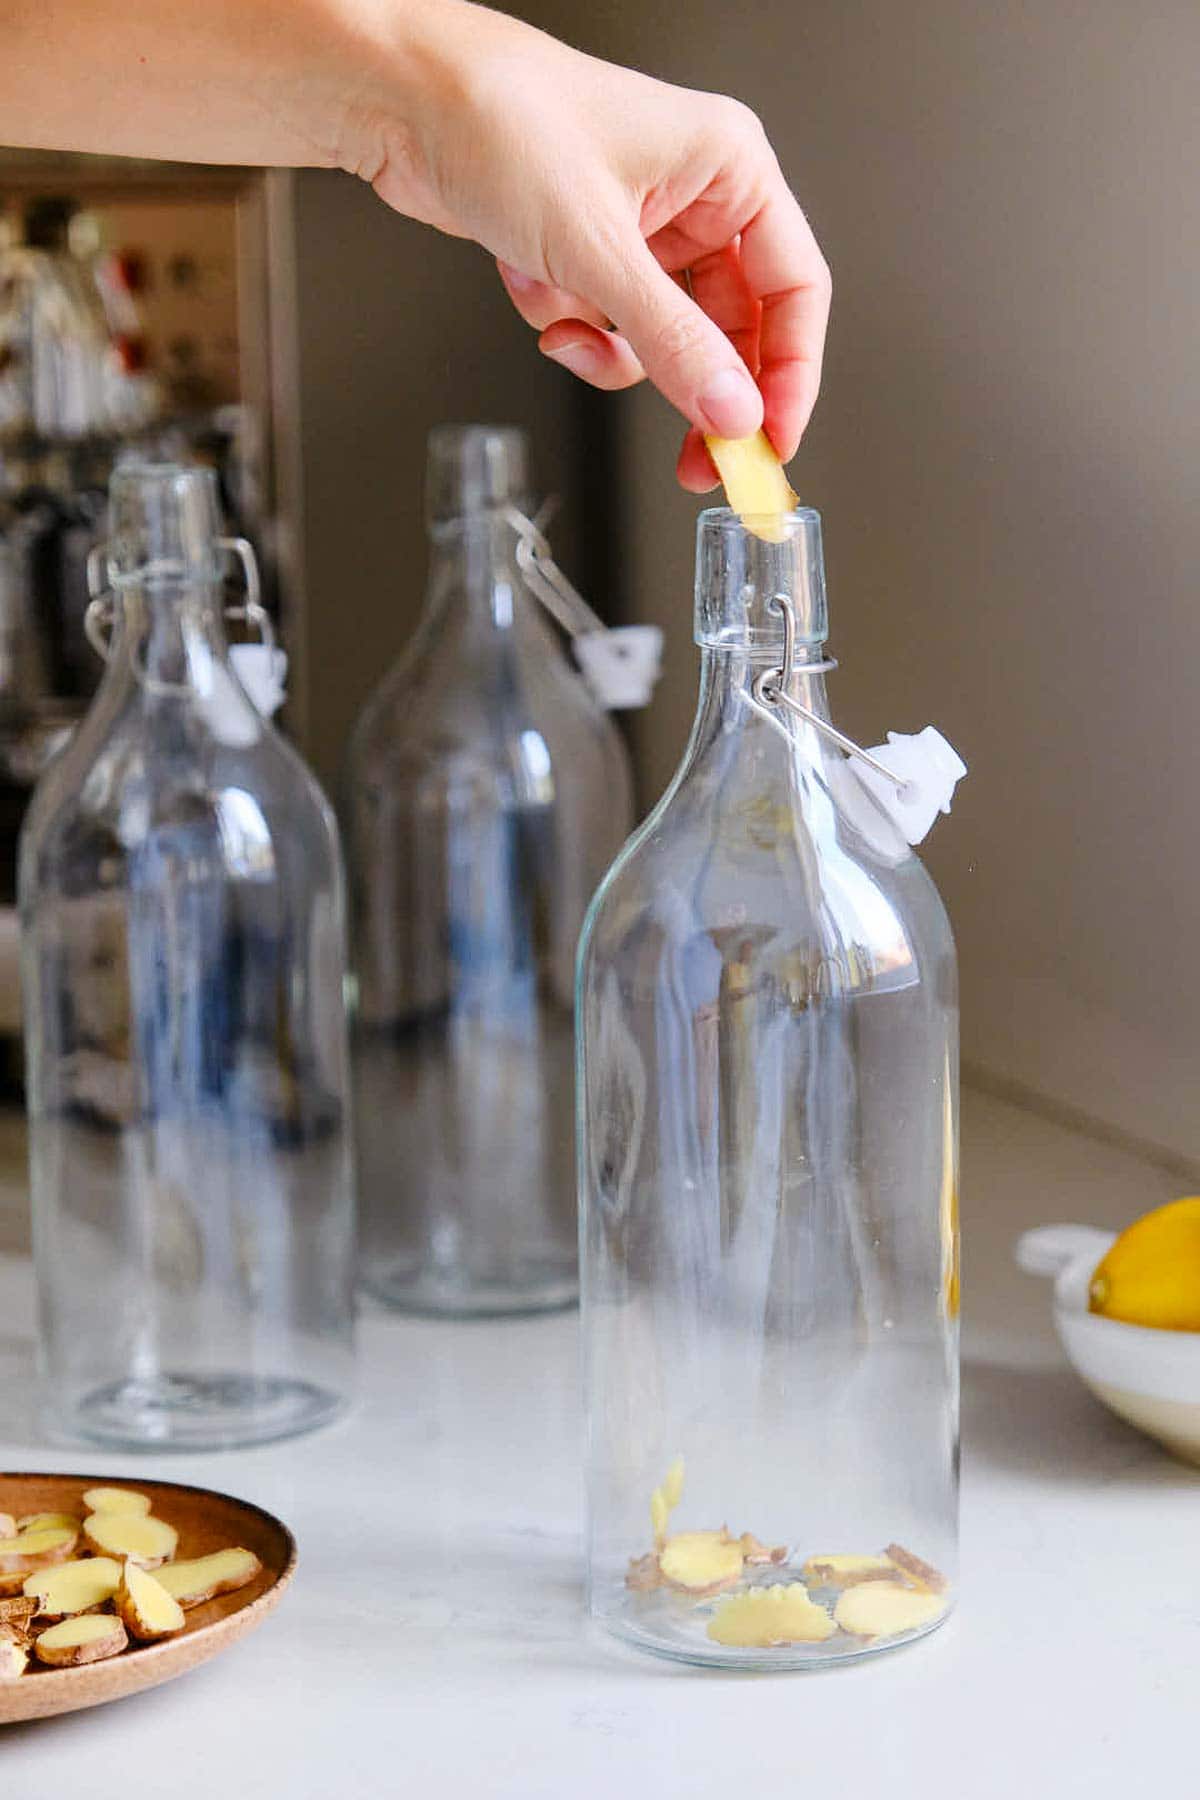
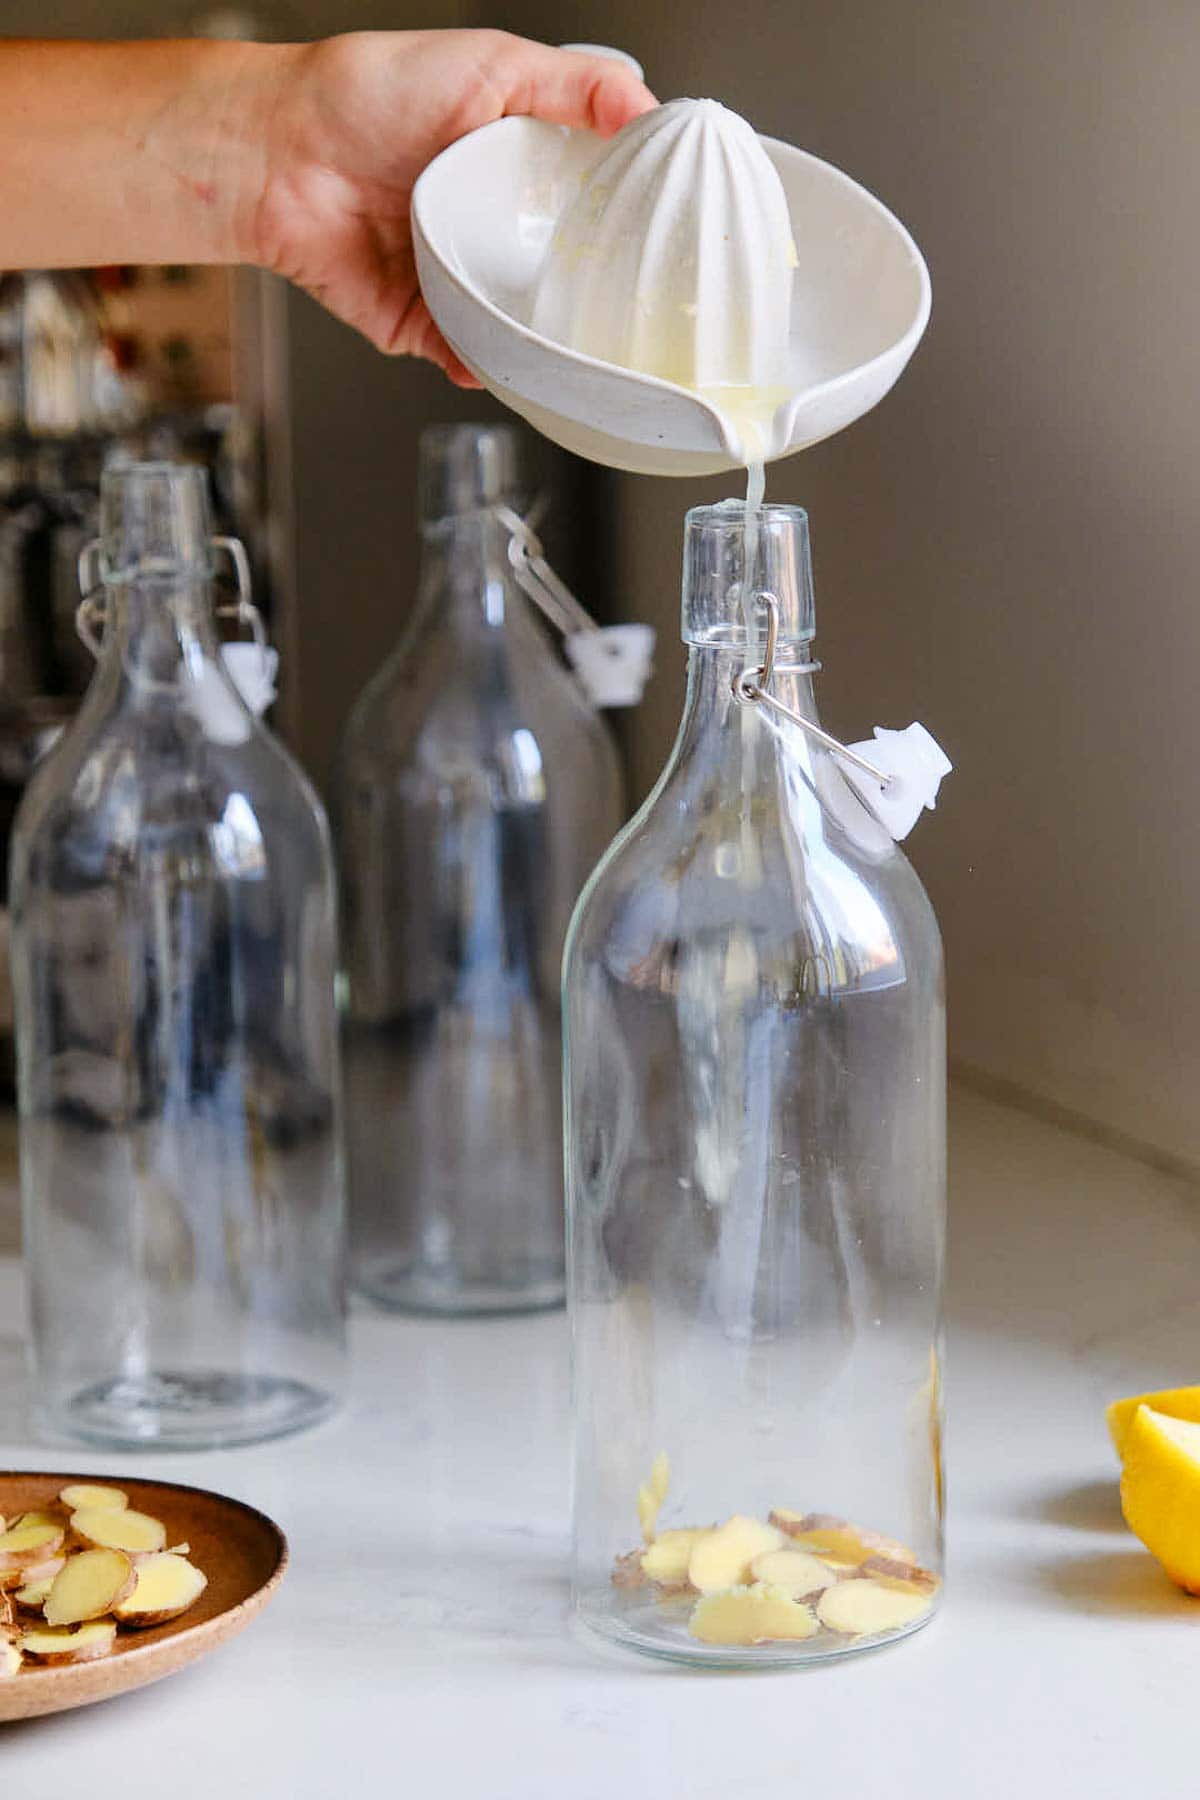
Strain fermented kombucha into a pitcher in batches. Then, using a small funnel, transfer it into bottles, leaving 1 ½ inches of headroom at the top.
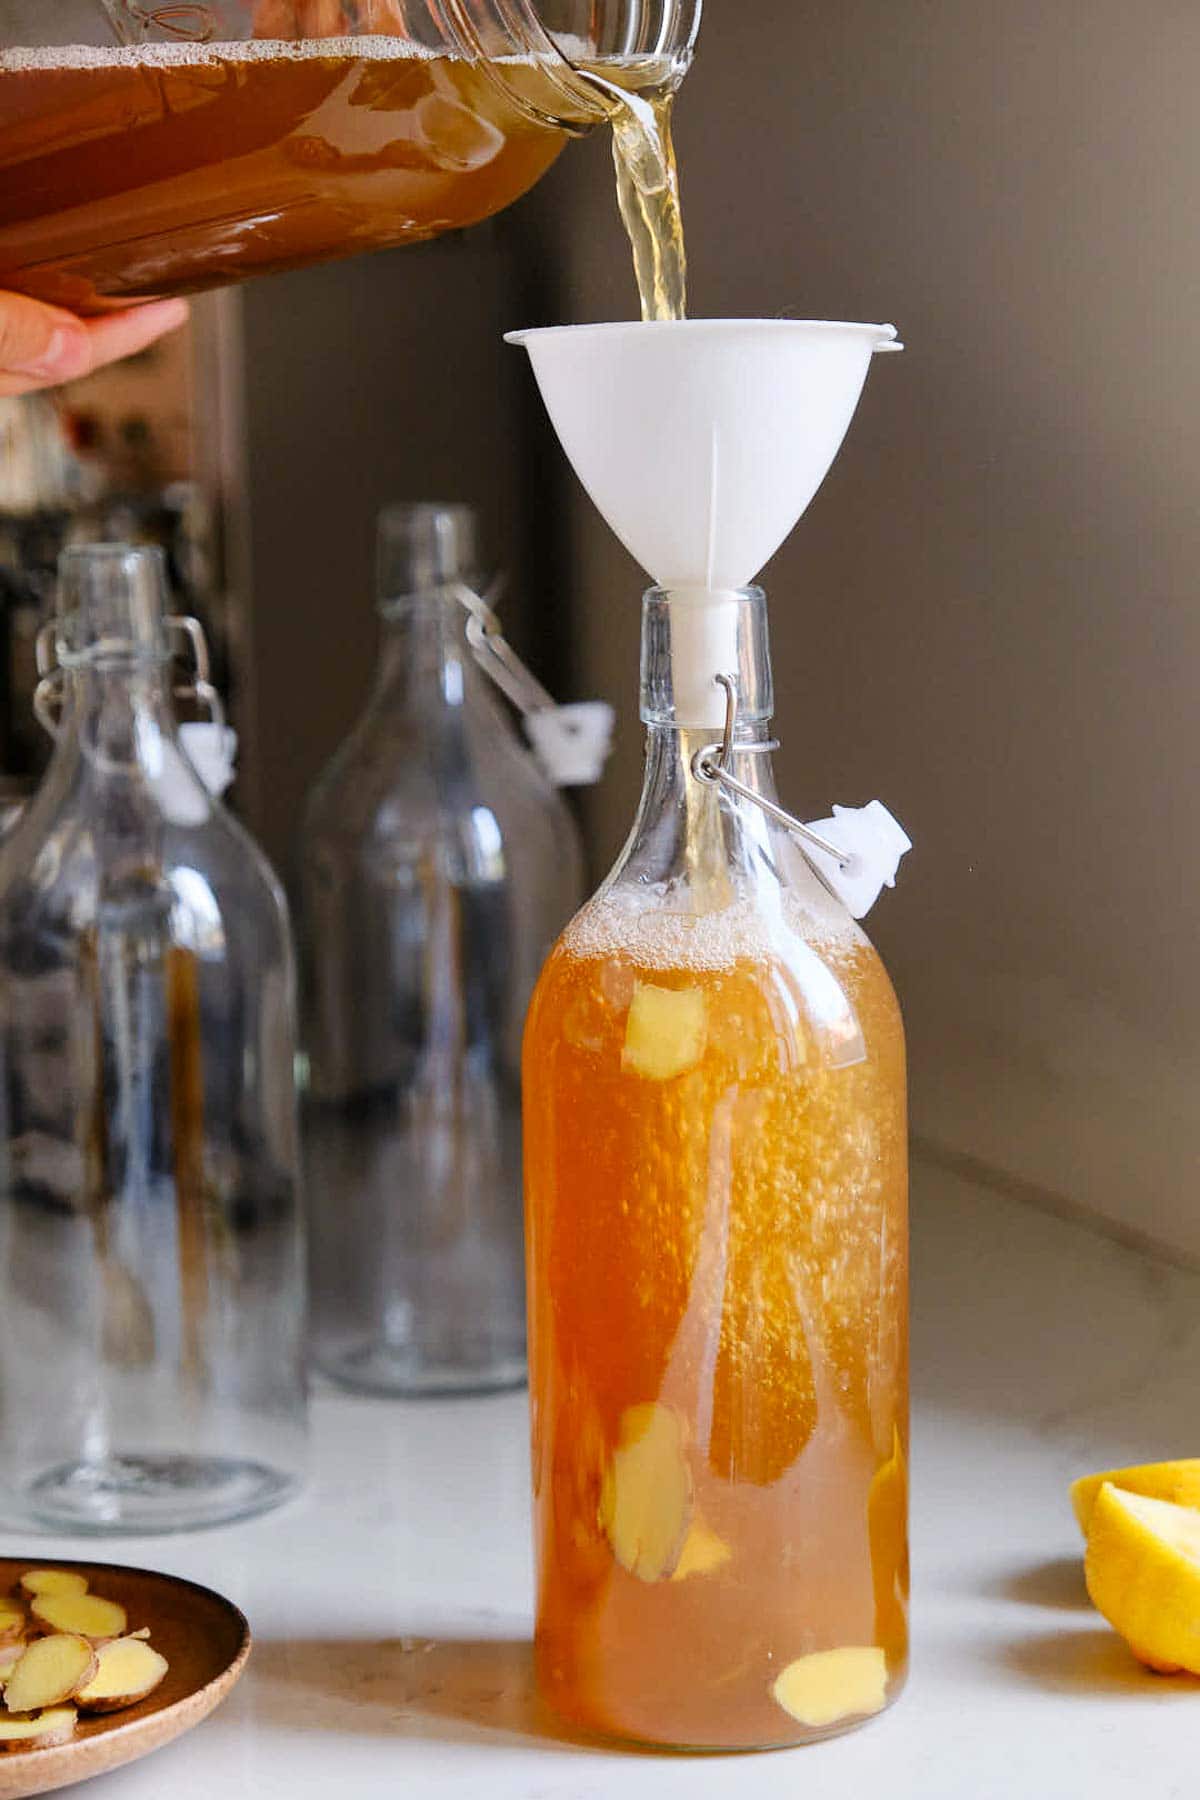
Secure bottle tops and place bottles in a cool, dry place, at room temperature, and out of direct sunlight. Let it sit for 1 to 7 days to carbonate to your liking. The warmer it is the faster they will ferment.
*Burp your bottles daily by opening and closing the top to release pressure. This is very important to prevent an explosion.
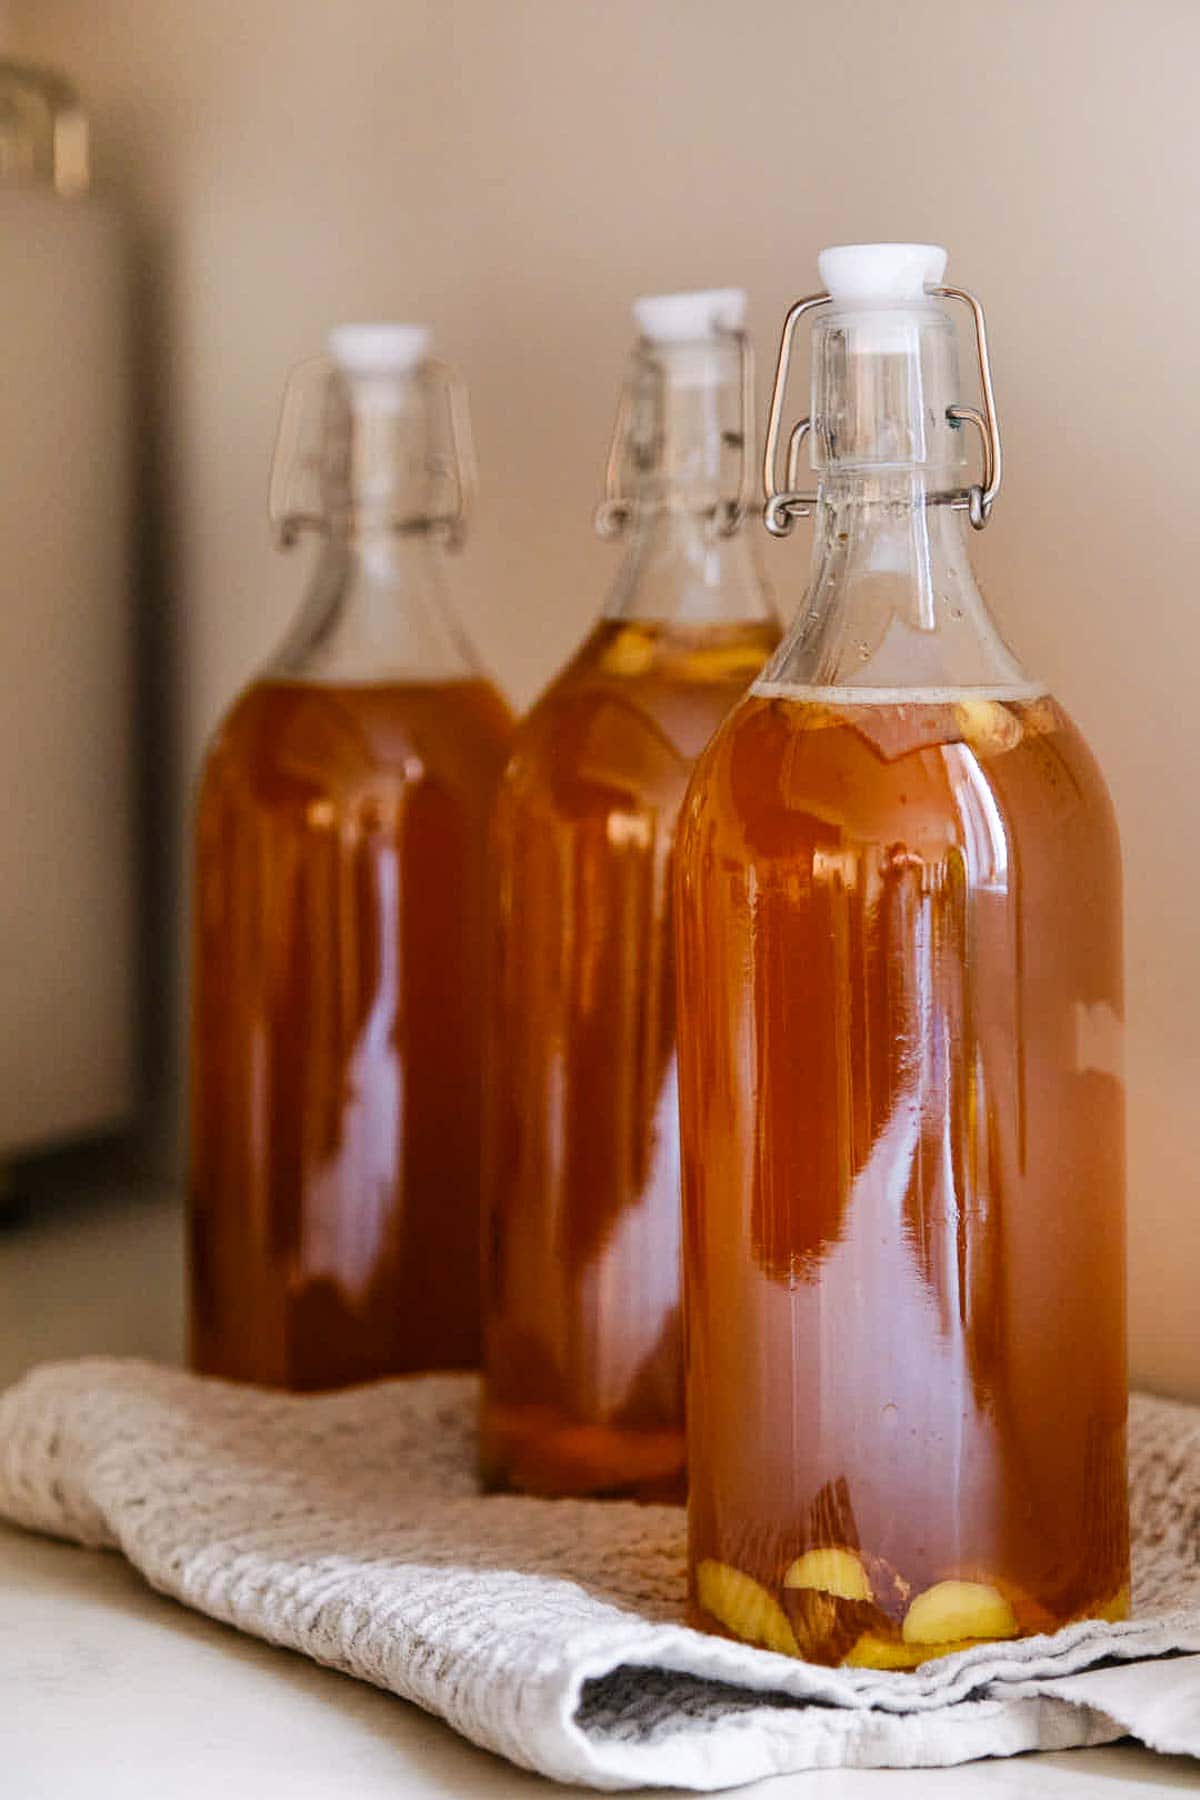
Once you are happy with the fizz level, refrigerate to chill and stop the fermentation. You now have your very first batch of kombucha ready to serve!
Kombucha Variations and Flavorings
Create your own flavors by adding to the secondary fermentation. These additions also help make the kombucha fizzy – so at the very least add the ginger.
- Fruit: add mashed berries or fruit to the swing-top bottles. A good rule of thumb is 1-2 tablespoons of fruit per cup of kombucha. Strawberries, blueberries, blackberries, peaches, nectarines, pineapple, guava, etc.
- Fruit Juice: Add 1-2 tablespoons of fruit juice per cup of kombucha. Pomegranate, cherry, lemon, pineapple, orange, grapefruit, black currant, etc.
- Other Additions: honey, ginger root, vanilla pods, whole spices, fresh herbs
What is a Scoby Hotel?
A SCOBY hotel is a long-term storage solution for kombucha SCOBYs. It allows you to keep extra baby SCOBY in reserve so you always have a healthy SCOBY available for brewing kombucha or for giving away. Always keep this at room temp.
It’s typically held in a quart jar filled with sweetened tea and fermented kombucha starter tea. This creates an ideal environment for SCOBYs to remain alive and healthy but not actively brew kombucha.
Tips for SCOBY Hotel Success
- Use a 1-quart glass jar, or larger, to give SCOBYs room.
- SCOBYs feed on sweetened tea. Use the ratio of ¼ cup sugar to 4 cups water and 2 tea bags. Green or black tea works well. Add fermented kombucha as starter liquid. This introduces the bacteria and acitity needed to prevent unwanted bacteria or mold.
- Cover with a tightly woven cloth and rubber band to keep out bugs but allow airflow.
- Leave the jar in a cool, dry place, at room temperature, and out of direct sunlight. Do not place this in the fridge.
- They may float, sink, stick to the sides, or grow brown, stringy bits—there is no need to clean them off. If you have yeast overgrowth (if it’s covering most of your SCOBY), you can remove some of it, but don’t get rid of it all!
- Check it monthly and add fresh sweet tea as needed to keep the SCOBYs fed.
- When you need a SCOBY for brewing, just remove one from the hotel.
- They may develop layers: when overly large, use scissors to trim SCOBYs or separate them from each other if you’d like to use or share them with a friend.
- Avoid prolonged contact with metal during the brewing process. Using metal utensils is ok, but once the starter tea is added, you’ll want to transfer into glass jars. Metal can erode the SCOBY and alter the flavor of the kombucha by leaching metals into the brew or negatively reacting with the tea.
Homemade Kombucha Faqs
Continuous brew kombucha refers to the process of keeping a kombucha culture going indefinitely by saving a little of the fermented kombucha to make the next batch.
Kombucha is believed to have first originated in China and then spread along the Silk Road to Eastern Europe, rural Russia, and Korea.
A healthy SCOBY will be cream or tan-colored, pancake-shaped, with a rubbery, gelatinous texture. Brown strings may form below the SCOBY and it may also develop holes, bumps, darker patches or clear patches, or dry patches. These are all normal. You can always search “photos of healthy SKOBY” to get a visual.
If the SCOBY turns very dark or black, it is no longer active. If it develops green or black mold or mold on the surface of the kombucha, it has been infected and will need to be thrown away. You can always search “photos of unhealthy SKOBY” to get a visual.
Kombucha takes anywhere from 10-18 days to ferment, depending on the environment’s temperature.
The exact aroma can vary based on the tea, herbs, microbes, ferment time, and other factors. But in general, a kombucha with a balanced sweet, acidic and earthy scent is on the right track. It will start with neutral or even sweet aroma and as it ferments, develop more acidity. If it begins to smell or taste like vinegar, it may have fermented too long. If it starts to smell rotten or unpleasant in any way, it’s best to discard it and start over.
Because of the process of fermentation, kombucha contains a small amount of alcohol. During fermentation, the yeast in kombucha convert sugar into alcohol and carbon dioxide. Most of the alcohol is then converted into organic acids. Typically, finished kombucha contains between 0.5 to 2.5% alcohol. Commercial kombucha is usually under 0.5%. So while kombucha does contain trace amounts of alcohol, it is substantially lower than alcoholic beverages if fermented properly.
If you’re trying to avoid alcohol, there are ways to minimize it in homebrew kombucha. This includes shorter ferments, less sugar, starter liquid with higher acidity, and fermenting in cooler temperatures.
Avoid pausing mid-ferment. It’s best to pause brewing after the initial ferment and before starting the second ferment (with flavorings). After the first ferment, move the kombucha to a sealed container and refrigerate to slow fermentation.
When ready to resume, take the kombucha out of the fridge and allow it to come to room temperature before proceeding with the second fermentation. Make sure the kombucha hasn’t over-fermented or become too acidic during the pause. Taste it; it should still taste tangy and lightly sweet, not vinegary.
Be extra diligent about sanitization when restarting your brewing.
Maintain a strong starter tea going forward to replenish the microbial community after a pause.
Enjoy the process of making your own kombucha at home! I can’t wait to hear about all your creative flavorings- share in the comments below. xoxo
More Favorite Fermented Drinks!
Watch How to make Kombucha!
Kombucha Recipe (How to make Kombucha)
- Prep Time: 15
- Total Time: 15 minutes
- Yield: 14 cups
- Category: drinks
- Method: fermented
- Cuisine: American
- Diet: Vegan
Description
Making your own homemade Kombucha is an exciting adventure, and it’s even easier than you might imagine. Just follow our straightforward steps from start to finish—no fancy gadgets needed, just a touch of fun!
Ingredients
- 14 cups water (filtered tap water is best)
- 1 cup granulated cane sugar
- 8 tea bags of black tea or green tea (do not use any flavored tea)
- 1 1/2 cups starter kombucha, from a previous batch, or neutral-flavored, store-bought kombucha
- 1 SCOBY (it is easiest to buy a SCOBY– saves about a month of time- always by a hydrated SCOBY vs. dehydrated).
- Basic Additions: 50 thin slices, of organic ginger ( 3/4 cup) 2 1/2 tbsp fresh lemon juice, divided
Instructions
- Make Sweet Tea: In a large pot, bring water to a boil. Remove from heat and stir in the sugar until it dissolves. Add tea bags and set aside to steep until tea has come to room temperature.
- Once cooled, remove the tea bags using a slotted spoon. Stir in starter tea.
- Transfer to a large glass jar (or jars, if using 2) and, with clean hands, gently place the SCOBY on top. If you’re using two glass jars, you will need 2 SCOBYs, one for each.
- First Fermentation: Cover the jar with coffee filters and secure it with a rubber band. Place kombucha in a cool dry place, at room temperature and out of direct sunlight. Ferment for 7 to 10 days. After a week, begin tasting daily by pouring a sample of kombucha into a glass to test. The longer the kombucha ferments, the tangier it will become, this is how you’ll know your SCOBY is alive and healthy, it will consume the sugar. It’s ready when there is a pleasant balance of sweetness and acidity.
- With clean hands, remove the SCOBY– see notes!
- Second Fermentation: Divide ginger and lemon juice among flip top bottles. Strain fermented kombucha into a pitcher in batches. Then, using a small funnel, transfer it into bottles, leaving 1 ½ inches of headroom at the top.
- Secure bottle tops and place bottles in a cool dry place, at room temperature, and out of direct sunlight. Let it sit for 1 to 7 days to carbonate to your liking. Burp your bottles each day by opening and closing the top to release pressure.
- Refrigerate to chill and stop fermentation. Enjoy!
Notes
Kombucha should keep up to 3 months in the fridge, or longer, though it may get flat over too much time.
See the post for more flavor options!
SCOBY – When you remove the SCOBY, start a new batch of Kombucha with the primary SCOBY and place any baby SCOBYs in a SCOBY Hotel (or take a pause and place both in the hotel. ). See post above for more details on the SCOBY HOTEL.
Nutrition
- Serving Size: 1 cup
- Calories: 29
- Sugar: 7.1 g
- Sodium: 11 mg
- Fat: 0 g
- Saturated Fat: 0 g
- Carbohydrates: 7.1 g
- Fiber: 0 g
- Protein: 0.3 g
- Cholesterol: 0 mg



The most simple and straight forward instructions ever! I’ll be sending friends who adopt a baby scoby from me to this post.
So glad it is useful Beth! Thanks so much for the review.
Can you use frozen fruit in the second stage?
Yes, I would thaw and mash into a puree first. 🙂
Can this recipe be made with Stevia instead of sugar? I’m prediabetic and am trying to stay away from sugar as much as possible.
Hi Ann- no, sorry stevia will not work here. The sugar gets “consumed” by the SCOBY. The end result will have very little sugar, and you can ferment this even longer to where is not sweet at all. When you are ready to drink it, if it is too sour, you can add stevia at that point, but not while it is fermenting.