This rustic pear galette recipe is cozy and delicious, the perfect fall dessert! It’s made with cardamom and vanilla-scented pears, enclosed in a buttery walnut crust.
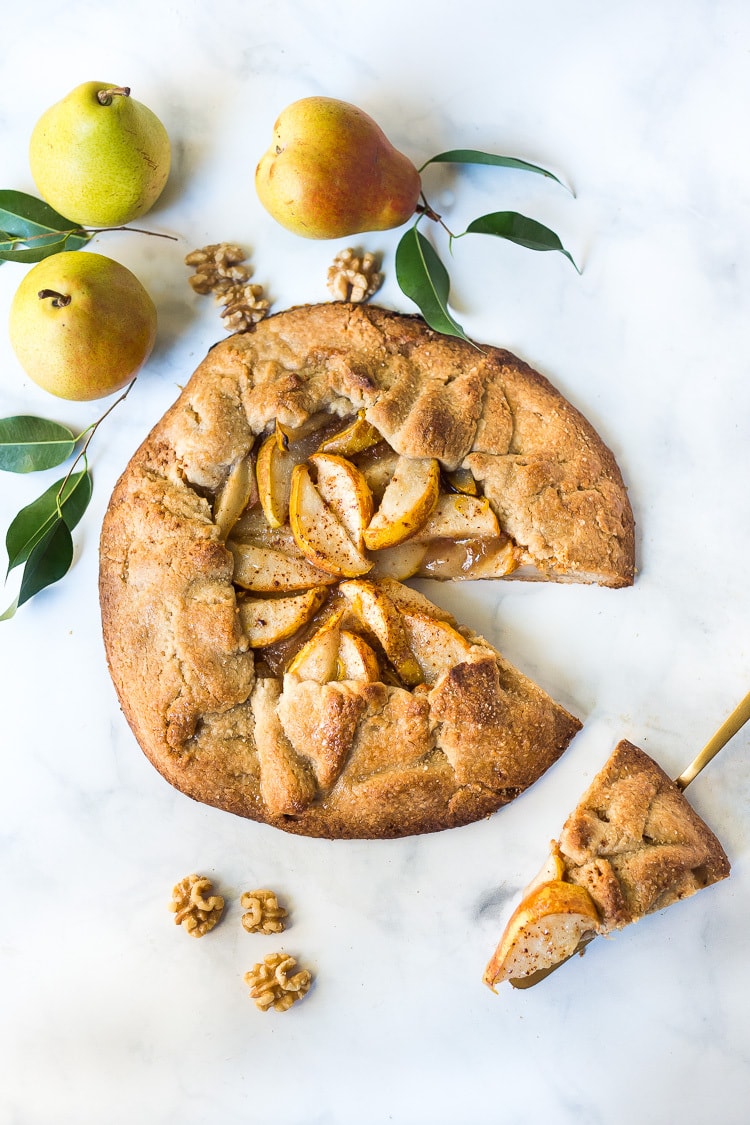
This delicious pear galette is my favorite fall dessert, and as a chef, I crave seasonal fruit when it is at its peak of flavor. In the fall, I often turn to pears; they are never better!
When the weather starts to cool, and the trees start dropping their leaves, every year like clockwork, it’s like a switch goes off in my brain, and all I want to do is bake. It feels so cozy.
This pear galette is so satisfying to make! Not too sweet, the pears truly shine- the galette satisfies without being overly cloying. And, of course, it’s delicious with our vanilla or cardamom ice cream!
Why You’ll Love This
- It’s a recipe I’ve been making for years! I have tested this recipe many times over the years, and I know you will love it. I have perfected the flaky walnut galette crust and have kept the filling simple and traditional.
- Seasonal, fall flavor. Every fall I crave this cozy, autumnal recipe. I think you’ll find yourself doing the same!
- Perfect for fall parties! Whether for Halloween or a family gathering, I have served this galette for many autumn occasions and it is a crowd-pleaser!
Pear Galette Ingredients
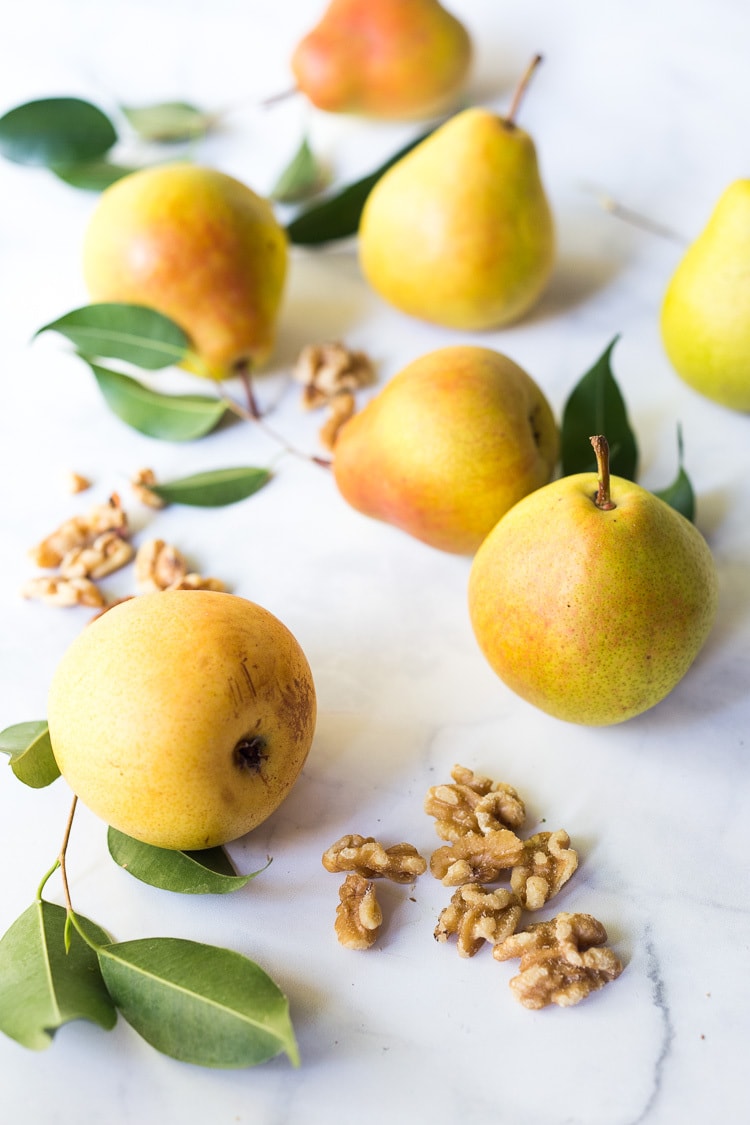
- Pears: Look for large, semi ripe pears, that are not too hard, yet not too soft! Bartlett pears, bosc pears, or anjou pears.
- Walnuts: Add a layer of flavor and complexity to the crust, along with crisp texture. Plus walnuts are nutritious, heart healthy and offer good fats!
- Sugar: Used in both the filling and the crust to infuse the galette with just the right amount of sweetness.
- All-purpose flour: Sub pastry flour for the crust if desired. You’ll also need flour (or cornstarch) to help thicken and bind the filling.
- Cold butter: Cold unsalted butter is essential for achieving unbelievably flaky crust that also holds together.
- Vanilla: A hint of vanilla in the filling adds sweet, warm flavor that brings everything together.
- Lemon juice and zest: Zest is optional, but using both add bright, citrusy flavor!
- Spices: Cinnamon and cardamon come together for cozy, fall flavor—your kitchen will smell divine!
Not coincidentally, pears and walnuts are in season at the same time, in early fall, which in my mind, means they absolutely belong together!
How to Make Pear Galette (Instructions)
Step one: Pulse walnuts in food processor until ground, like coarse sand. Add flour, sugar, and kosher salt, and pulse. Cut butter into 8-10 pieces, add to food processor, and pulse again until achieving the consistency of very coarse sand.
Step two: Add cold water one tablespoon at a time, pulsing in between. Once the dough clumps together and forms a ball or sticks together well when pinched, stop adding water. Transfer dough to a floured work surface and form into a ball, then flatten with your hand. Form into a ball again, flatten again, form back into a ball, then flatten into a 1-inch thick disc. Refrigerate 1 hour or overnight. This allows the flour to hydrate.
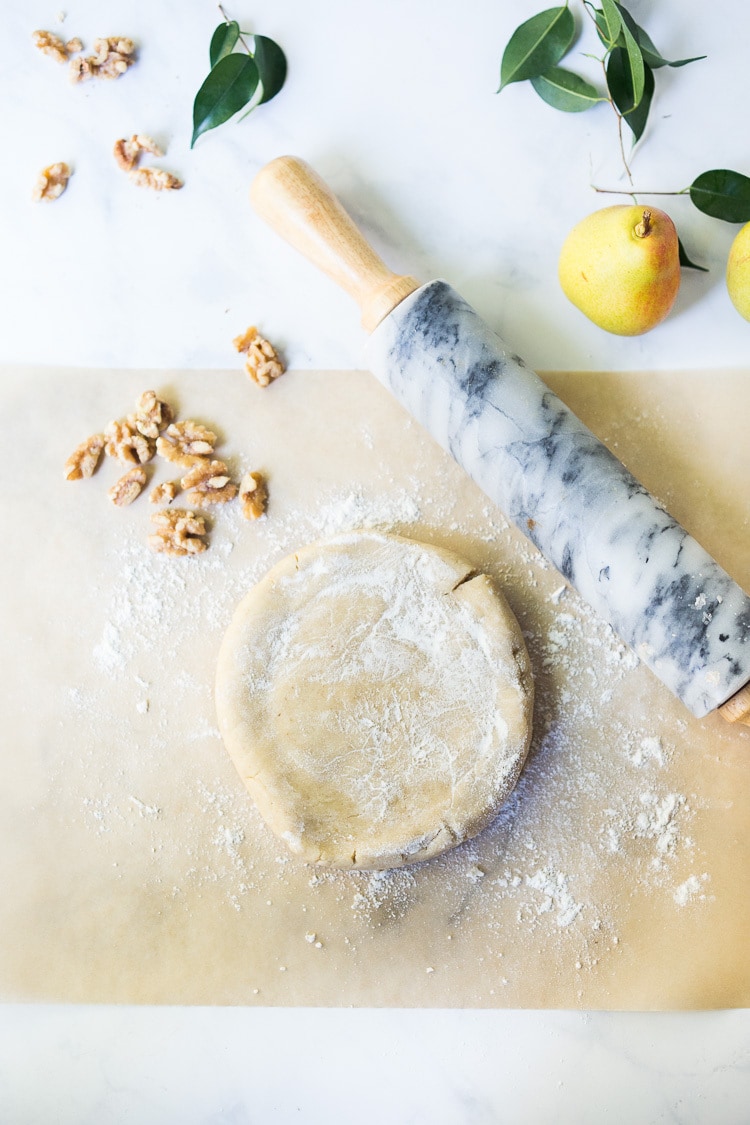
Tip: Make the dough a few days ahead of time if you want to save on prep time!
Step three: Once dough has chilled, preheat oven to 400F. Let dough sit on the counter for 20-30 minutes.
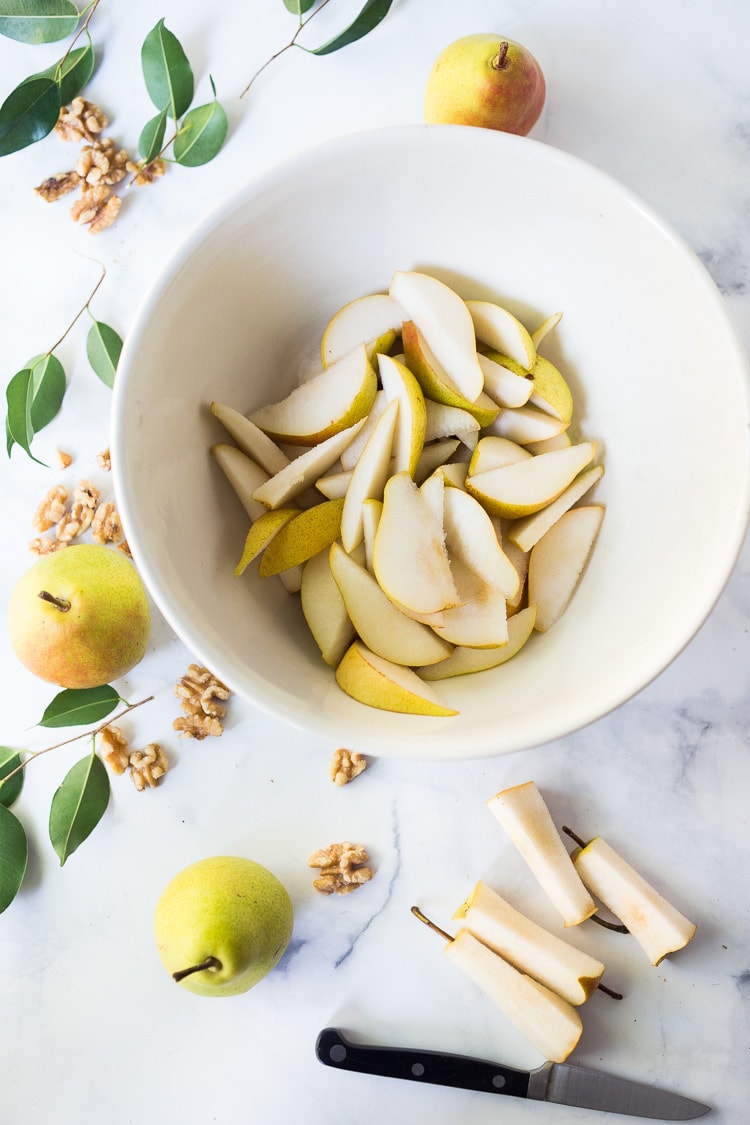
Step four: Slice pears in half lengthwise and scoop out the seeds with a melon baller. Slice into 1/3-inch slices. In a large bowl, toss pears with sugar, spices, vanilla, lemon zest, salt, and flour. Let sit 15 minutes, or until pears release their liquid and the sugar dissolves.
Step five: Place dough in between two pieces of lightly floured parchment paper and with a rolling pin, roll into a 14-inch wide disk, 1/8-1/4 inches thick. Roll from the center, allowing the edges to be a little thicker. If the edges are too thin, fold them in 1/8-1/4 inch to reinforce them. With the parchment, place disk on a baking sheet. If dough is too warm, transfer to fridge or freezer for a few minutes to firm up.
Step six: With a slotted spoon, arrange pear slices in the center of the dough leaving a 1 1/2 inch border. Fold the edges up and around the pears in a pleating pattern. You won’t need to use all of the liquid from the pears, however you can add more if the pears seem dry. A little juice is good, but not too much! Dot the pears with butter if you wish.
Step seven: If desired, you can egg wash the crust and sprinkle with coarse sugar or brown sugar. Brushing the crust with egg wash adds a nice shine. Bake 30-40 minutes, or until golden brown and bubbling. When the galette comes out of the oven, it will be beautifully golden and oh so fragrant. The walnut crust crisps up beautifully.
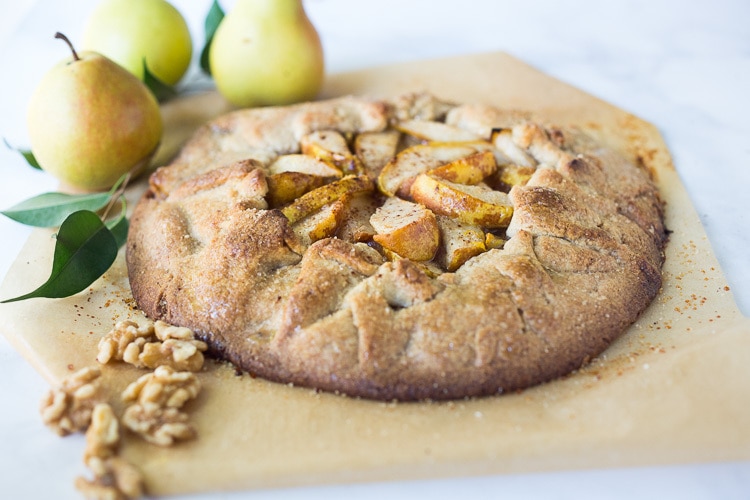
Let cool 10-15 minutes on a wire rack before slicing and serving. Dig in and enjoy!
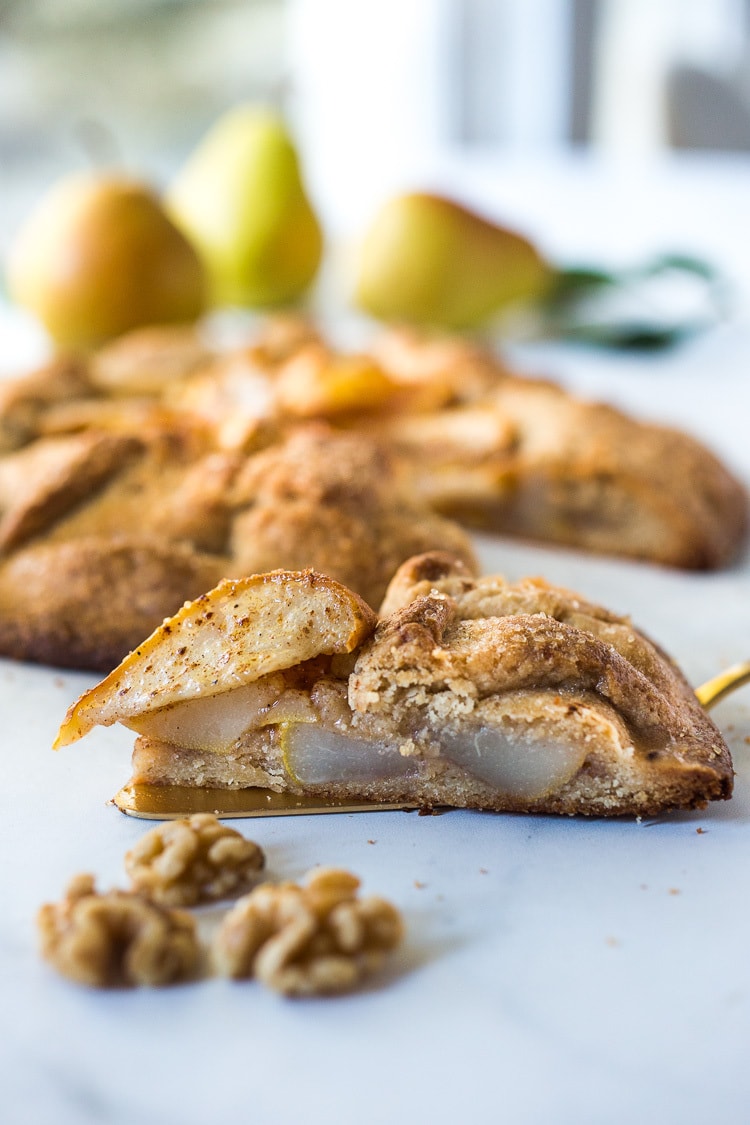
Chef’s Tips
- Use any fruit: You can swap the pears in this recipe with any fruit that you like. Use what is in season and available at your local farmers market! Make with apples, peaches, or berries!
- Make the dough ahead of time: The dough can be refrigerated a few days in advance or keep in the freezer for even longer. Thaw the dough in the fridge before using.
Storage
Store leftovers in an airtight container in the refrigerator for 3-4 days. You can also wrap individual slices tightly in plastic wrap. Leftover galette makes a luxurious breakfast, perfect with morning coffee. Or freeze the galette for up to 3 months!
Serving Suggestions
This Rustic Pear Galette pairs beautifully with a scoop of ice cream! This is the Best Homemade Ice Cream, or try our Dairy Free Ice Cream.
FAQs
Use a slotted spoon to avoid too much juice filling the crust. Don’t feel the urge to use all of the juice!
The dough uses the same ingredients, however the structure is different. Galette is more rustic, like a free-form pie. Pie crust is more uniform like a tart recipe.
Both the spices and the lemon really enhance the natural tartness and sweetness of the pears.
The crust will be deeply golden and the fruit will be bubbling.
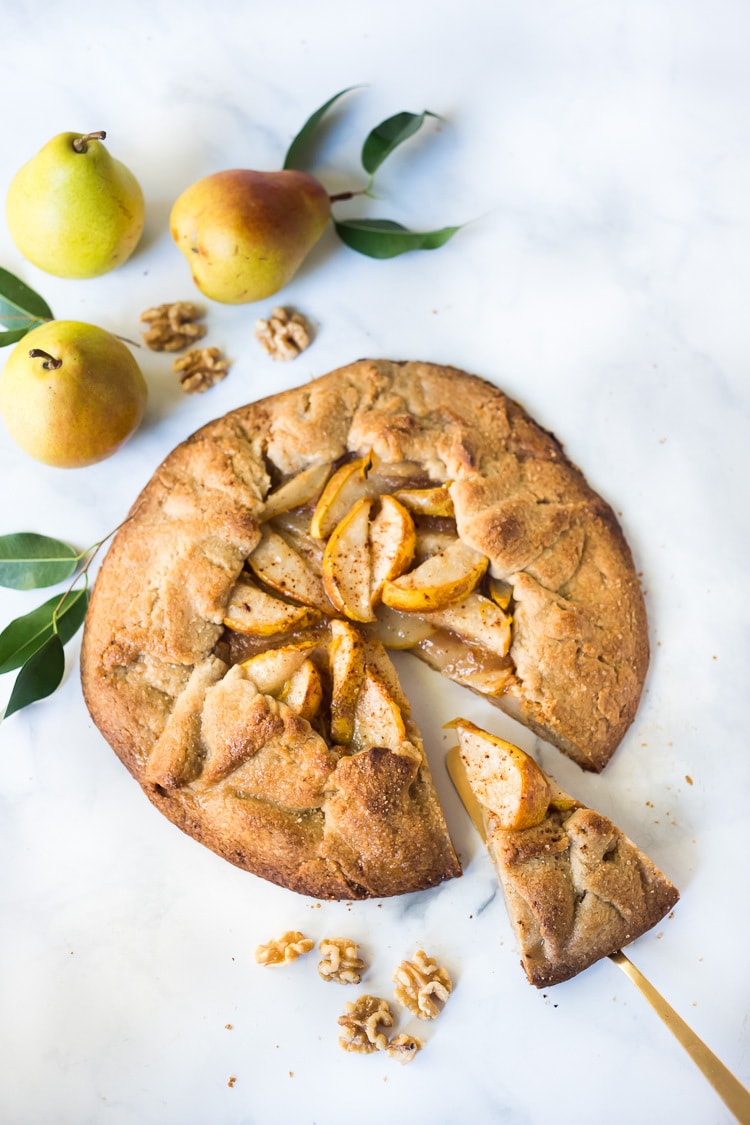
I hope you give this Rustic Pear Galette with Walnut Crust a try this fall season, I know you will love it!
Happy week!
xoxo
More Galette REcipes You May Enjoy
Pear Galette Recipe
- Prep Time: 60 mins
- Cook Time: 40 mins
- Total Time: 1 hour 40 minutes
- Yield: 8
- Category: dessert, sweets, fall dessert
- Method: baked
- Cuisine: Northwest
Description
This rustic pear galette recipe is cozy and delicious, the perfect fall dessert! It’s made with fresh vanilla-infused pears and a buttery walnut crust!
Ingredients
Crust
- 3/4 cup walnuts
- 1/3 cup sugar
- 3/4 teaspoon salt
- 1 2/3 cups AP flour ( or sub pastry flour)
- 3 ounces cold butter (3/4 of a stick) or 6 tablespoons, cut into 8 pieces.
- 2–3 tablespoons ice water
Filling:
Instructions
- Place walnuts in a food processor and repeatedly pulse, until ground, like coarse sand. Add flour, sugar, salt and pulse. Cut butter into 8-10 pieces and repeatedly pulse, again to the consistency of very coarse sand.
- Add the cold water one tablespoon at a time, pulsing in between, adding just water until dough clumps together and forms a ball, or sticks together well when pinched. Place on a floured surface, gather into a ball, flatten with the palm of your hand, gather again into a ball, flatten again. Form into a ball, flatten to an inch-thick disk and refrigerate 1 hour or overnight. This will allow the flour to hydrate.
- After dough has chilled, preheat oven to 400F. Pull dough out of the fridge, and let sit for 20- 30 minutes.
- Cut the pears in half lengthwise, scoop out the seeds with a melon baller. Slice into ⅓ inch slices. Toss with sugar, spices, vanilla and lemon, zest, salt and flour. Let stand until the pears release their liquid and the sugar dissolves, about 15 minutes.
- Place the dough in between two lightly floured pieces of parchment and gently roll into a disk about 14 inches wide ( ⅛ -¼ inch thick) rolling out from the middle and keeping the edges a little thicker. If the edges get too thin, you can fold them over towards the middle about ⅛ – ¼ inch to strengthen them so they don’t tear. Place this on a sheet pan ( over the parchment). At this point if dough feels too warm, put it back into the fridge or freezer for a few minutes so it firms up, so it’s easier to fold the edges up.
- Using a slotted spoon, arrange the pears in in the center of the dough leaving a 1 ½ inch border. (Do not “dump” the pears onto the tart shell, it may have too much liquid). Fold the edges up and around the pears, pleating and folding a bit. It doesn’t have to be perfect. You don’t have to use all the liquid from the pears, unless you think they seem dry. A little juice is good, but not too much. Dot the pears with butter if you like.
- Egg wash the crust if you like for a shine, sprinkle with course sugar and bake 30 – 40 minutes at 400F, or until golden and bubbling.
- Wait 10-15 minutes before cutting into it.
- Enjoy!
Nutrition
- Serving Size:
- Calories: 469
- Sugar: 18.1 g
- Sodium: 223 mg
- Fat: 25.1 g
- Saturated Fat: 11.5 g
- Carbohydrates: 55.8 g
- Fiber: 5.3 g
- Protein: 6.3 g
- Cholesterol: 45.7 mg
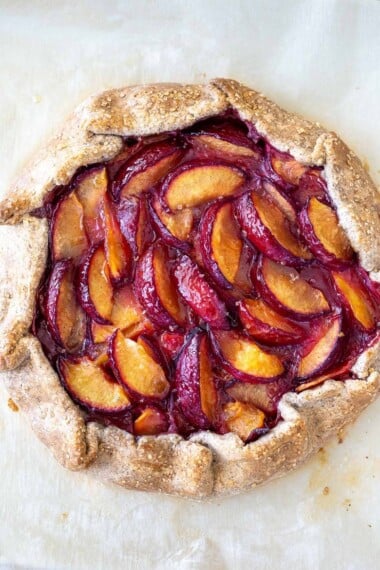


This is my FAVORITE thanksgiving dessert! After all that butter, I want something light and fresh like this!
Usually I bring this to my parents’s house, but I’m hosting the big feast for the first time this year– it says I can make it ahead, but how would I go about doing that? Just the dough? Assemble everything in advance and bake before serving? Or can I bake it ahead and just heat it up? Thanks!
Hi Ellery, I would just bake it ahead, and heat it up!
This crust is AMAZING!! It was my first time making this and I think it it turned out great. The crust has the crispiness I love. I was mindful of how much of the pear liquid I added and I was not too wet.
Awesome to hear!
FYI: Spelling error in #1 of the instructions. I believe you meant “coarse” not “course” (which is what horses race on). 😊
… Can’t wait to try this with some gift pears that we were sent for the holiday!
Fixed it- thanks Mary! Yes, let us know what you think- I really like this recipe!
My husband loved this. The crust flavor in this recipe is outstanding! It rolled beautifully on parchment directly out of my fridge, then chilled it before filling because folding it became unmanageable as it warmed. The chilled crust cracked as I folded it, but I went ahead with the folds and repaired them as the crust warmed and became softer. Then chilled for 15 minutes before baking to maintain shape. It came out beautifully.
Perfect Mary, appreciate you sharing!
One more “course” spelling error found in #7 of instructions! 😊
Haha- I’m obviously not going to win any spelling bees!
I think there is an error in the recipe … 11 oz of flour = 300g (which seems to be too much flour) while 1 2/3 cups of flour = 200g (which seems to be the perfect amount). Can you clarify which amount to use? (I just made my dough a 2nd time with the smaller amount since my 1st attempt would not come together. I made this previously and loved it so can’t wait for the finished product!!)
There may be. I would go with the 1 2/3 cups for now. I think I may have calculated this wrong.
I made this recipe for a dinner party and found that the dough was too sticky using the amounts called for in the recipe. I had to add another 2/3 cup of flour to the dough for it to form a ball that could be rolled out.
I have made at least 30 of your recipes and this is the first one that did not turn out amazing.
Shoot Anne, sorry about this- it sounds like maybe too much water. It is best to add pulse in little at a time. I will note the recipe. 🙂
We made this for Thanksgiving. Everyone loved it, from those who love the sweetest sweets to those who only want a little sweet. Trapped at home in the snow this week, I’ve been wishing I’d bought some pears! Thanks for this gorgeous and delicious recipe!
Glad everyone enjoyed it Suz!
Do you think the pastry would work if I subbed GF flour?
Hi Melissa- I think so? But haven’t tried. You may have to adjust the water bit so dough is not dry or crumbly.
So looking forward to the finished galette!! I just made the crust by weighing out 10.5 oz of AP flour on my scale. When I could not bring the dough together into a ball, I realized that 10.5 oz of flour weighed is nearly 300g but that 1 2/3 cups of flour in volume is just 200g so I increased all of the other ingredients in proportion and now have a nice disk chilling in my frig. Did I do the right thing?
I think so! That’s what I would have done. 😉 Let me know how it turns out.
It turned out great!! Everyone loved it 🙂
Thanks Leelee!
The best crust! I’ve been using it as a base for various fillings.
If there was ever a dessert recipe that is 100% autumn is this one! Not too sweet but very deep comforting flavors that made me feel all warm and cosy. Another plus for me is the fact that you just use a sheet pan and can make it however big or small you want according to how many people you’re having over.
The nuttiness of the crust was so delish I’ll be using this crust for my apple galette recipe as well! Thanks for your continuous foolproof delicious recipes!
Thanks so much!
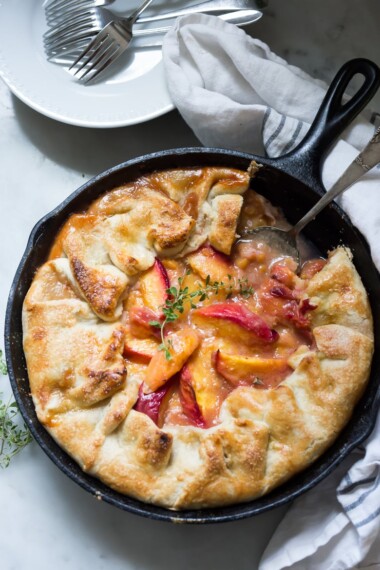
Can you cook this in a cast iron skillet like your peach recipe?
Great question. I haven’t tried it Karen! I don’t see why not, but my only hesitation is I’m not sure how the nuts in the crust would fare in the skillet.
Absolutely delicious. The crust is amazing and the spices with the pears make it over the top. Served it for dessert after also making your minestrone soup on this cold snowy day in Montreal. Thanks for the great comfort meal!
Yay! Im so glad you liked it. I love the crust too!
If you were going to make gluten free, what would you sub flour for?
Sheryl, that is a great question. I’m not an expert at gluten-free baking, but I think a GF all-purpose flour blend could work.
There is a mistake in this recipe for the crust. Recipe states 6 oz of butter- which is 12 Tbl. It should say 3 oz or 6 Tbl. I didn’t catch this until it was too late. While it was delicious to eat in the end, it made a smoky, buttery mess in my oven! Would make again with the proper amount of butter. Walnuts are a lovely addition to the crust. Thanks for the recipe.
Tana…Im sorry about that, yes you are right! I fixed the recipe! 6 tablespoons is 3 ounces. Sorry again!
This was delightful. I think I botched the crust (not sure how), but I salvaged it. It was just a big dry and crumbly, hard to manage. I loved this delicious treat.
It sounds like too much flour? Sorry about that.